
Understanding inbox and channel settings
Overview
Your inboxes and channels have many settings and features that allow you to customize your workflows and preferences. To edit them, click the gear icon, navigate to your workspace or personal settings, then select Inboxes or Channels to pull up a list of your shared or individual inboxes and channels. Select an inbox or channel to edit its settings, provision teammate access, and more.
To understand more about how inboxes and channels work in Front, check out this article. To learn how to add a new inbox, check out these articles on creating a shared inbox or individual inbox.
Inbox settings
Rules section
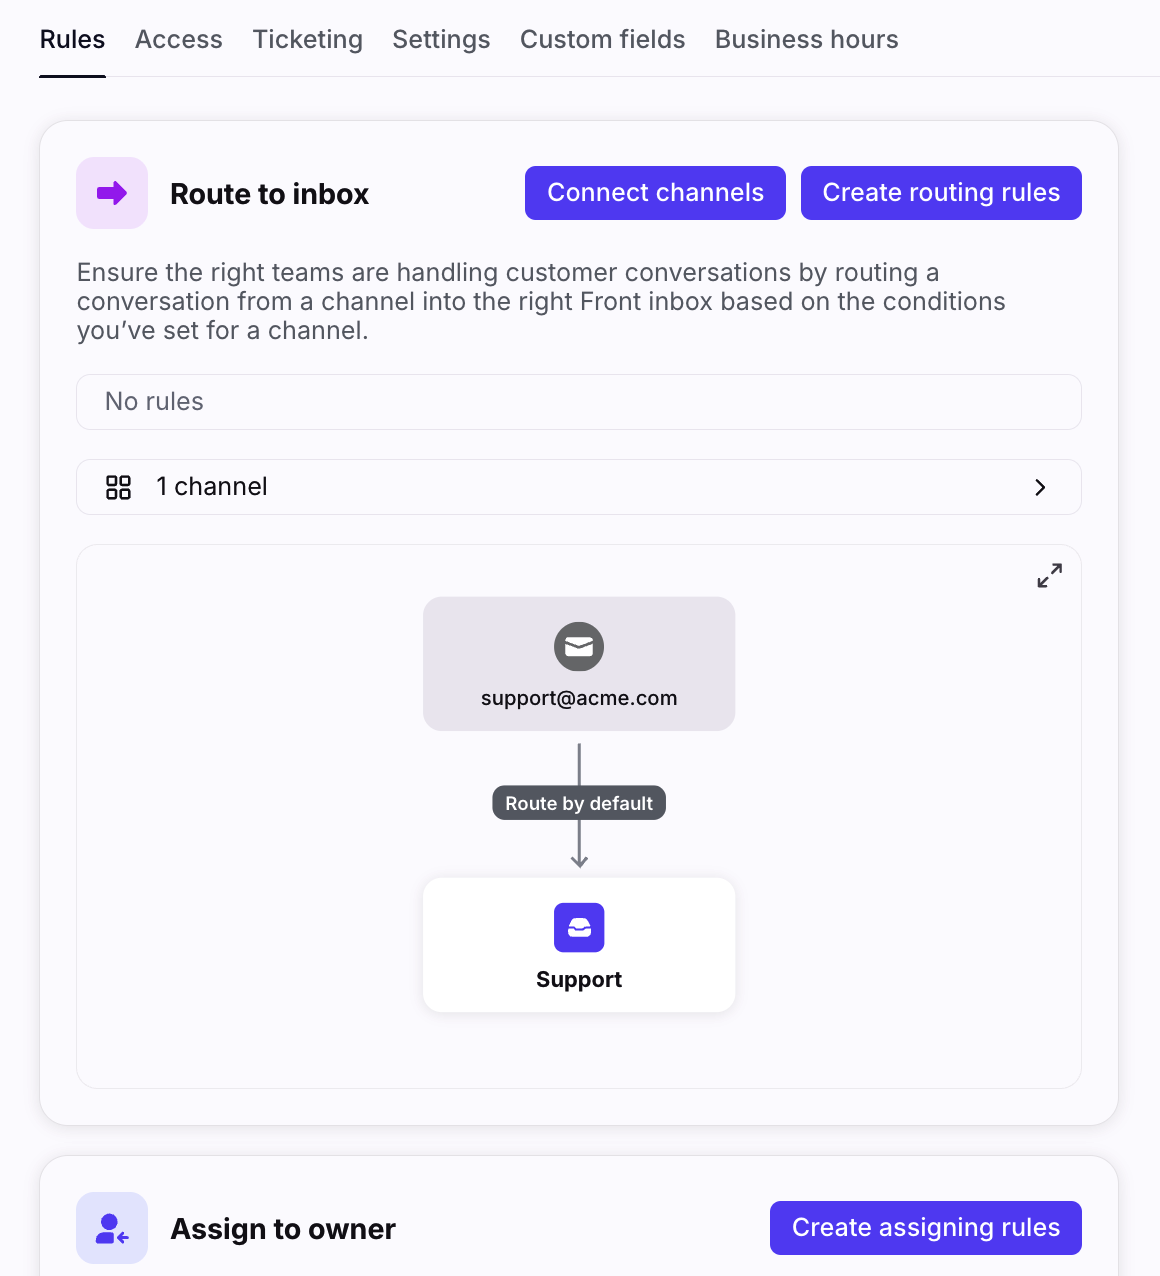
Rule list
If your team has any active rules related to this inbox, they will be listed here. Click on a rule to view its full details or edit the rule. You can view your rule list by action.
To learn more about rules in Front, and which rules are included in your plan, check out our Understanding rules article.
Traffic chart
The Traffic chart gives you a visual overview of how messages move into and out of this inbox. It shows the channels that flow into the inbox, any rules that move messages into this inbox, as well as any rules that move messages out of this inbox and into another inbox.
You can click on any object that appears in the Traffic chart to jump to the settings for that channel/inbox/rule.
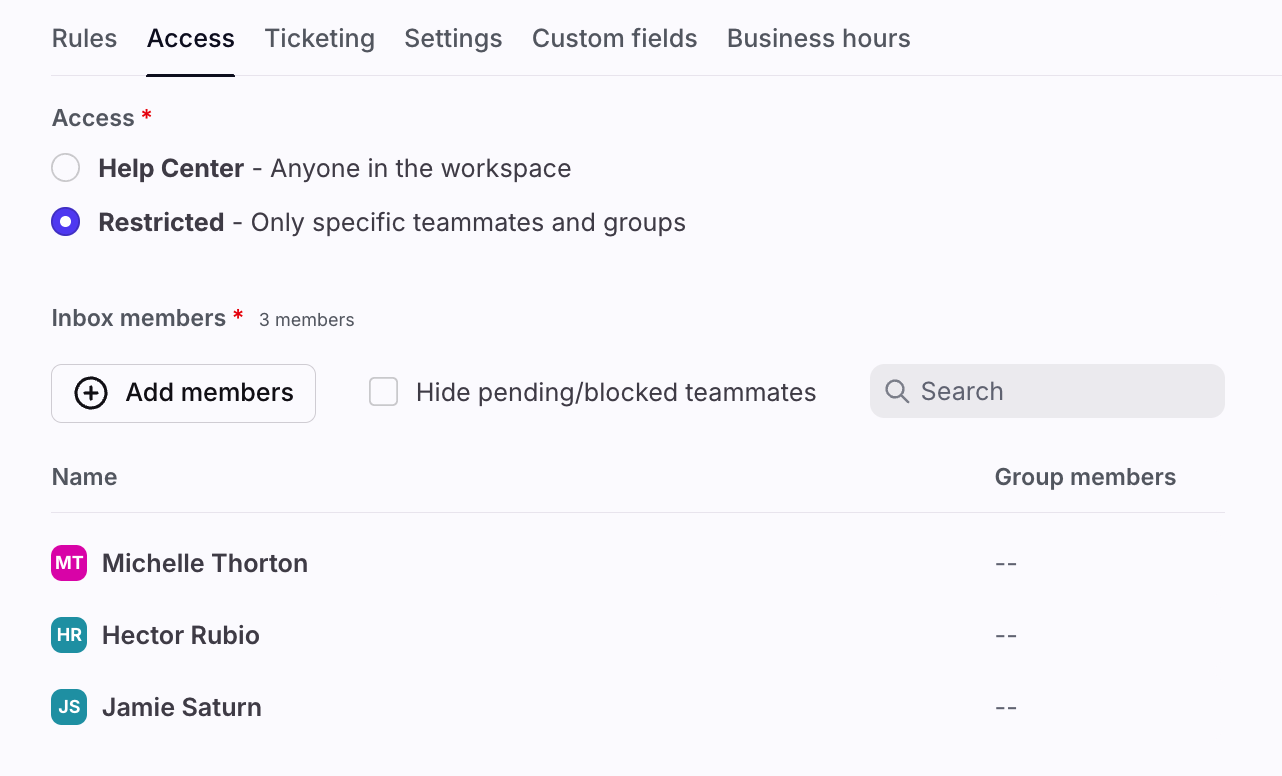
Access section
In this section you can choose to make the inbox public to everyone in the workspace, or you can select which teammates have access. If you restrict access, you can use the dropdown menu to select which teammates have access to this inbox.
Ticketing section
Shared inboxes only: Set up ticket statuses or ticket IDs for this inbox. See these articles to learn more.
Inbox Settings section
Front offers a variety of inbox-level settings that allow you to customize different workflows for different inboxes.
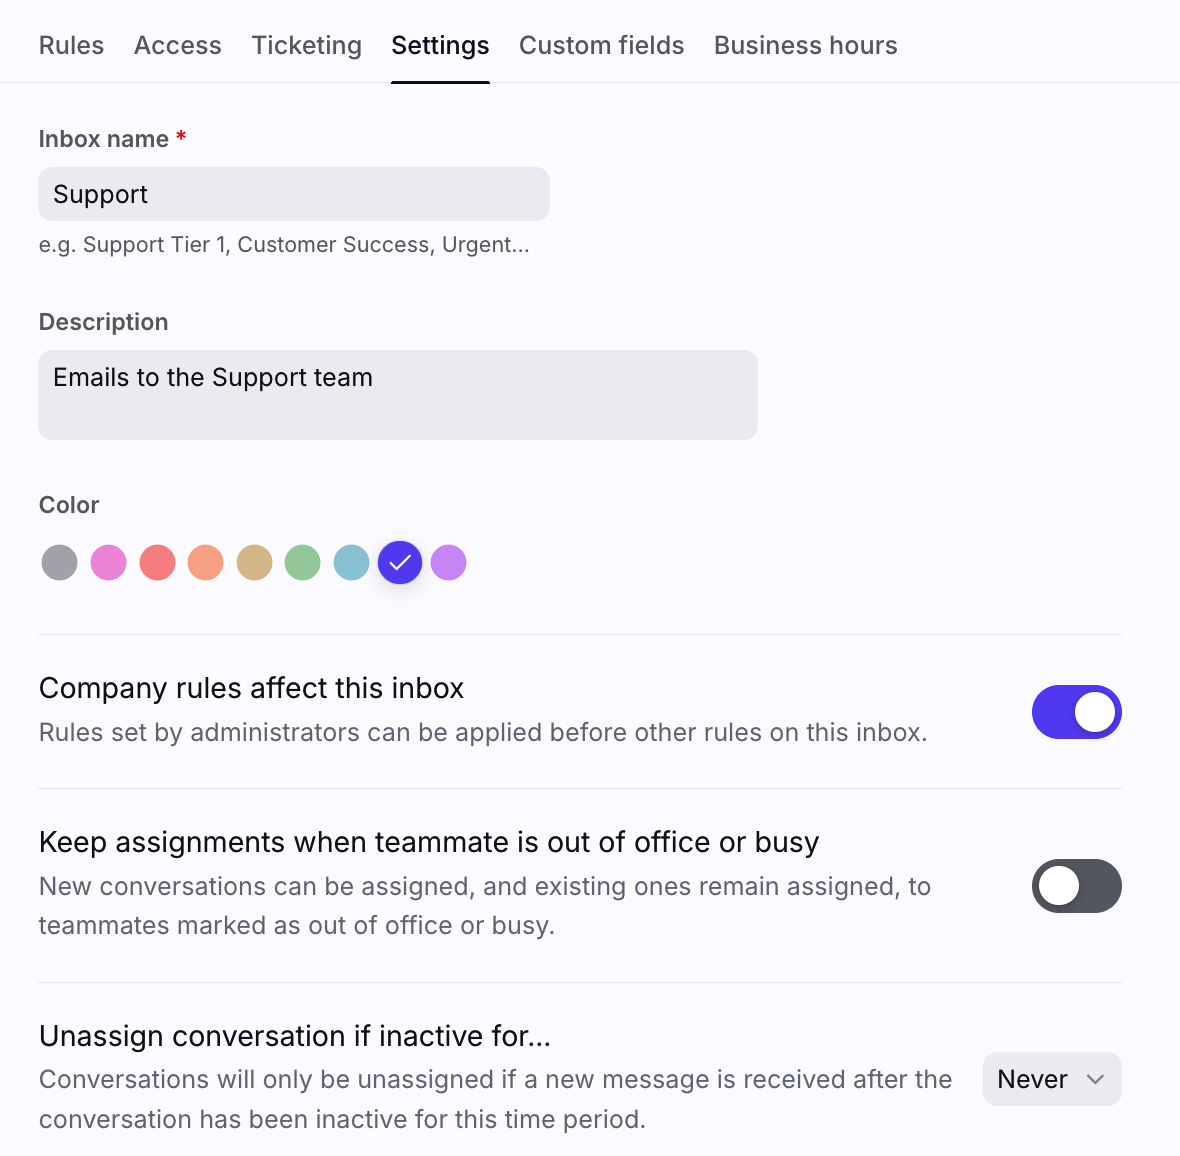
Inbox name
The internal name for this inbox.
Description
An internal description of this inbox (optional).
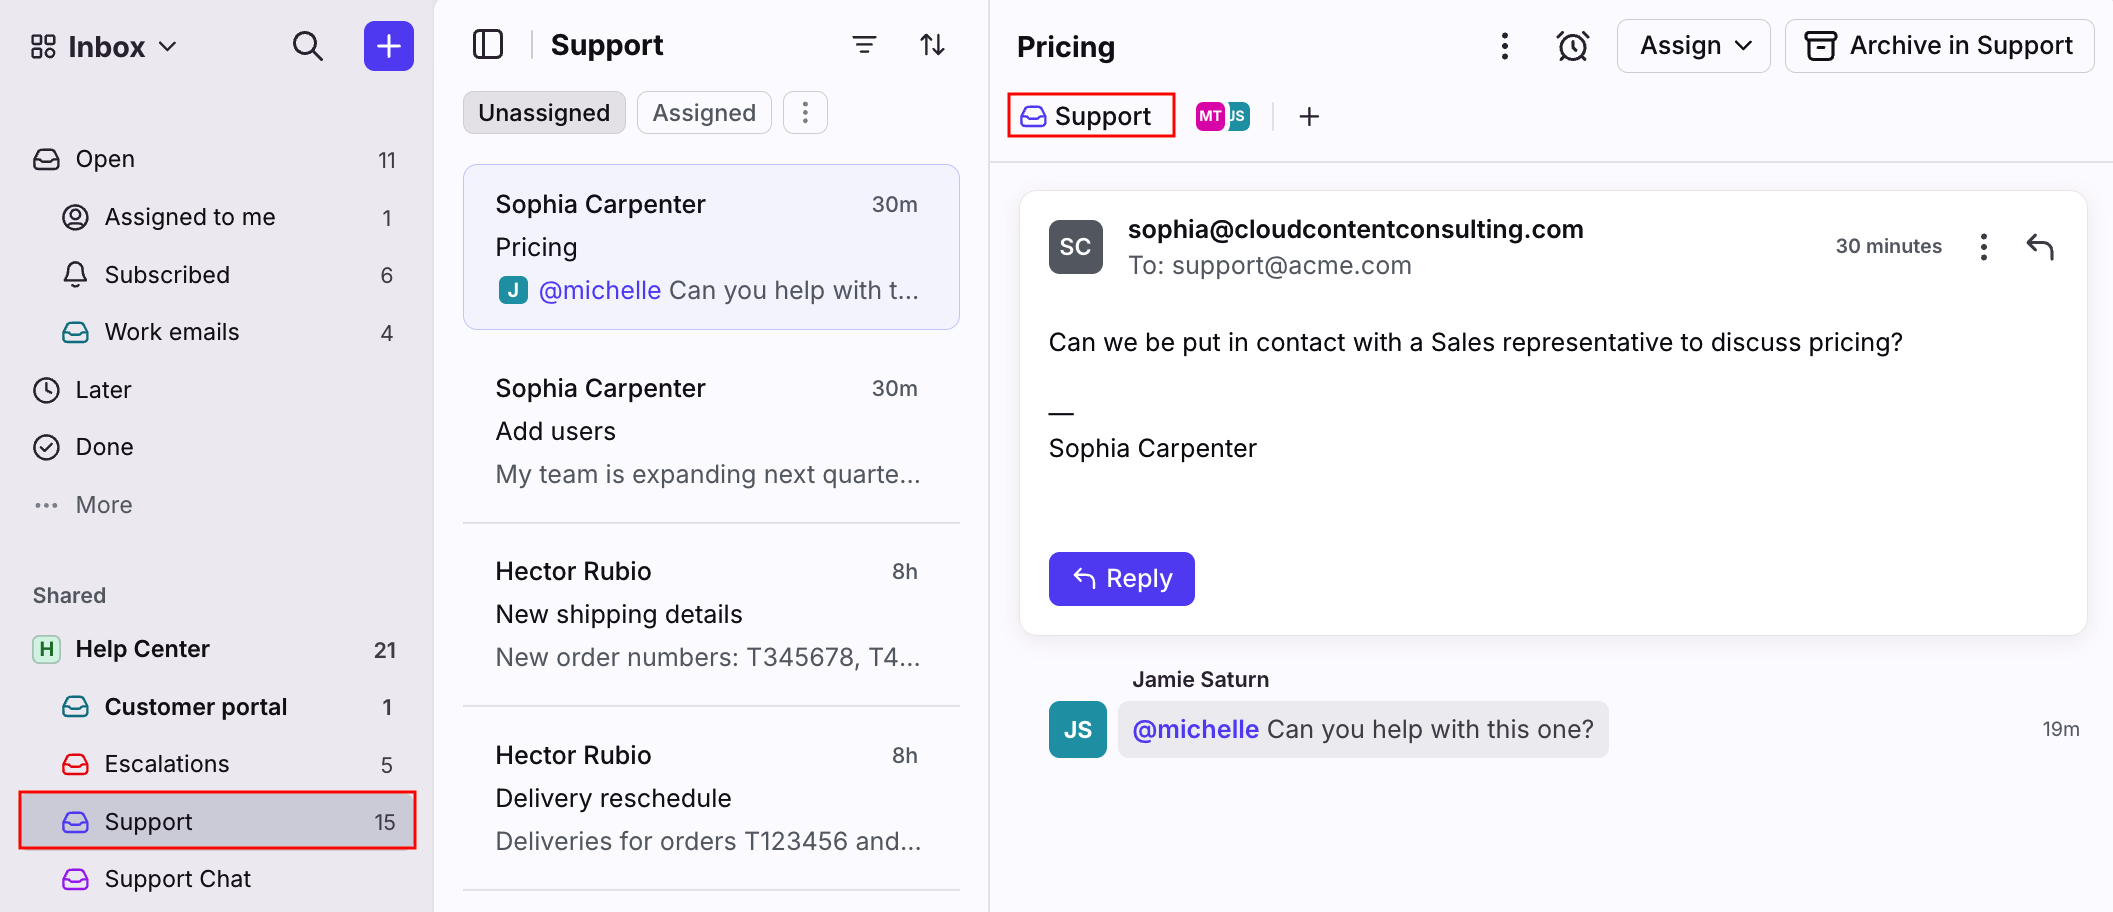
Color
Choose a color to help you quickly visually reference this inbox. Your inbox’s color will appear to the left of the inbox's name in your sidebar and at the top of any conversation in that inbox.
Make inbox visible in analytics
Individual inboxes only: By default, the analytics of an individual inbox will not be included in Analytics reports, but this can be enabled by toggling on the Make inbox visible in the analytics setting.
Learn more about this feature here.
Company rules affect this inbox
Toggle on or off to allow company rules to apply to this inbox.
Keep assignments when teammate is out of office or busy
Shared inboxes only: Toggle on to ignore teammate availability statuses when assigning conversations to teammates. This disables the Unassign conversation if inactive for inbox setting.
When teammates are set to Out of office or Busy:
New conversations can be assigned to teammates
Existing assigned conversations stay assigned to teammates when there are new activities
Snoozed and assigned conversations stay assigned to teammates when snooze timers expire
Unassign conversation if inactive for
Shared inboxes only: Set an inactivity period to automatically unassign conversations when they receive a new message in this inbox.
Select from various default values or enter a custom inactivity period (no minimum or maximum value). You can select Never if you do not want to automatically unassign conversations after an inactivity period.
This setting cannot be enabled if the Keep assignments when teammate is out of office or busy setting is enabled.
To learn how bump settings affect unassign behavior, see this article.
Close conversation segment if inactive for
Set an inactivity period for conversations in this inbox. Select from various default values or enter a custom inactivity period between 10 minutes to 31 days.
The inactivity period represents the length of time during which a conversation segment should have no new activity before being closed (marked inactive). Once a conversation segment is closed, any analytics data or metrics related to the segment will lock and cannot be changed. Conversations subject to auto-closing do not apply and will not be segmented. If a new activity occurs in the conversation, a new segment will be created. Learn more about inactivity time here.
Automatically trash inactive conversations after
Shared inboxes only: Set a data deletion policy for this inbox. See this article to learn more.
Keep actions in this inbox separate from other inboxes
Shared inboxes only: When you have shared inboxes added to Front within the same workspace, the default behavior is that emails addressed to multiple shared inbox addresses will be automatically merged into one master copy. Toggle on Keep actions in this inbox separate from other inboxes to disable this behavior.
This feature is disabled by default. Read more about the feature here to learn how enabling it will affect your shared inbox.
Show inbox in teammate sidebars
Shared inboxes only: Select teammates to pin this inbox to their sidebars.
Transfer inbox to teammate or workspace
Convert a shared inbox to an individual inbox or vice versa. See this article to learn more.
Archive all conversations
Mass archive all conversations in this inbox from before a specified date. Learn more here.
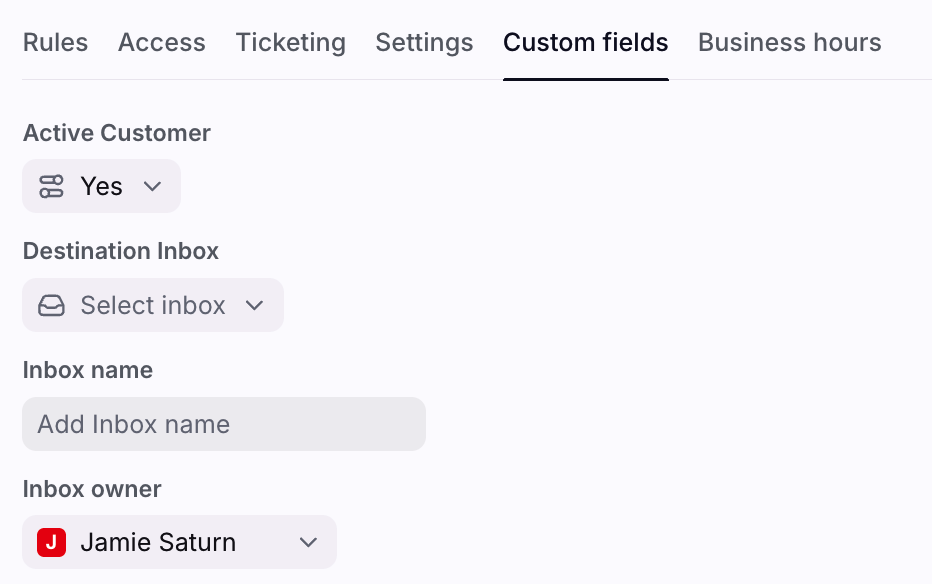
Custom fields section
Manage custom inbox information for your inbox. To learn more about using custom inbox fields, learn more here.
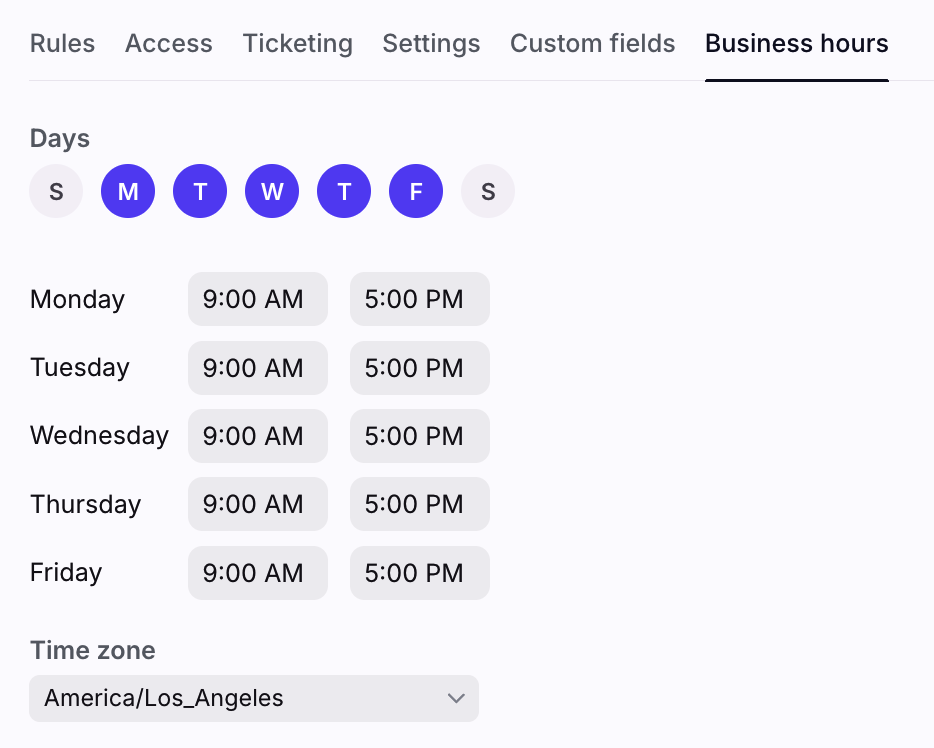
Business hours section
Use this section to set up inbox-level business hours to use with analytics and rules. See here for more details and full instructions.
This feature is available on the latest Professional plan or above. Some legacy plans may also have this feature.
Channel settings
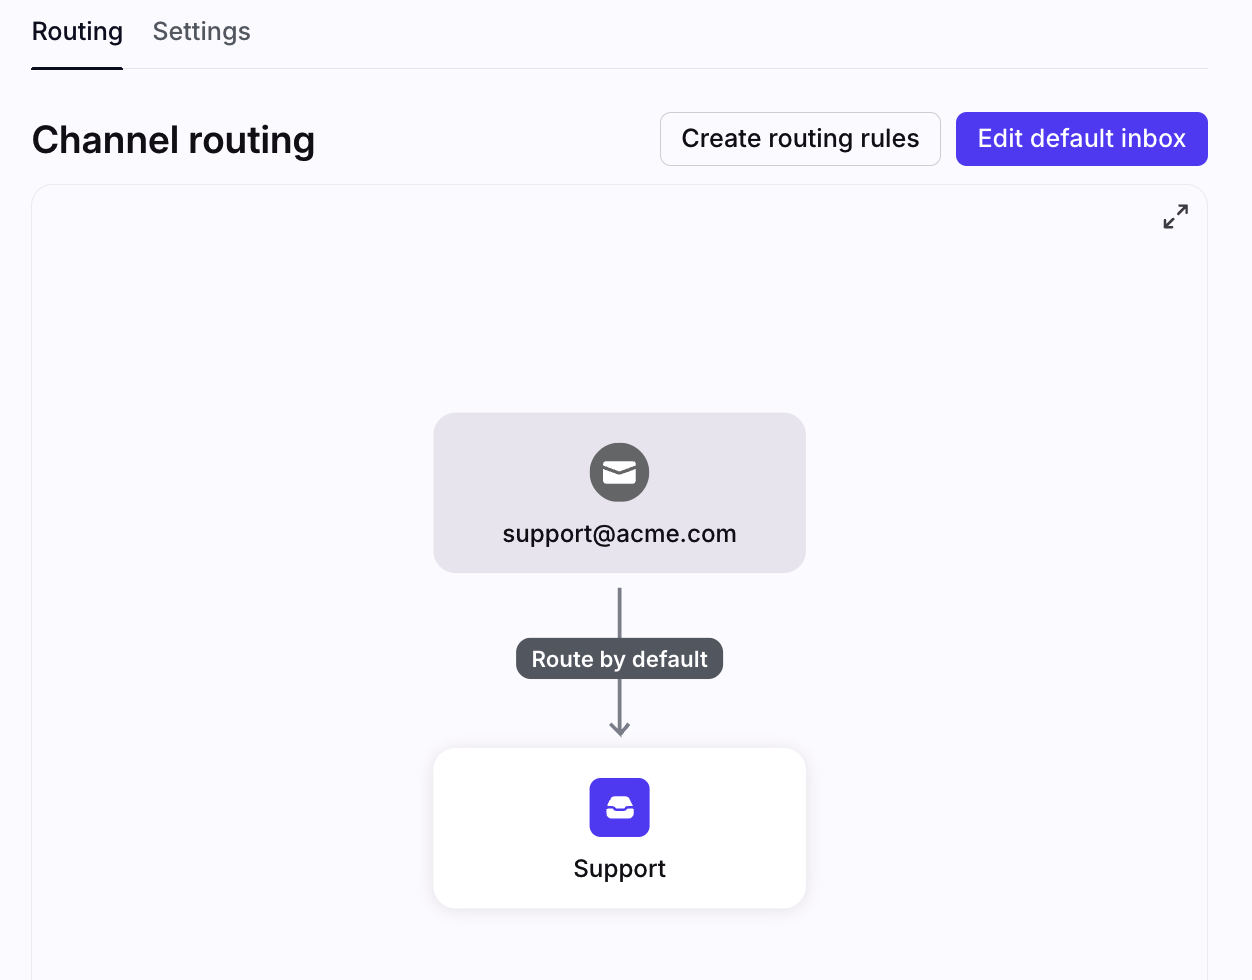
Routing section
Default inbox
Select the default inbox messages will be routed into.
Front allows you to move a channel from one individual inbox to another individual inbox, or from one shared inbox to another shared inbox. Moving the channel to another inbox will bring along all the conversation history that is attached to that channel. See here for more details and full instructions.
Routing rules
Click Create routing rules to help you automate processes for your channel. To learn more about rules in Front, and which rules are included in your plan, check out our Understanding rules article.
Channel Settings section
Front offers a variety of channel-level settings that allow you to customize different workflows for different channels.
Channel settings vary depending on the type of channel, e.g. you’ll see different settings available for an email channel than you’d see for a website chat channel. Below are channel settings that are available for every channel type.
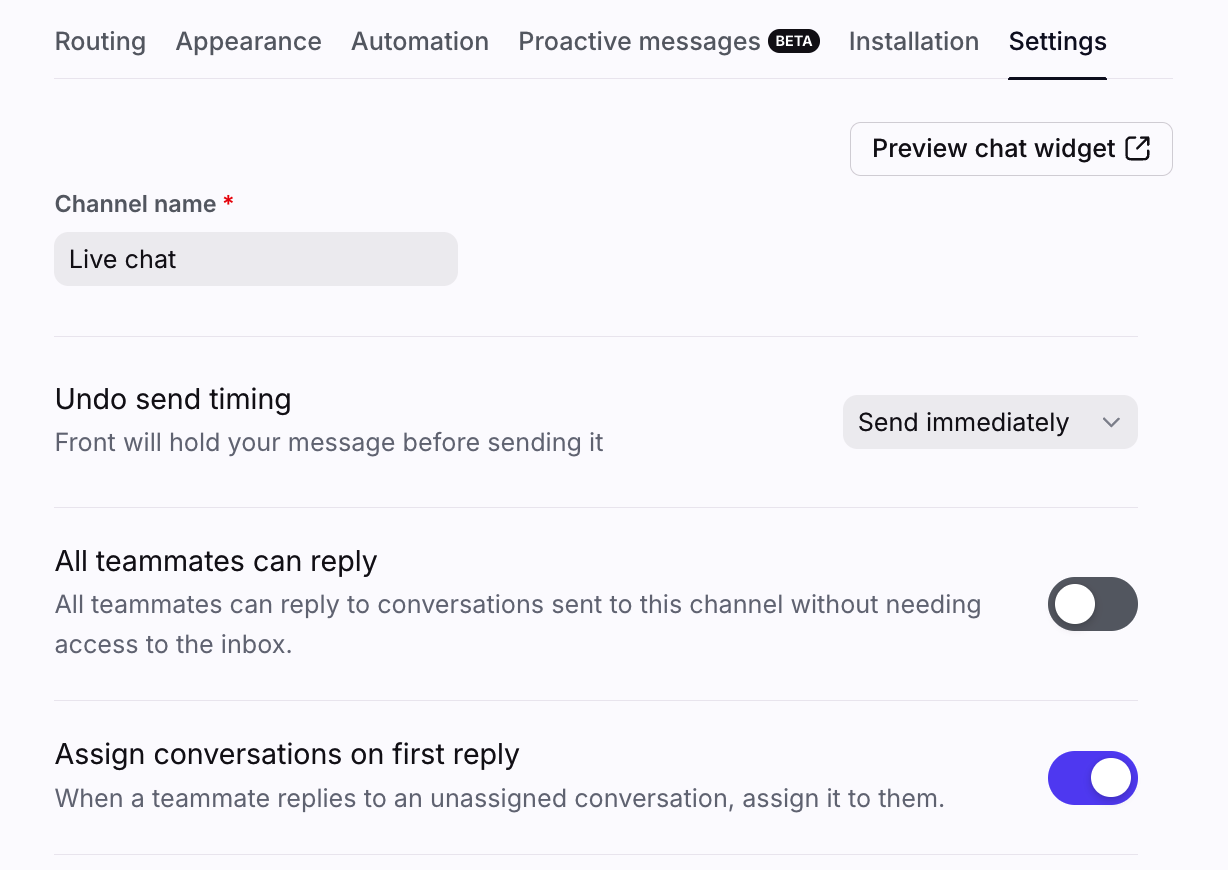
Undo send timing
Establish an undo send period for messages sent from this channel, or choose to have this channel’s messages send immediately. Check out this article for more information.
All teammates can reply
Toggle on All teammates can reply to allow all teammates to reply using this channel, without needing access to its inbox. Check out this article for more information.
Assign conversations on first reply
Toggle on Assign conversations on first reply to automatically assign a conversation to the first teammate who replies to it. Check out this article for more information.
Templates section
Some channels have templates unique to that channel. These templates are synced from the external service (such as WhatsApp, Facebook, Google, etc.) via the API and are different from the message templates you configure in Front (although they can be used by teammates in a similar fashion). If your channel supports these external message templates, you will see a Templates section in your channel settings for configuring them and a special icon in the composer for sending them.
Common examples of channels that support these templates include WhatsApp and channels that a developer built for you. If you think your templates are missing, refer a developer to our Developer Portal for instructions.
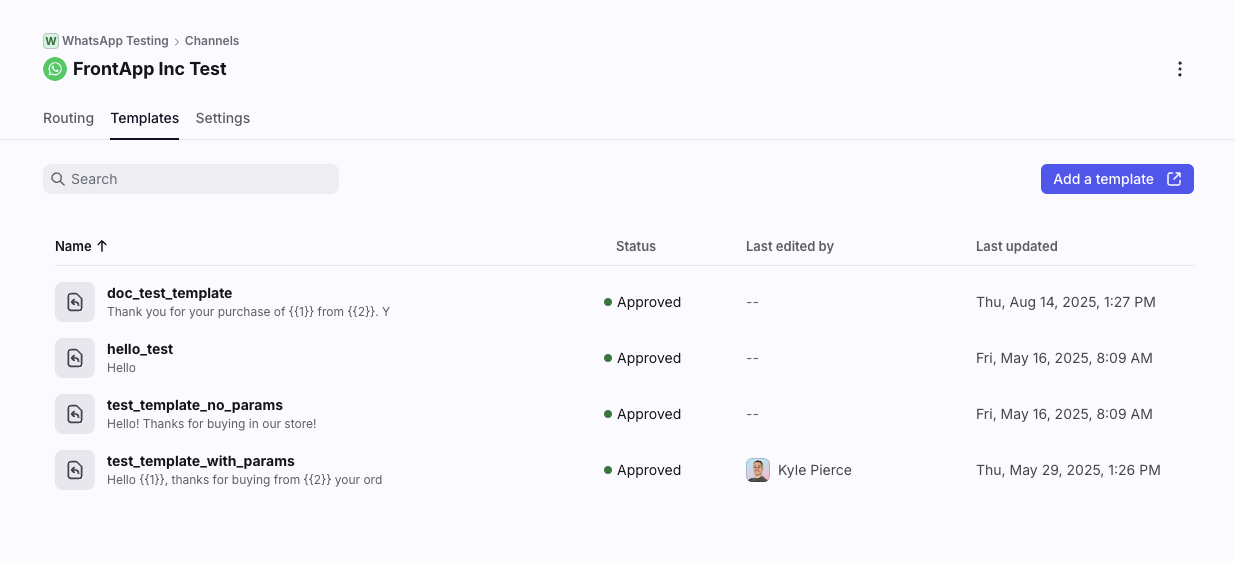
Configuring templates
You can view the name and status of a template from the main list. A green status of "Approved" means the template is enabled for use in the external system. If the template is disabled, you will see a status of "Pending" or "Rejected".
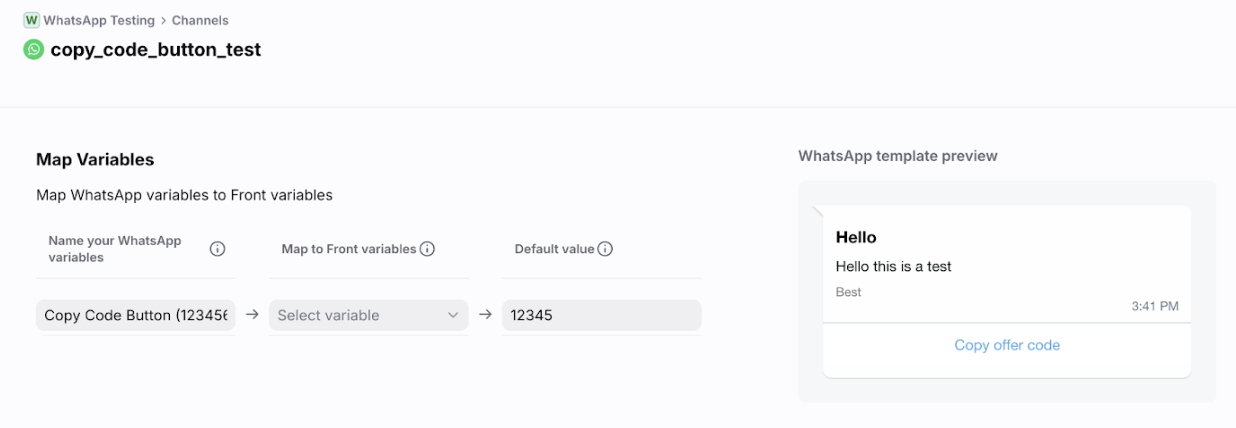
Click on a template to view the variables you can configure. Make sure to map each template variable to a Front variable and/or to provide a default value. These variables populate dynamically when the message template is sent by a Front teammate.
Add or edit templates
To learn how to edit the structure of a template or add a new one, refer your developer or partner contact (for App Store channels) to our Developer Portal for instructions. These edits require proficiency with APIs and other technical concepts.
Deleting an inbox or channel
Deleting an inbox will delete both your inbox and any conversation within it. When you delete an inbox, all the history within the inbox will be deleted and cannot be restored. Check out this article for more information on deleting an inbox.
Click Delete channel at the top of a channel's settings to remove it. Removing a channel from an inbox breaks the connection between the channel and its inbox, but does not delete message history. See here for more details and full instructions.
Inboxes without channels
An inbox in Front does not need to contain any channels. An inbox without channels is referred to as an empty inbox, and can be used for organizational purposes. For more information about empty inboxes, check out this article.