Create and manage analytics views
Overview
Front analytics gives admins, team managers, department heads, and other company leaders insight into your team's performance and company impact with Front. Within Analytics, you’ll find built-in dashboards that you can customize through views and filters to measure what you care about most. In this article, you will learn how to create new report views with and without saving them, as well as manage existing views.
Take a Front Academy course here to learn more about leveraging Front analytics to achieve your goals.
Instructions
Default view
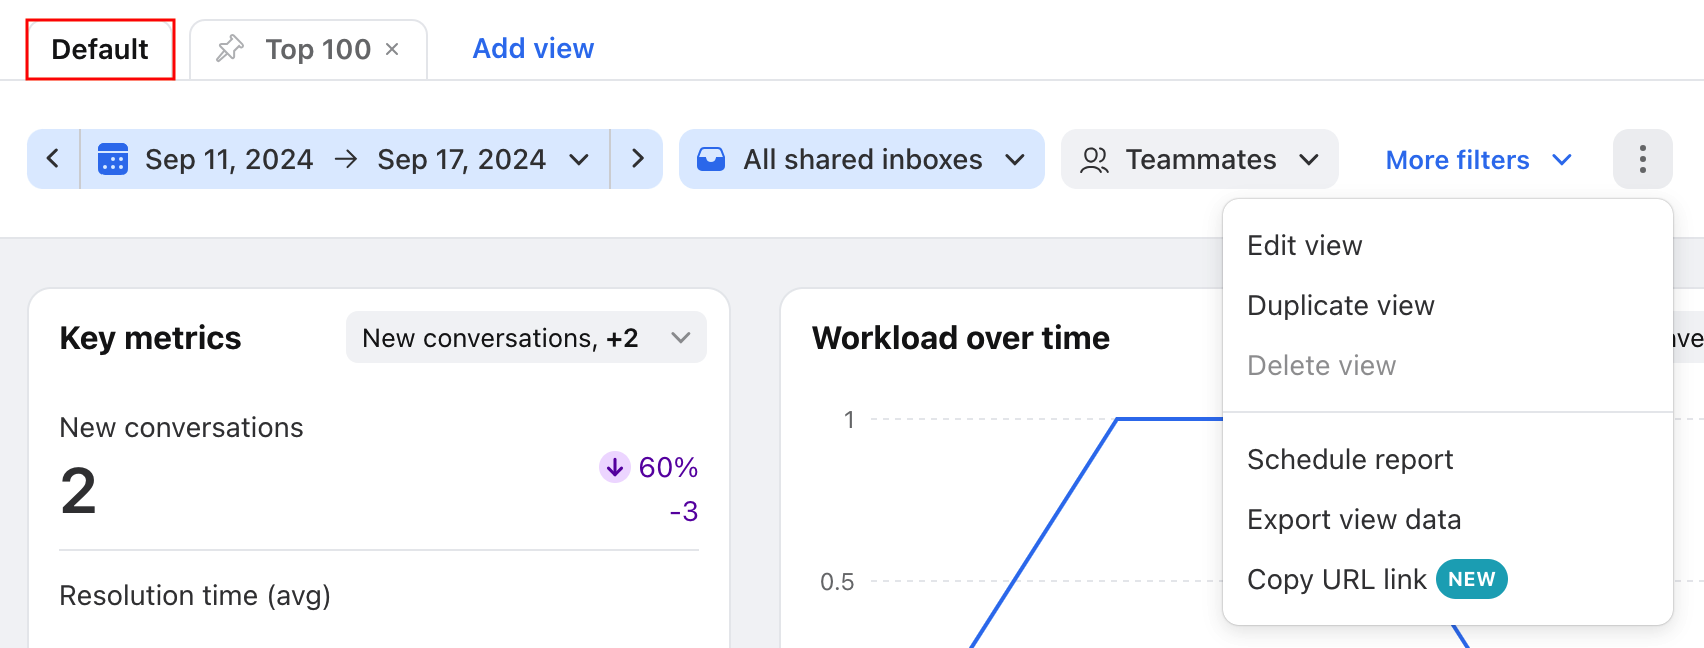
In every analytics report, you'll see a Default view tab. You can adjust this individual view's name, schedule reports with it, and more using the three-dot menu. This view cannot be closed or deleted.
Create new view
Step 1
Access Analytics by using the navigation menu at the top left.
Step 2
In the left navigation panel, use the workspace selection dropdown menu to choose whether you want to create an individual report or a workspace report.
Step 3
Choose the report type from the list on the left navigation panel. The report will load the Default tab, or it will load the pinned view that you were previously clicked on.
Step 4
Click Add view next to the report tabs. A new tab named New View (1) will appear.
Step 5
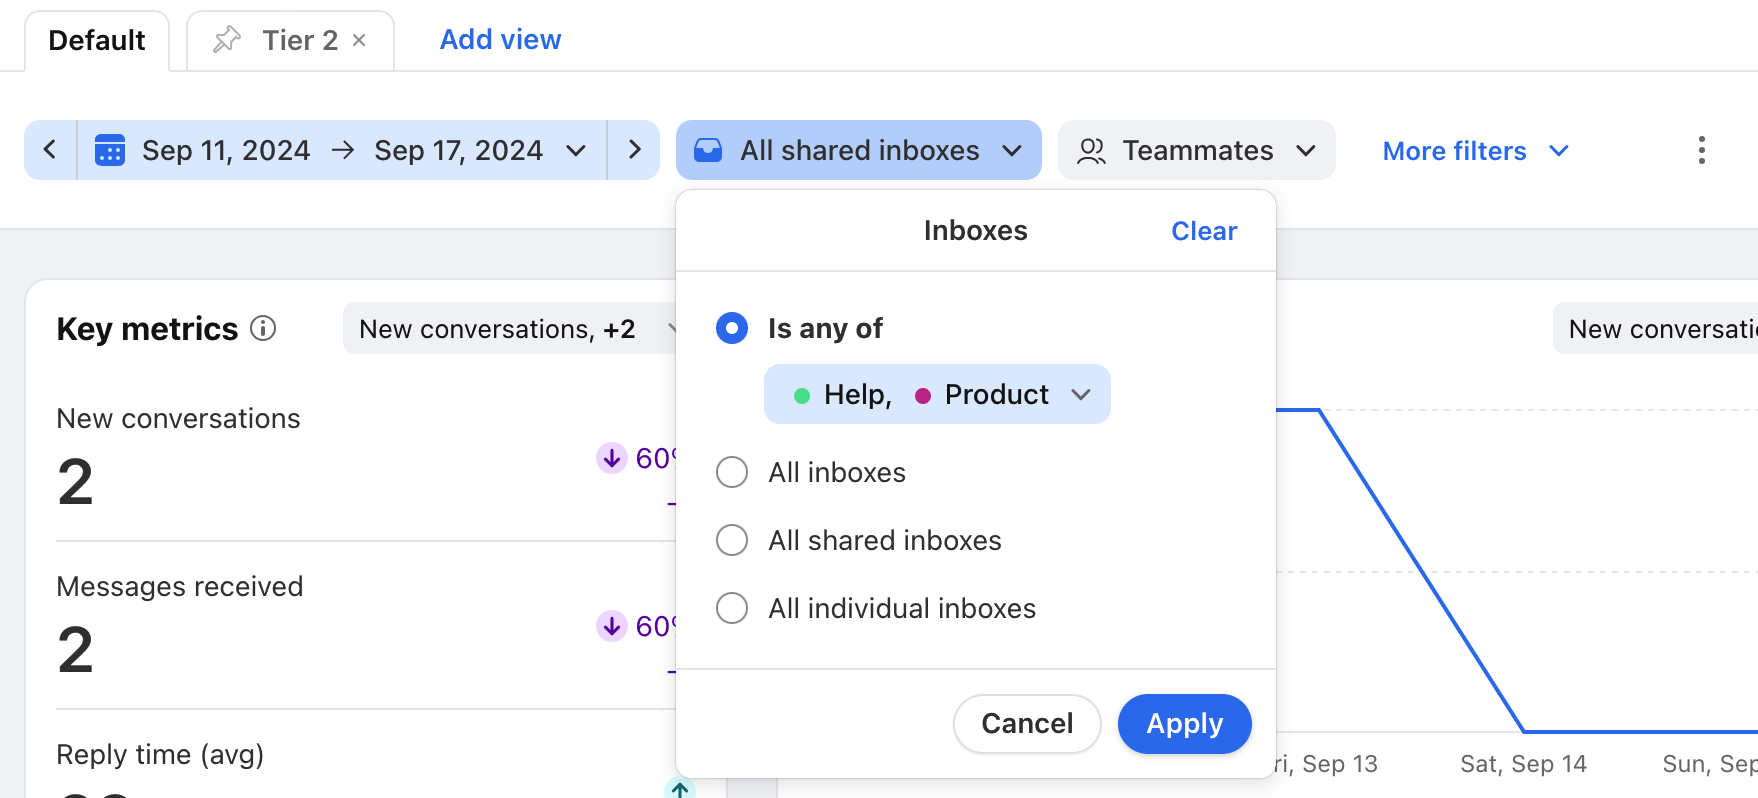
Adjust the workspaces, inboxes, and teammates filters, or click More filters to add additional filters. As you change filters, the report will refresh with the data matching the filters.
Note: The date range you've selected is not considered a filter, and is not saved to the view.
If you only need to view the data one time and do not need to save the view, then you are finished! If you do want to save the view, continue to Step 6.
Step 6
After adjusting your filters, click Save as new.
Step 7
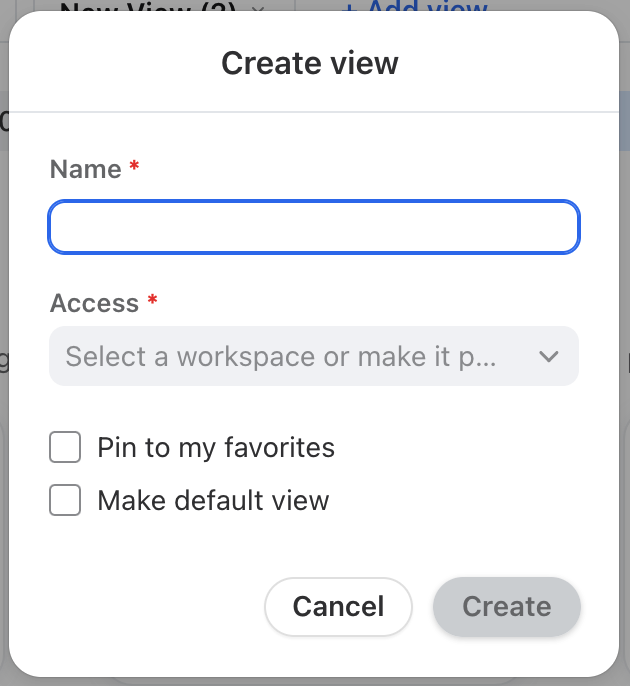
Fill out the fields in the popup window:
Name: The name of the view.
Access: Select “Individual view” to make it private to your account. Select the workspace's name if you’d like other teammates to use the view.
Pin to my favorites: Check the box if you’d like to pin the view to your dashboard so that it appears every time you open Analytics. When you pin a view, this only pins the view for yourself, and will not impact other teammates.
Make default view: Check the box if you’d like this view to be the first one displayed after your default view when you open Analytics. If you navigate to other views, close Front, then reopen Front, the default view will be selected when you revisit Analytics.
Step 8
Click Create to save the view. Once a view is created, the view and its filters will be available when you click into other reports.
Edit and create from existing view
Step 1
Access Analytics by using the navigation menu at the top left.
Step 2
In the left navigation panel, use the workspace selection dropdown menu to choose which workspace the report lives in.
Step 3
Choose the report type from the list on the left navigation panel. The report will load the Default tab, or it will load the pinned view that you were previously clicked on.
Step 4
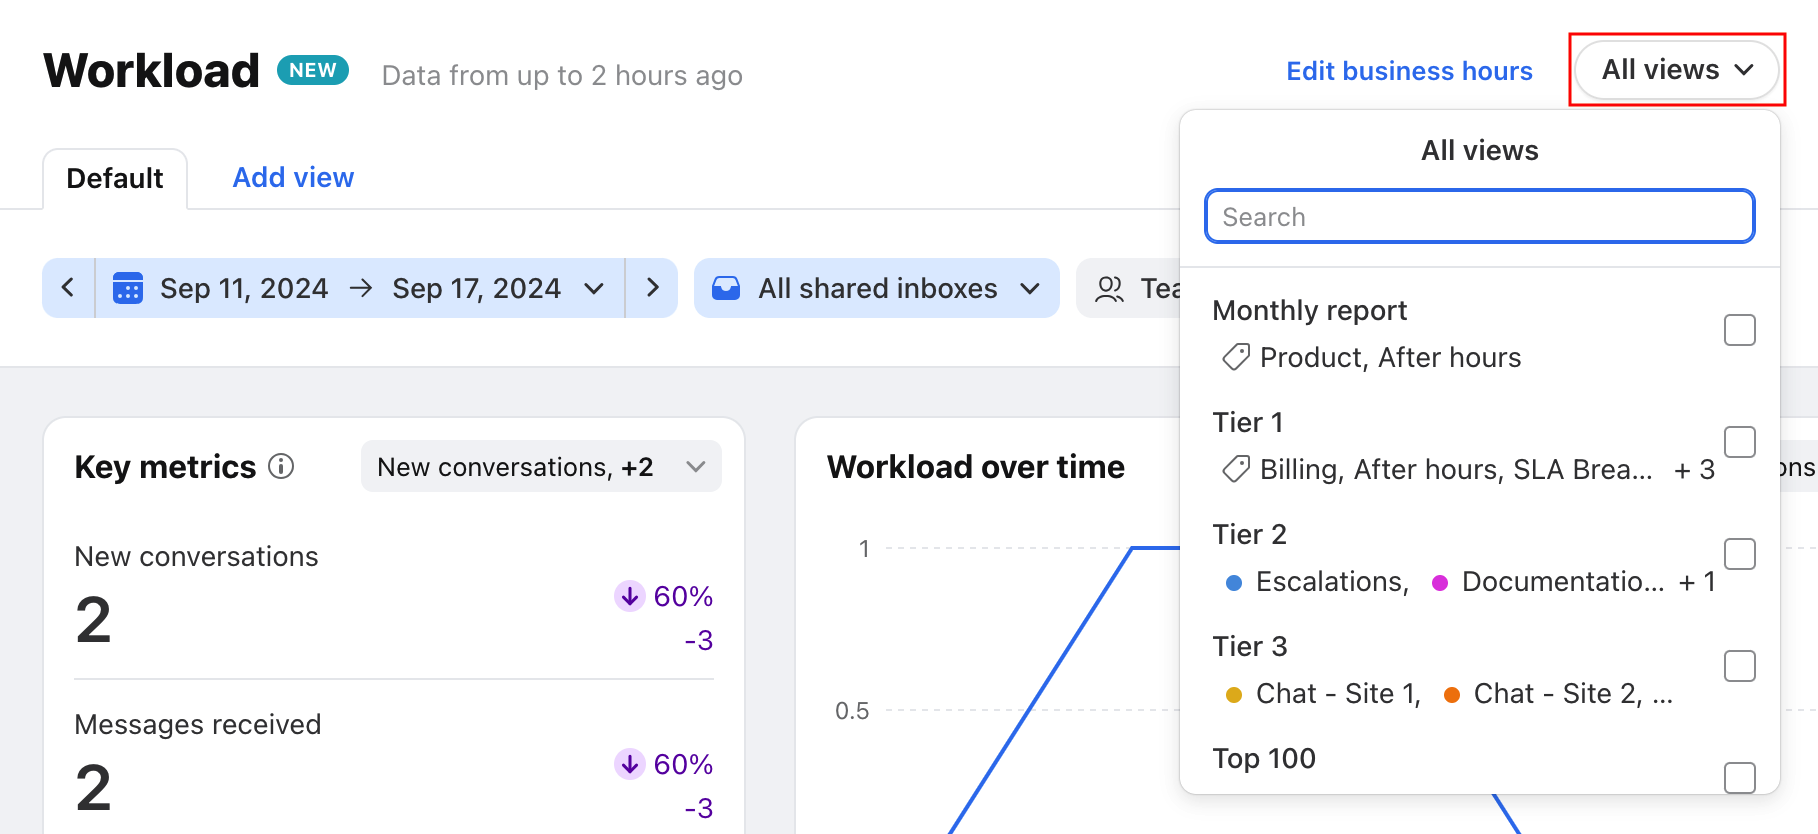
Find the view you want to edit. If it was already pinned, you will find it across the top as one of the tabs. If it was not pinned, click on the All views menu on the right to select it for editing.
Step 5
After selecting and loading the view, you can adjust its filters. Edit existing filters, click the filter and use the options in the dropdown. To add a new filter, click the More filters option. As you change filters, the report will refresh with new data matching the filters.
If you only need to view the data one time and do not need to save edits to the view, then you are finished! If you do want to save the view, continue to Step 6.
Step 6
After editing the filters, click the Save View button to choose from two options: Save will save over the existing view, and Save as new will create a brand new view.
Duplicate a view
Step 1
Click on the three-dot menu an the top right to expand more view options, then click Duplicate view.
Step 2
A new view tab will appear with your existing view's name, and the word (Copy) at the end. Edit the existing filters, or add a new filter by clicking the More filters option. As you change filters, the report will refresh with new data matching the filters.
Click the Save View button to choose from two options: Save will save over the existing view, and Save as new will create a brand new view.
Rename a view
Step 1
Select the view you’d like to rename.
Step 2
Click on the three-dot icon on the top right to expand more view options, and select Edit view.
Step 3
A pop-up window will appear. Enter the new name for the view, then click Edit to save your changes.
Delete a view
Step 1
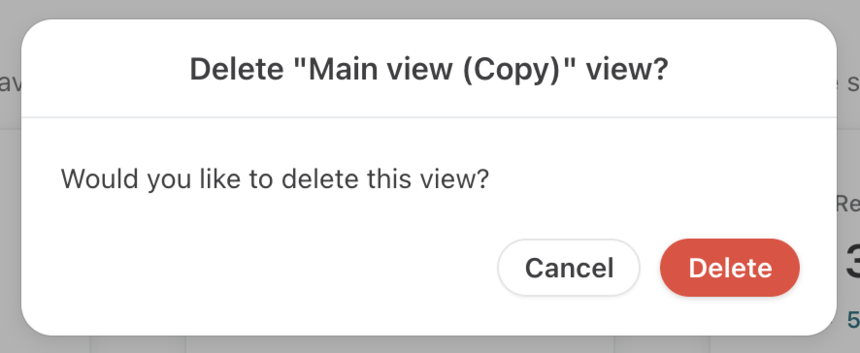
Click on the three-dot icon on the top right to expand more view options, and select Delete view.
Step 2
A pop-up window will appear asking you to confirm whether you'd like to delete this view. If so, click the Delete button. Once deleted, a view cannot be recovered.
Pin views
You can view a saved view either one time on your dashboard, or pin it to your dashboard so that it appears every time you open Analytics. When you pin a view, this only pins the view for yourself, and will not impact other teammates.
Step 1
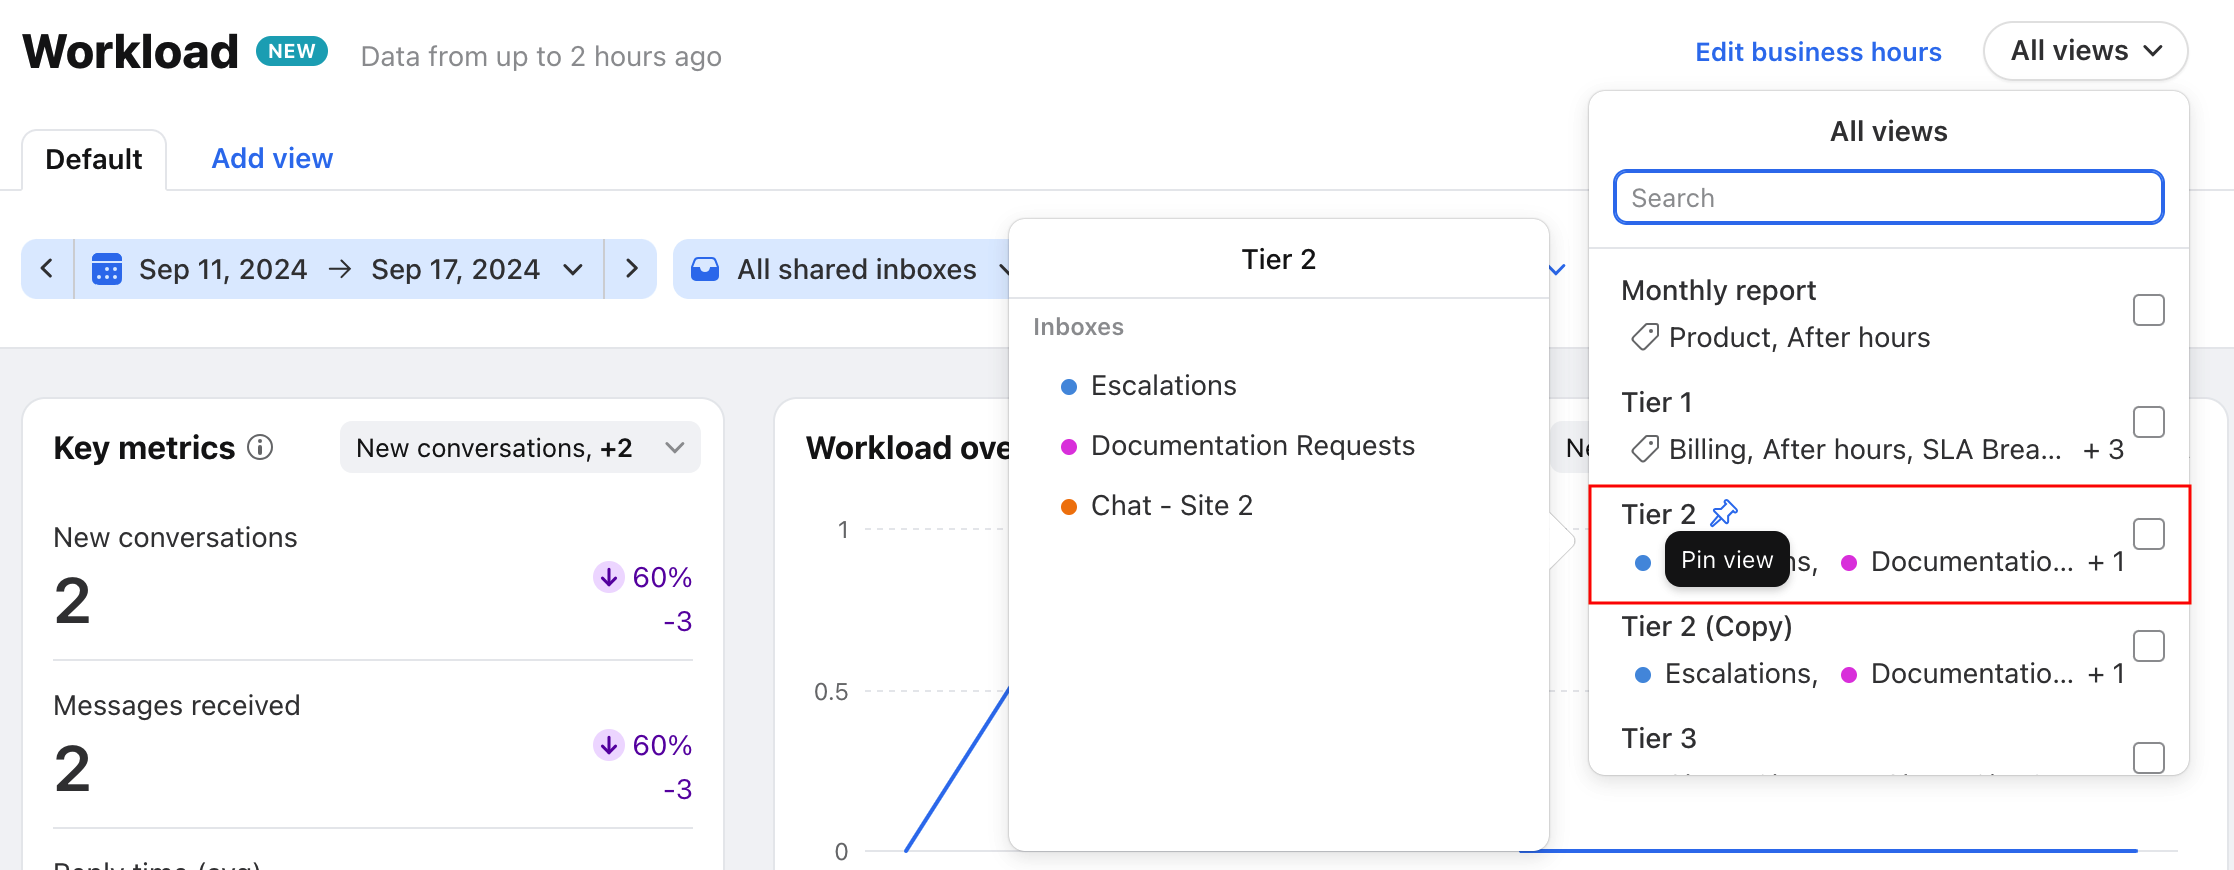
On any report, click the All views dropdown menu on the top right, and select a view.
Step 2
Hover to the right of the view name and click on the pin icon that appears.
Step 3
You will see the view pinned at the top of your Analytics dashboard. To unpin, click the blue pin icon on the view's tab.
Include individual inboxes
By default, the analytics for individual inboxes will not be included in workspace analytics reports, but this can be changed. Making an individual inbox visible in analytics will allow admins to track the performance of teammates who primarily work and communicate out of their own inboxes, rather than shared inboxes.
To make an individual inbox's data visible in workspace reports, the owner of the inbox or an admin can follow the steps below.
Step 1
If you are the inbox owner, go to your Personal settings tab, then select Inboxes.
If you are an admin adjusting a teammate's settings on their behalf, you can access their individual inbox settings using these steps.
Step 2
Click on the individual inbox and into the Settings tab.
Step 3
Toggle on the Make inbox visible in the analytics setting, and click Save. All of the inbox's conversation data will be available in analytics.
Step 4
The individual inbox will now appear as an option in the Inbox filter dropdown in your Analytics dashboard.
Export view data
To learn about exporting your analytics view data, click here.
Pricing
This feature is available on the all the latest plans. Some legacy plans may also allow access to this feature.

