
Use macros to accelerate your workflows
Overview
Macros allow you to create shortcuts to supercharge your team’s productivity. Teammates can move messages, tag conversations, notify other teammates, and more - all with a single click. This is most helpful when you want to quickly and accurately resolve conversations with complex processes.
With macros, you can:
Automate complex workflows into one click
Enforce consistent and scalable processes
Increase team productivity
Reduce onboarding and training needs
Additional resources:
Check out our Front Academy course here to learn more about leveraging value from macros.
Have questions? Ask them in our AMA in Front Community!
When to use macros
Macros are a great option for accelerating and standardizing workflows. Some examples:
Hand off conversations between teams: Transfer ownership of conversations to other teams and handle multi-step escalations with ease
Push data from Front to your third-party systems: Ensure your third-party systems are updated without having to switch back and forth between apps
Require human verification for specific processes: Have teammates validate requests with customers before processing sensitive or security-related topics that cannot be fully automated
Check out this article to view our macro library with pre-built templates to help you get started.
Creating macros
You must have Front admin permissions to create and manage macros.
Step 1
Click the gear icon, then select company or workspace settings in the left sidebar, depending on if you want to create a company macro or workspace macro.
Workspace macros: Apply to selected shared inboxes in a specific workspace
Company macros (Enterprise plan): Apply to both shared and individual inboxes across all workspaces
Step 2
Select Rules and macros in the sidebar, click the Macros tab, then click the Create macro button. Select a template or click Create from scratch.
In this example, we'll create a macro from scratch.
Option 1: Build with AI
Step 3
Click the Build with AI icon.

Step 4
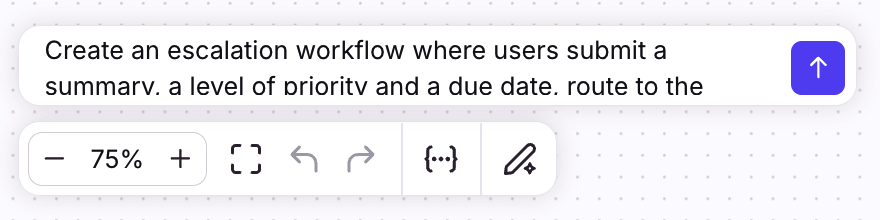
In the text box, describe the workflow you’d like AI to build. This works best when formatted as natural language.
In this example, we’ll ask AI to "Create an escalation workflow where users submit a summary, a level of priority and a due date, route to the correct inbox and add the user input as a comment".
Step 5
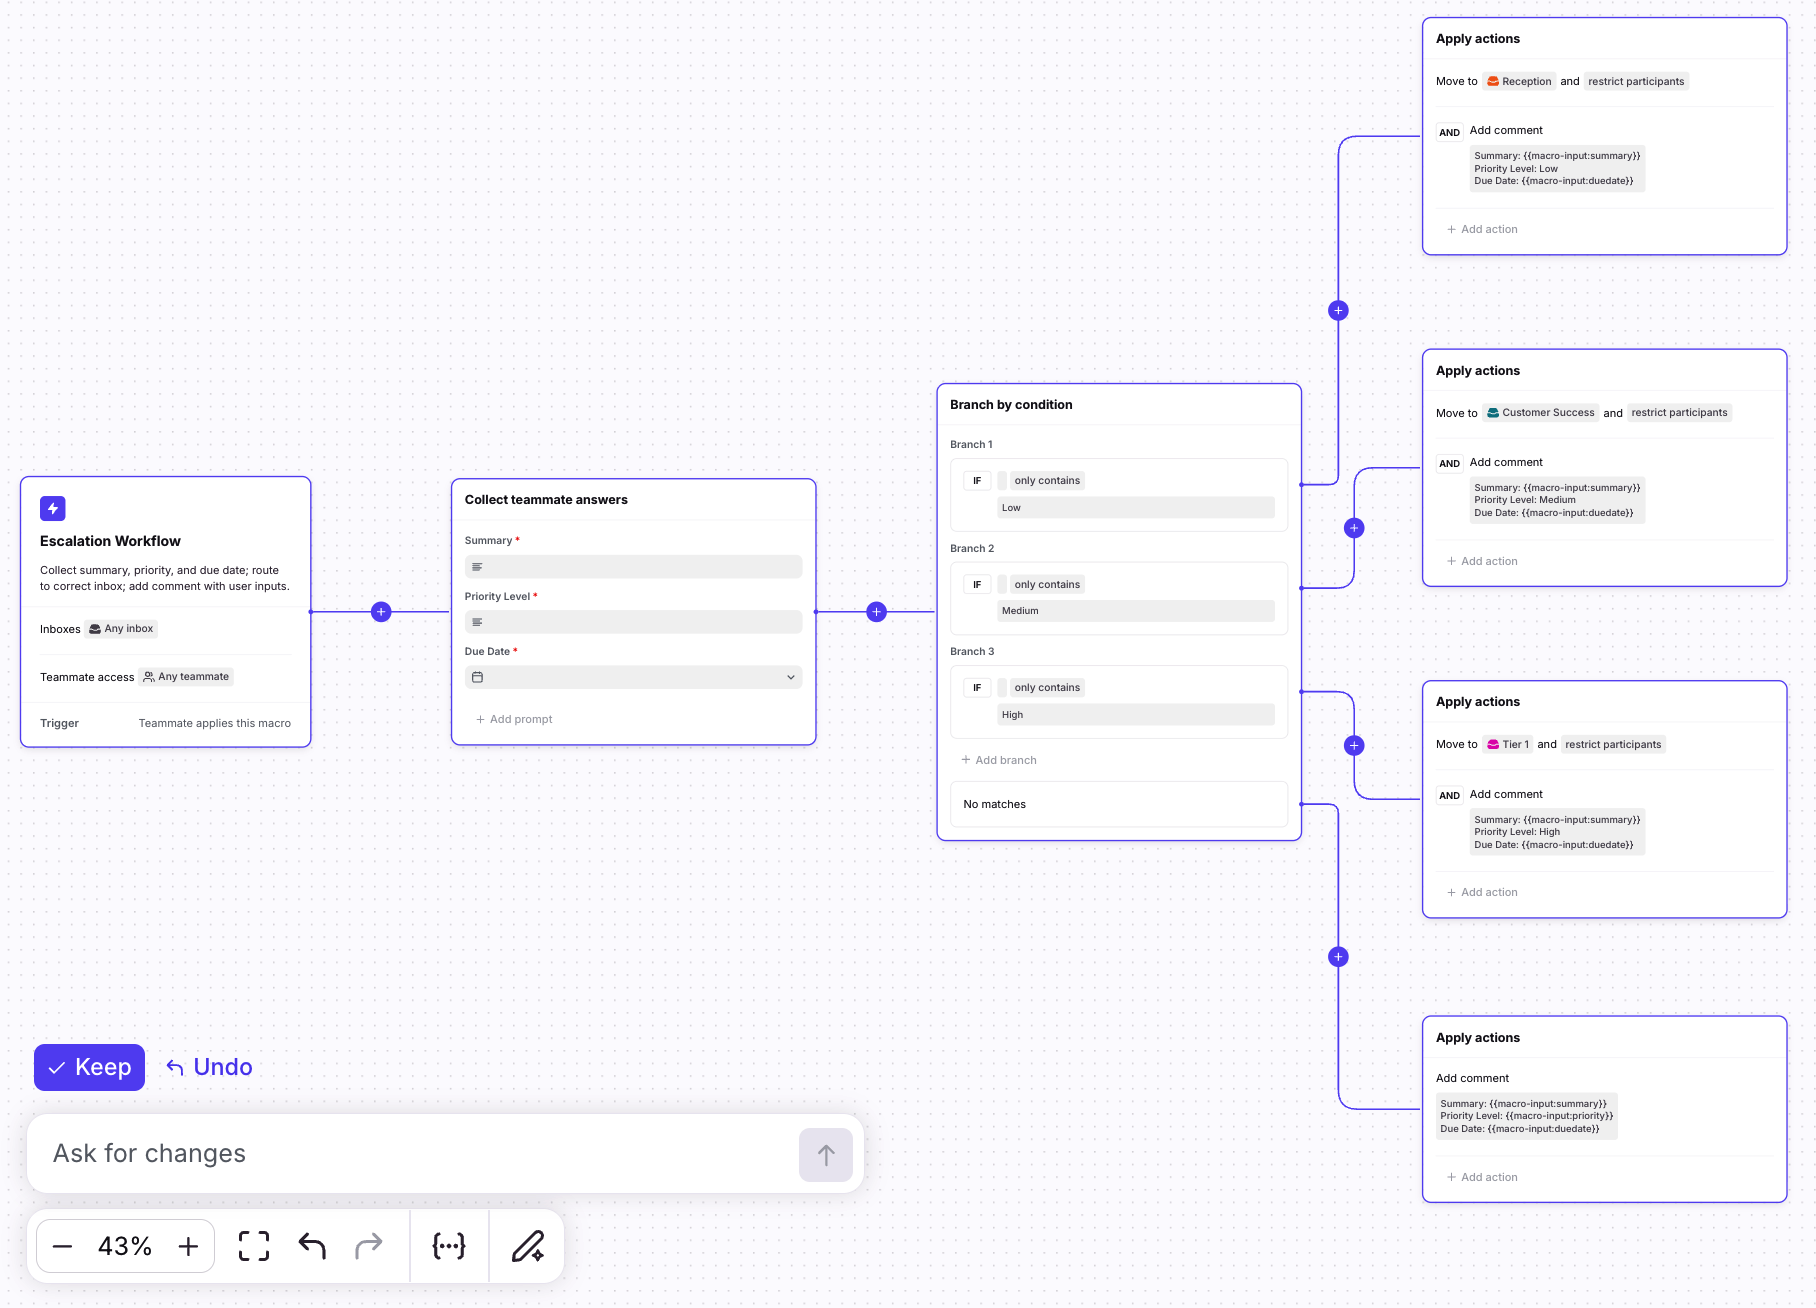
You’ll see a “Building” indicator in the text box, then the macro steps will automatically appear once AI is finished building.
From here, you can:
Click Keep to use the macro AI created, and manually edit where needed
Click Undo to go back a step
Use the text box to describe changes you’d like AI to make to the macro
Step 6
Click Create when finished.
Option 2: Build from scratch
Step 3
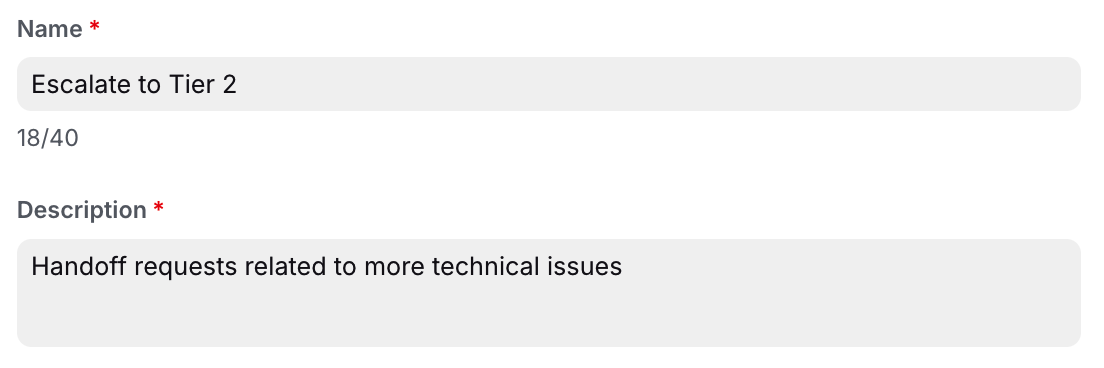
In the macro settings step, enter a name and description for your macro. Teammates will see these values when hovering over the macro button in conversations.
Step 4
In the macro settings step, enter a name and description for your macro. Teammates will see these values when hovering over the macro button in conversations.
Name: Enter the text displayed in the shortcut button.
Description: Explain when teammates should use this macro. This description will display in the tooltip for your teammates, and in the future will be used to help AI recommend macros for your conversations. Examples of helpful descriptions:
When customers request refunds due to pricing.
When customers ask to reset their username or password.
When customers request information on SOC II compliance.
When customers ask about receipts on orders placed.
When a customer requests a quote on a plugin integration.
In this example, we’ll create a macro named “Escalate to Tier 2” to escalate technical issues to another team.
Step 5
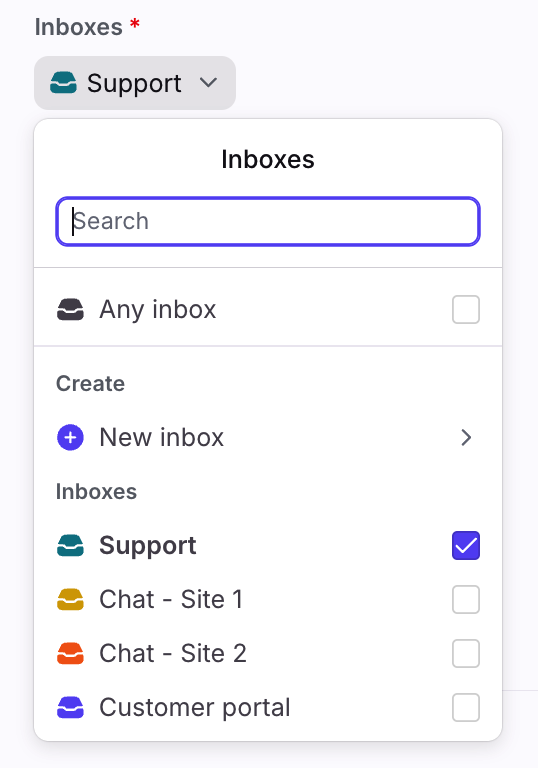
Workspace macros only: In the Inboxes field, select the inboxes that can access to the macro.
Step 6
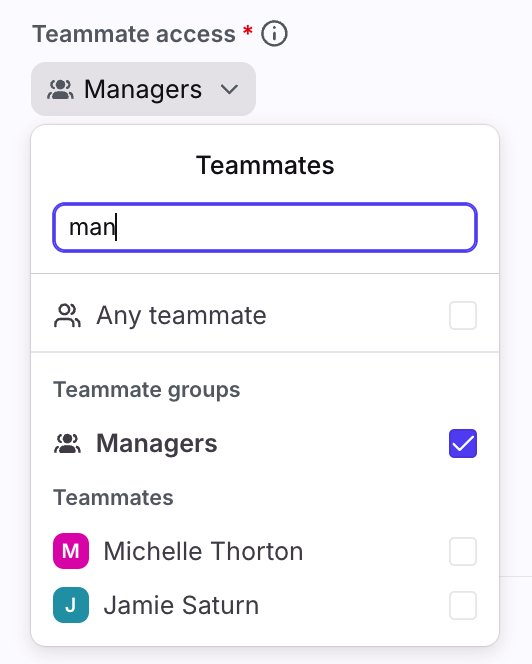
In the Teammate access field, select who can see and use this macro in conversations. Choose from all teammates, or a combination of teammate groups and teammates.
Click Done to save your settings.
Step 7
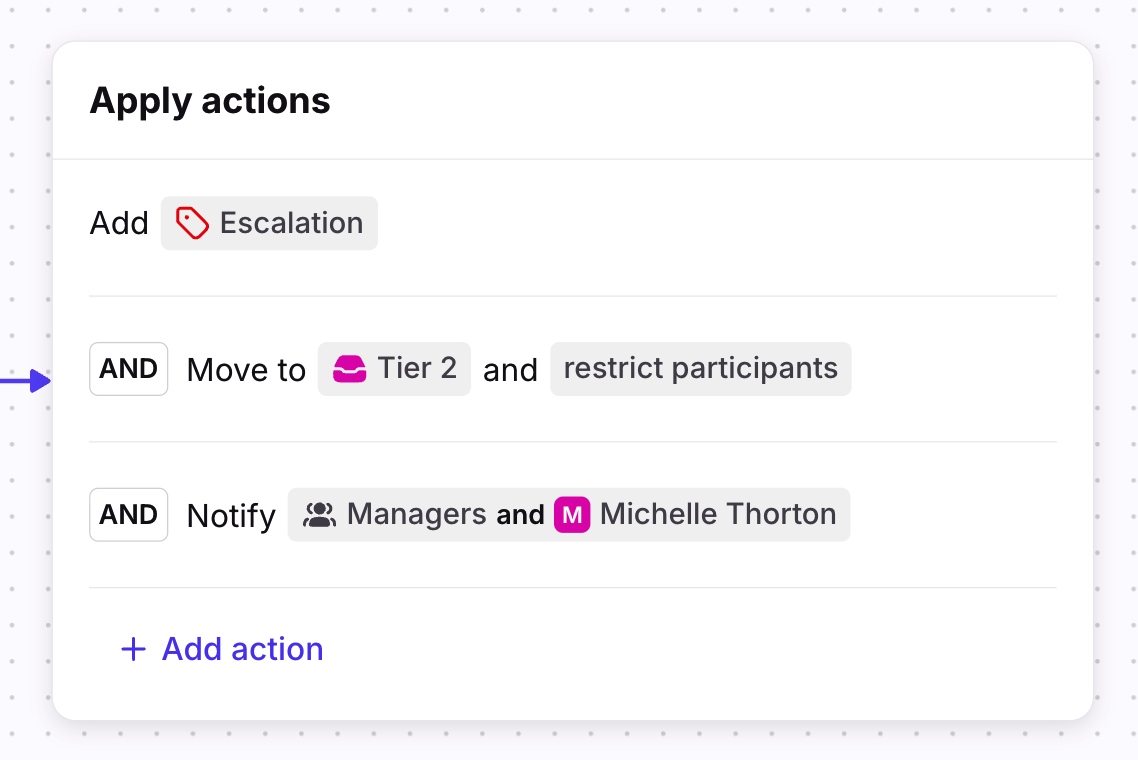
In the Apply actions step, click Add action to modify the actions the macro should take when it is triggered. See below for a list of supported actions.
In this example, we want the macro to take the following actions:
Action | Purpose |
Add the Escalation tag | Provide context to teammates and enable Analytics tracking |
Move the conversation to the Tier 2 inbox | Hand off the conversation to another team that works out of a different inbox |
Notify teammates in the Managers teammate group and a specialist | Ensure the appropriate teammates see the conversation to take action |
Step 8 (optional)
Use the (+) plus sign to add branches based on specific conditions. This allows your macro to dynamically react to the context of the conversation to perform the correct actions.
See this article for example macros you can build using branches.
See this article to learn how to require teammates to fill out a form, then use their answers to power your macro branches and actions.
See this article to learn how to create an application request and trigger it with a macro to take actions in third-party systems.

Step 9
Click Create. Teammates can now see and use the macro in their conversations.
Using macros
Step 1
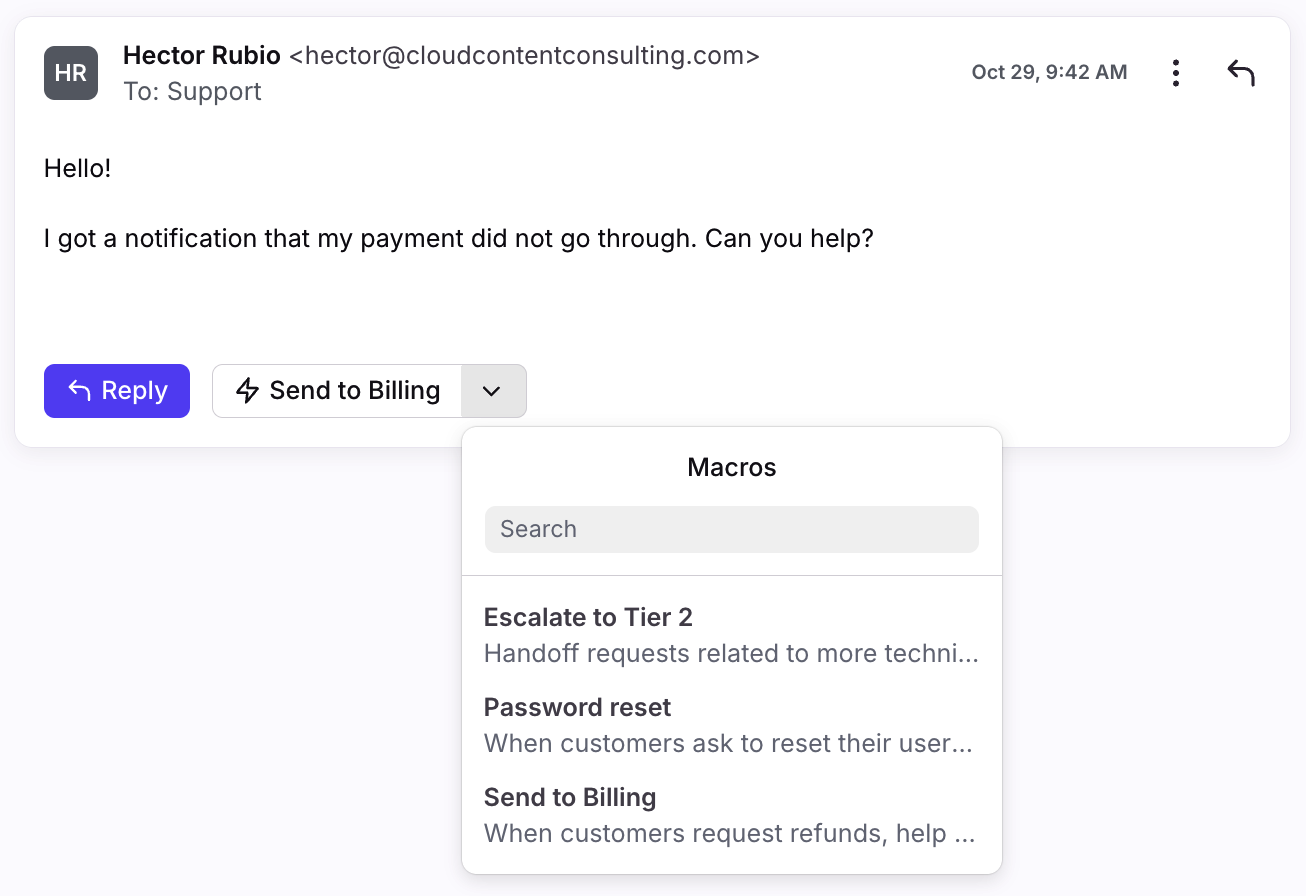
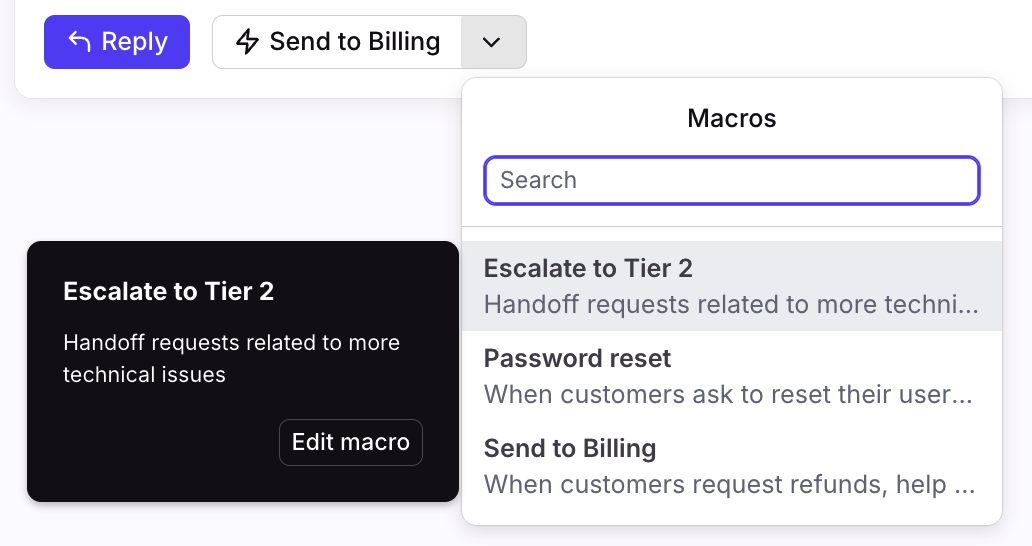
Navigate to the conversation you’d like to use a macro on. Macros are listed next to the Reply button or within the three-dot menu in the last message of a conversation.
Next to Reply button:

In the three-dot menu of a message:
Step 2
To find a specific macro, use the down arrow to view the list of available macros.
Step 3
You can hover over any macro to view the entire description.
Step 4
Once you’ve found the macro you’d like to use, select it to apply the actions to your conversation. Once all actions have completed, you’ll see a confirmation banner at the bottom of your screen.
Step 5
Teammates can see which macros were applied to a conversation in the conversation’s activity history.

FAQ
What actions can I create macros for?
Macros support the following actions.
Organization:
Add tags
Remove tags
Move to inbox
Message:
Forward
Reply using message template
Create draft
Comment:
Add comment
Status:
Update custom field value
Reopen conversation
Archive conversation
Update ticket status to
Teammates:
Assign to teammate
Unassign
Notify teammates
Account:
Notify based on account custom field
Third party:
Send app request
Add app objects
Create Jira issue
Create Jira comment
Add [third-party Connector]
Send to webhook
Which conditions can macros branch on?
Macros can branch on the following conditions:
Assignee is (list of teammates/teammate groups)
Conversation is unassigned
Conversation has specific tags (list of tags)
Conversation doesn't have specific tags (list of tags)
Conversation is in inboxes (list of inbox) - workspace macros only
Custom field value is
Custom contact field
Custom account field
Dynamic variable matches
App object field contains
Result of app request is
Do macros apply to individual inboxes?
Yes. Company macros can apply to both shared and individual inboxes.
Can I use dynamic variables with macros?
Yes. See this article to learn more.
Can I use application requests with macros?
Yes. See this article to learn more.
Can I undo macro actions?
No. All actions triggered by a macro cannot be undone or recalled.
How is the default macro selected?
Front will automatically recommend macros based on your team's past usage.
Macros that are most likely to be useful will appear higher in the dropdown list. Front will look at macros that have been used the most in the past 30 days for conversations with similar attributes (i.e., one or more tags, same inbox, or previously applied macros). All other macros will be ordered alphabetically below.
Can I use macros on the mobile app?
No. Macros are only supported in the desktop or web browser apps at this time.
Are there limitations when using the Build with AI feature?
The Build with AI feature:
Is automatically enabled and doesn’t require any other AI setting.
Does not support third-party integration actions at this time. Integration actions can still be configured manually.
Does not retain prompt history. It is not possible to access past prompts at this time.
What happens to my data? Which providers does Front use?
See this article for additional AI FAQs.
Pricing
This feature is available on the Professional plan or above. Company macros are available on the Enterprise plan.