
Understanding Front contacts
Overview
Front contacts allows your company to store and organize helpful customer information within Front, designed to provide a unified contact record that’s shared across the company, while also allowing users to preserve privacy around sensitive contacts. You can quickly see all conversations associated with a certain contact, make edits to a contact while viewing a conversation, and more.
Contact Manager
Front's Contact Manager is a full-screen directory where you’ll find both shared contacts and private contacts, and can search for auto-created contacts from conversations that haven't yet been set as shared contacts or private contacts.
Access the Contact Manager by selecting Contacts in the left navigation menu.
In addition to your Contact Manager, contact information can also be accessed via the Contact Details plugin in your inbox, which you can learn more about here.
Contact types
Shared contacts
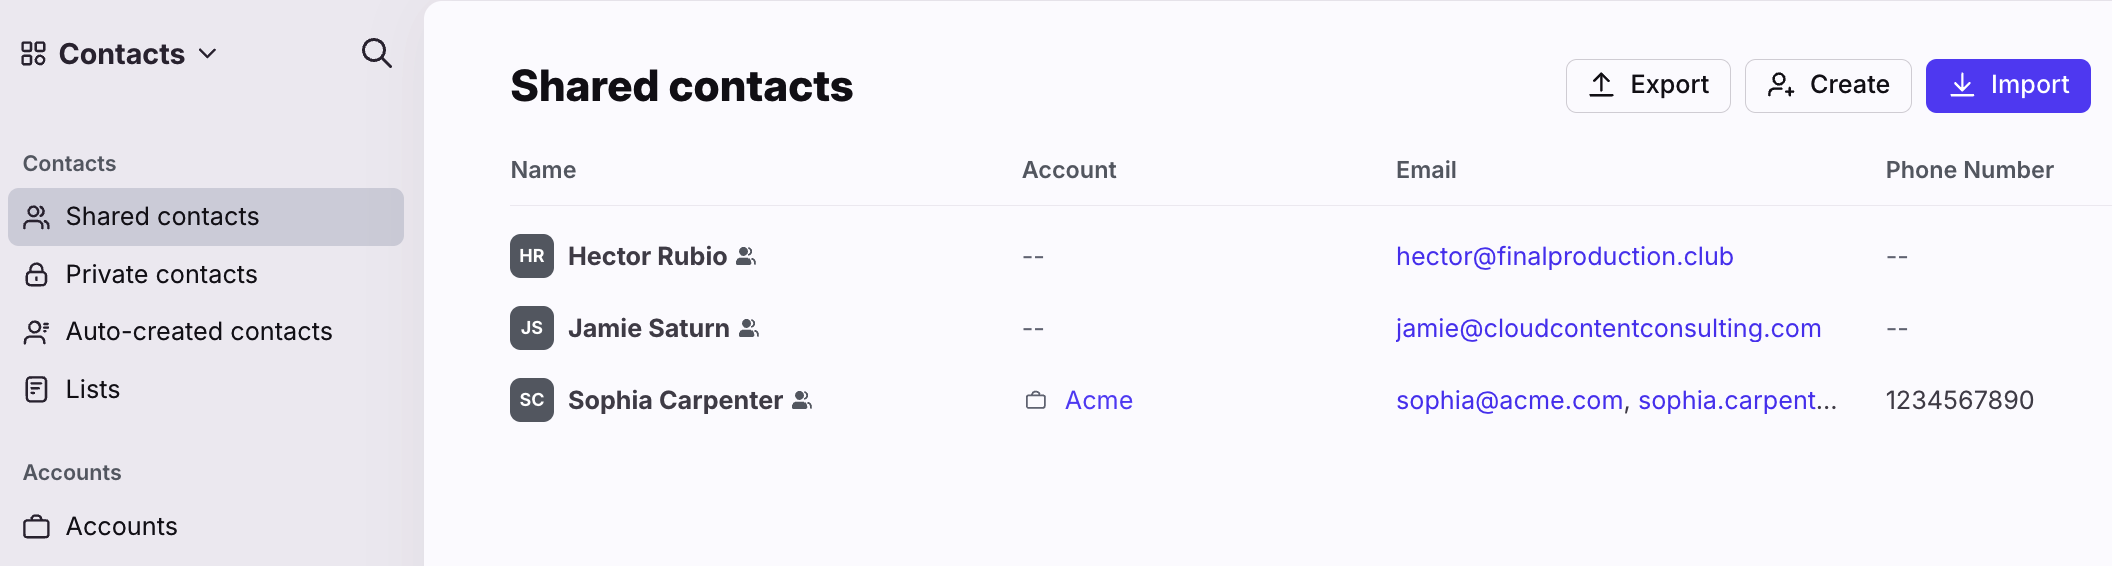
Shared contacts are contacts that are shared across your entire company. They’re useful to store your internal team directory, your list of customers, or other contacts that everyone should have access to.
To view them, click the Shared contacts section in the Contact Manager. When you create or edit contacts in the Shared contacts section, you will update the contacts for all teammates.
Private contacts
Click Private contacts to view and manage all of your private contacts. These contacts are only visible to you. Private contacts are helpful for storing contacts with sensitive information that shouldn't be shared with the rest of your company.

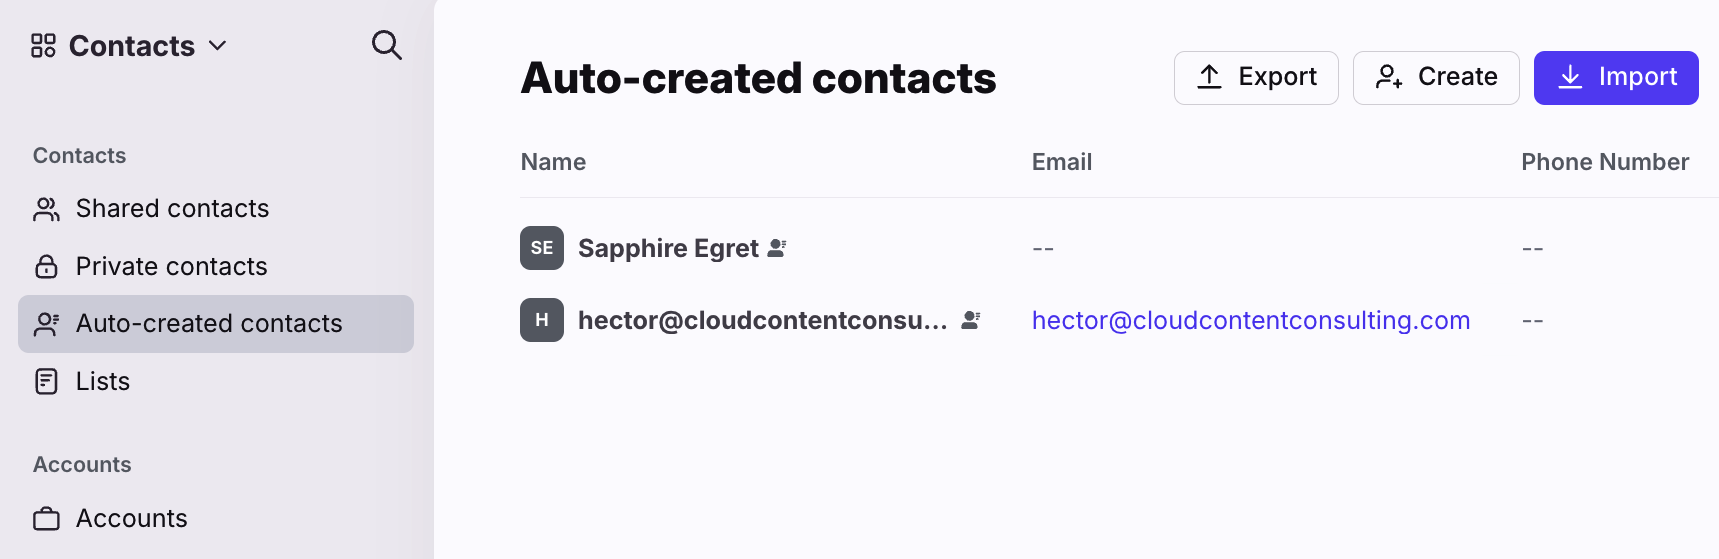
Auto-created contacts
When someone reaches out to your private inbox or a shared inbox in a workspace you have access to, their contact information will be added to the Auto-created contacts list automatically.
You can choose to automatically create contacts when you receive messages, send messages, both, or never.
The visibility of an auto-created contact is determined by the conversations it’s involved in. A given teammate has access to an auto-created contact if it is involved in communication in their private inbox or a shared inbox in a workspace they have access to.
You can set these auto-created contacts as shared contacts (to share them with all teammates) or private contacts (to manage contact information just for yourself).
Set as shared or private contact
By default, automatically-created contacts are only accessible to teammates or workspaces that have conversations with that contact. The Add to contacts button in the Contact Details plugin allows the user to change the visibility of the contact:
Add to shared contacts will add this contact to the shared contacts list in the Contacts Manager, and cause the contact to be shared with all teammates in the company.
Add to private contacts will create a separate private copy of this contact and add to the teammate's private contacts list in their Contacts Manager. This generates a new private contact copy that will only be visible to the teammate that created it.

Contact lists
To organize your contacts, you can create contact lists that are shared with your entire company, a specific workspace, or private to you. For more information on creating and using contact lists, check out this article.
Accounts
Accounts within Front represent the companies or organizations that your team works with. Each account contains contacts, which are typically the individual people that your team communicates with from that account. To learn more, see Understanding Front accounts.
Unique fields
Front uses the email address or phone number field as a contact's unique identifier. Each contact must have a unique email address or phone number. An email address or phone number cannot be associated with multiple contact records.
For example, the email address scarpenter@acme.com cannot be saved for both Sophia Carpenter and Sean Carpenter.
Add contacts
There are several ways to add contacts to Front, each described below.
Manually create a contact
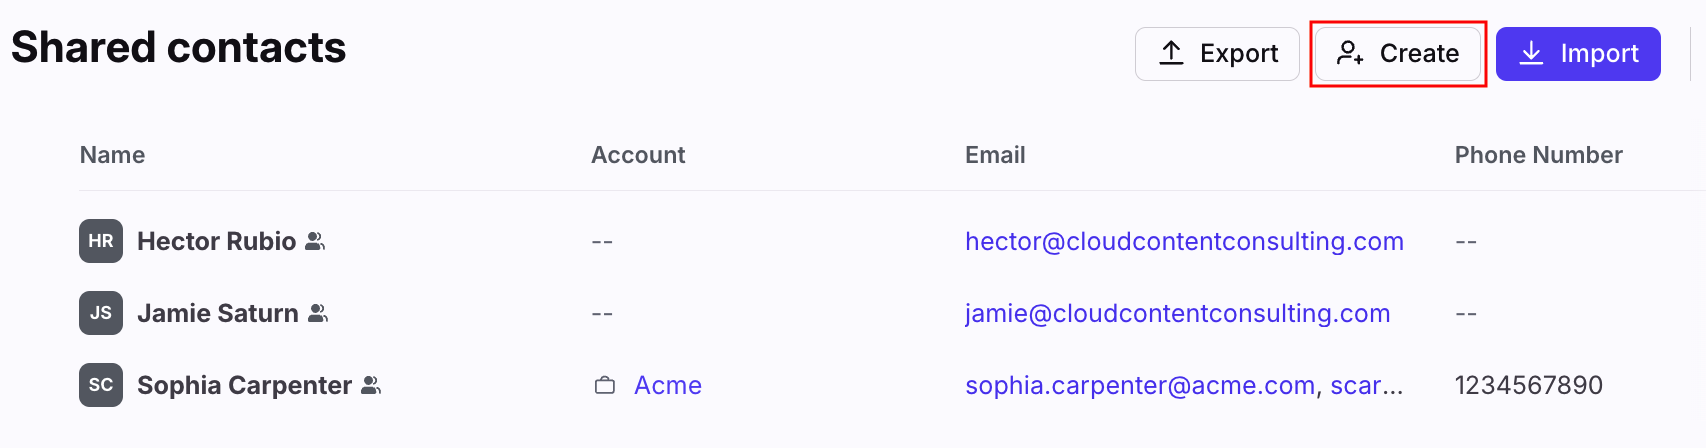
Step 1
Open your Contact Manager, then click the Create button at the top.
Step 2
Fill out the information for your contact:
Set their Access as Shared or Private.
Click the (+) plus icon next to any field in the Contact Information section to add an additional email address, phone number, or X (previously Twitter) handle.
Click Show more to display any custom contact fields you've created.

Step 3
Click Create to add your new contact.
Import contacts
To quickly add multiple contacts in bulk, Front’s Contact Manager allows you to import a list of contacts, in the form of a CSV file. To import contacts, follow the steps outlined in this article.
CRM sync
Front’s CRM contacts sync features allow you to automatically sync contacts from your CRM into Front. We support the following CRMs:
Automatic contact creation
Based on your settings, Front can automatically create contacts for you. To learn more, check out this article.
Contact API
Using our Contact API, you can automatically manage your contacts in Front.
View contact details

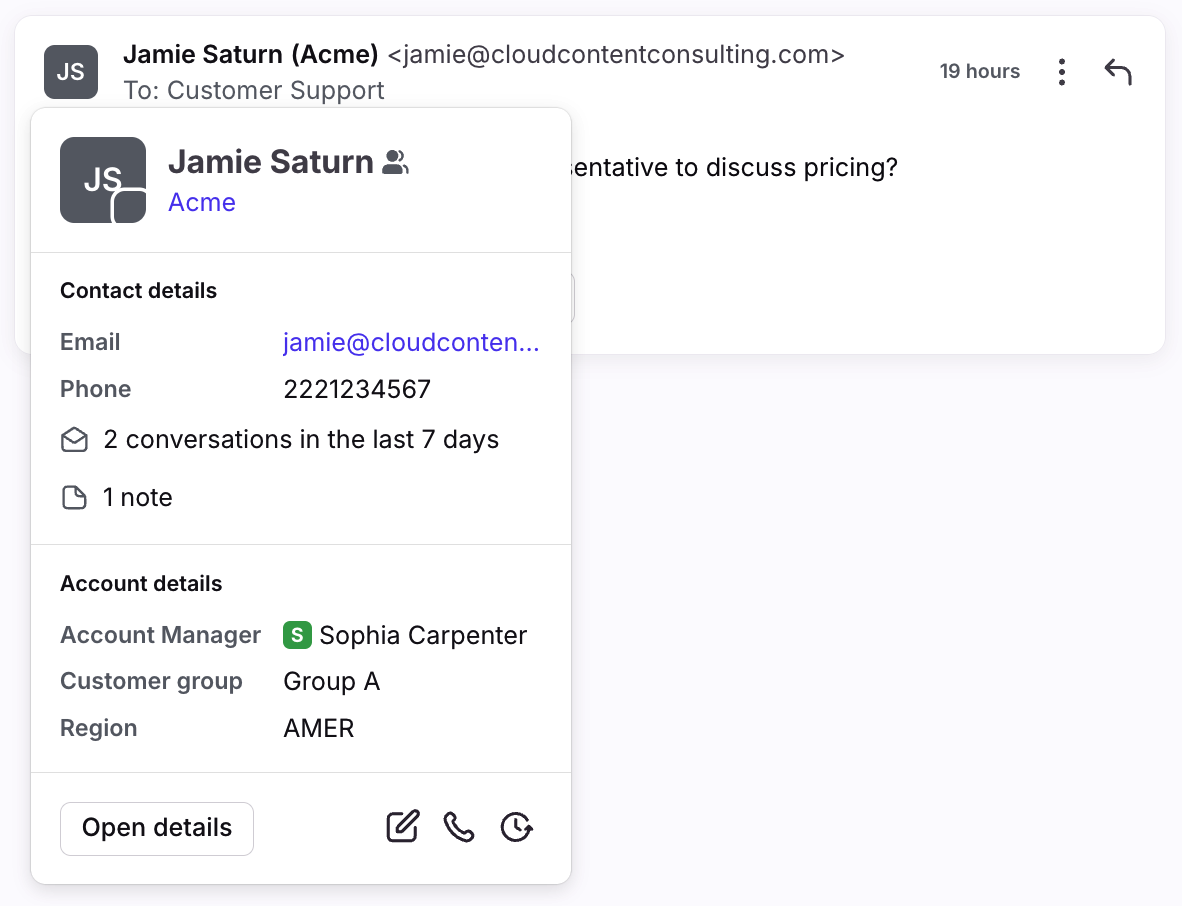
You can view contact details by clicking on any contact in the Contact Manager, or on any conversation in Front and opening the Contact Details panel on the far right. This panel contains all the saved information for this contact in Front including their contact fields, the conversations you've had with them, and any notes you've written. Click here to learn more about Contact Details.
You can also click on a contact's name in a message in your inbox to view basic contact information.
Edit contacts
From the Contact Manager
Go to your Contact Manager and choose the contact you want to edit. In the header of their Contact Details, you can hover over the contacts name, account, or avatar to edit, and can add or remove them from any contact lists.
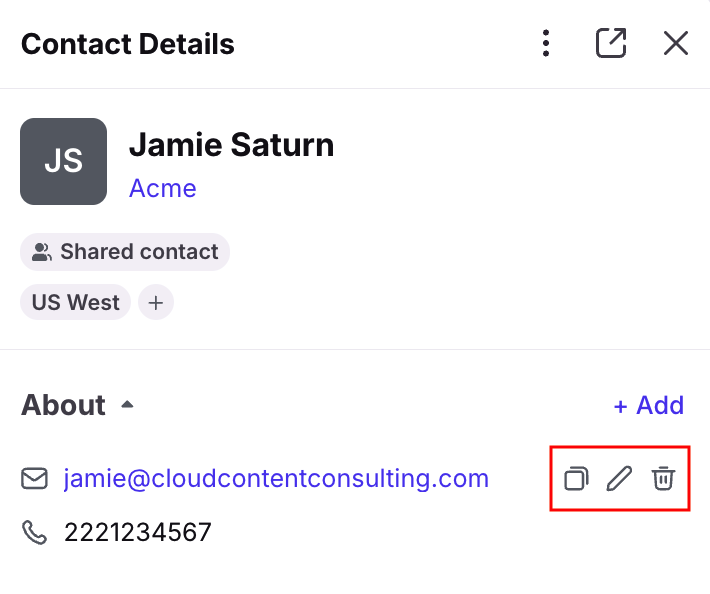
Hover over any field in the About section to edit, delete, or copy.
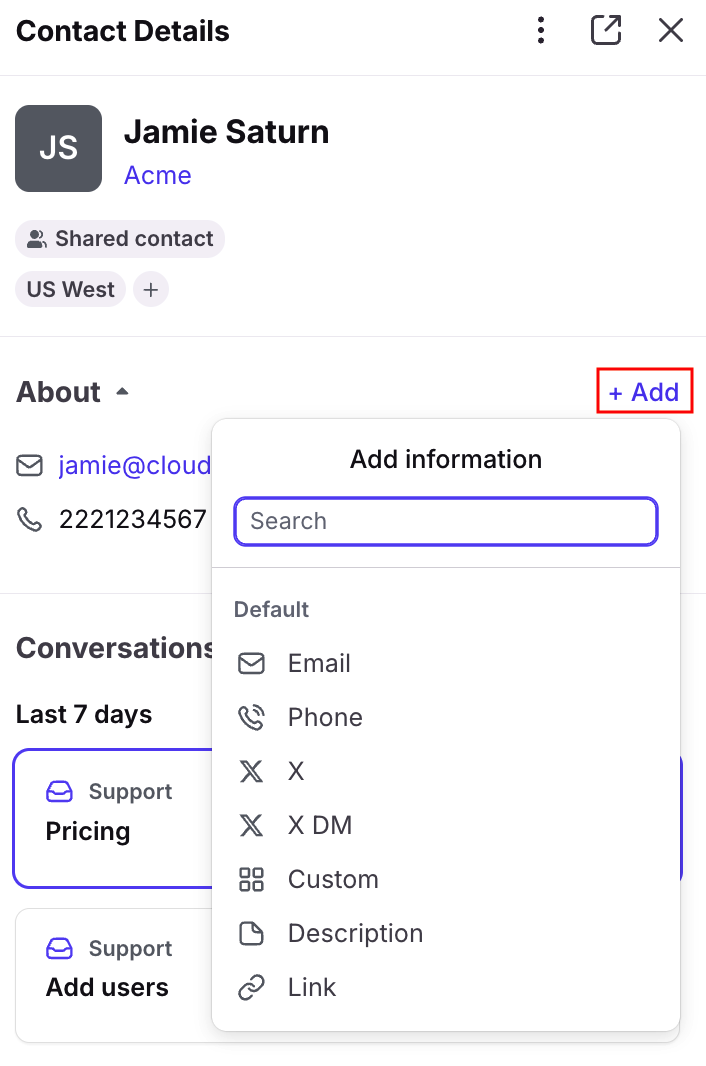
Click Add at the top of the About section to add an additional information, and choose from the list of default and custom fields. If you are a company admin, you can also create a new custom field from this menu by clicking Add next to Custom.
Changes are saved automatically.
From a conversation
Click on a conversation and open the Contact Details plugin on the right.
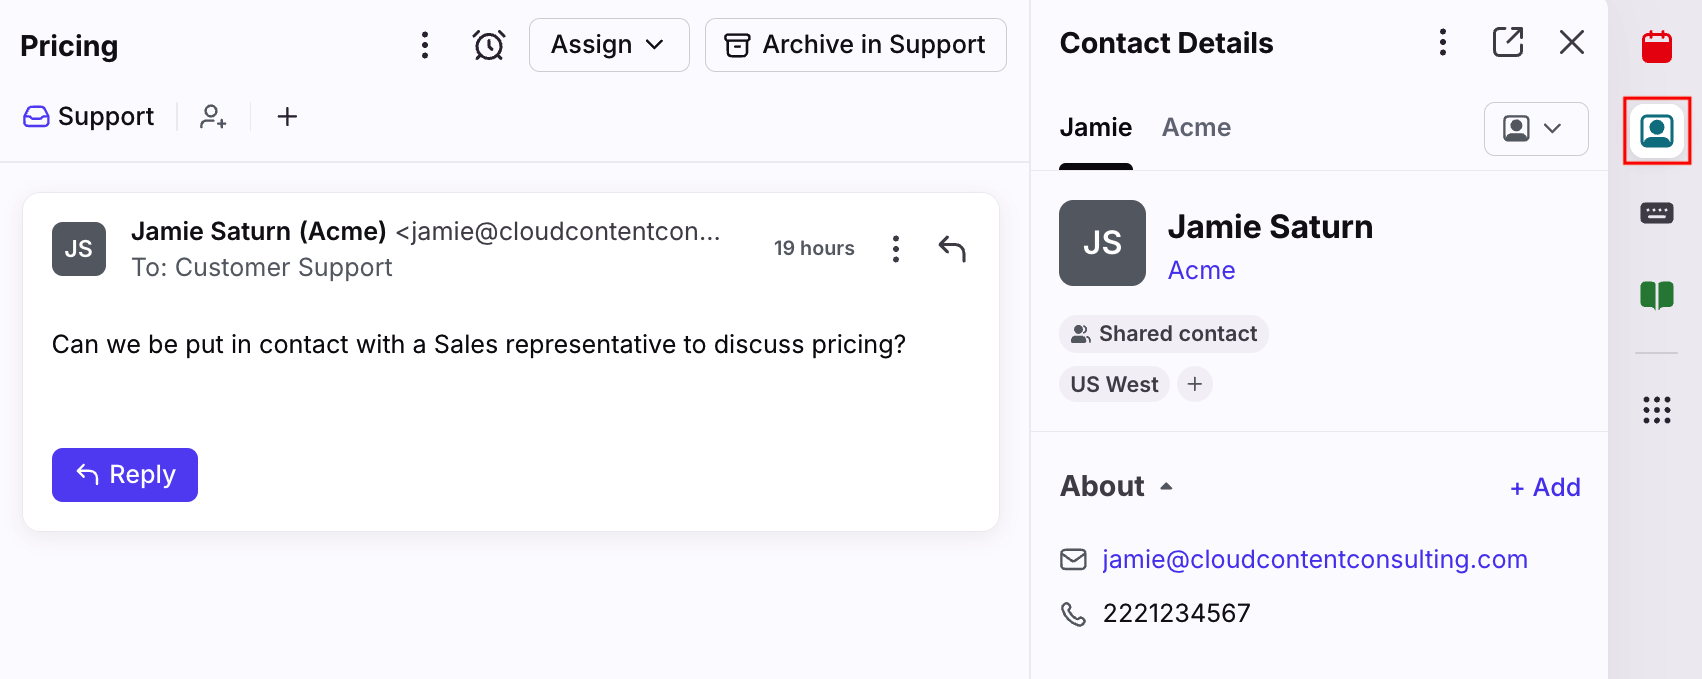
Hover on or click the item you want to edit, such as on the profile photo or the contact name, and you will see a pencil icon to edit the field.
Edit contact photos
There are three different ways that contact photos are added to Front contacts:
Manually edit the contact: follow the edit steps above to edit the photo
Automatically-created contact images: Front will attempt to fetch an external sender’s avatar if it is available
Teammates adding their own contact images: teammates can upload their own avatars in their Front settings, and the image will be visible to the rest of the team
Convert private contact to shared contact
Convert a private contact to a shared contact if you'd like your full team to have access to the contact. This can be done from your Contact Manager, or via the Contact Details plugin in your inbox.
Step 1
Open a private contact in the Contact Manager, or open a conversation with the private contact in your inbox, and select the Contact Details plugin.
Step 2
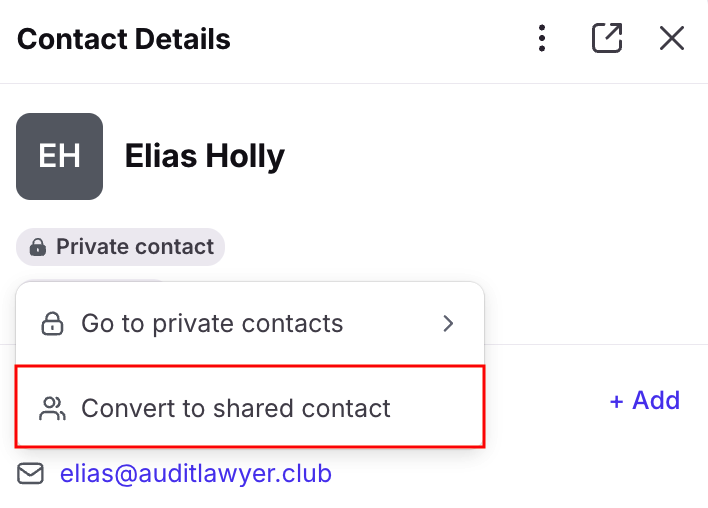
Click Private contact under the contact's name, and then select Convert to shared contact.
Bulk actions
Take action on multiple contacts at once by hovering over a contact and selecting the checkbox that appears to the left of the contact name. You’ll then be able to select that contact, plus any other contacts you’d like to take action on.
You can take the following bulk actions:
Message: Send a new message to the selected contacts
Add to lists: Add or remove the selected contacts from contact lists
Merge: Merge the selected contacts into one contact
Delete: Permanently delete the selected contacts

Merge contacts
Front allows you to merge multiple contact records. Merge contacts to reduce duplicates, and to consolidate conversation histories into a single contact record. For instructions on merging contacts, check out this article.
Delete contacts
To delete contacts individually, or in bulk, follow the steps here.
Manage contact access
Use the Contacts access tab in teammate groups to manage access to shared contacts based on group membership. See this article to learn more.