Contact custom fields
Overview
Front allows you to add more details to your contacts, such as job title or NPS score. Custom fields must be created manually, and can be updated via our API or through third-party contact integrations. You can also use the rules to scan for your contact custom fields to automate actions. Once custom fields are created, they will be available for use as custom variables in message templates and signatures.
You must be a company admin to create new contact custom fields.
Instructions
Step 1
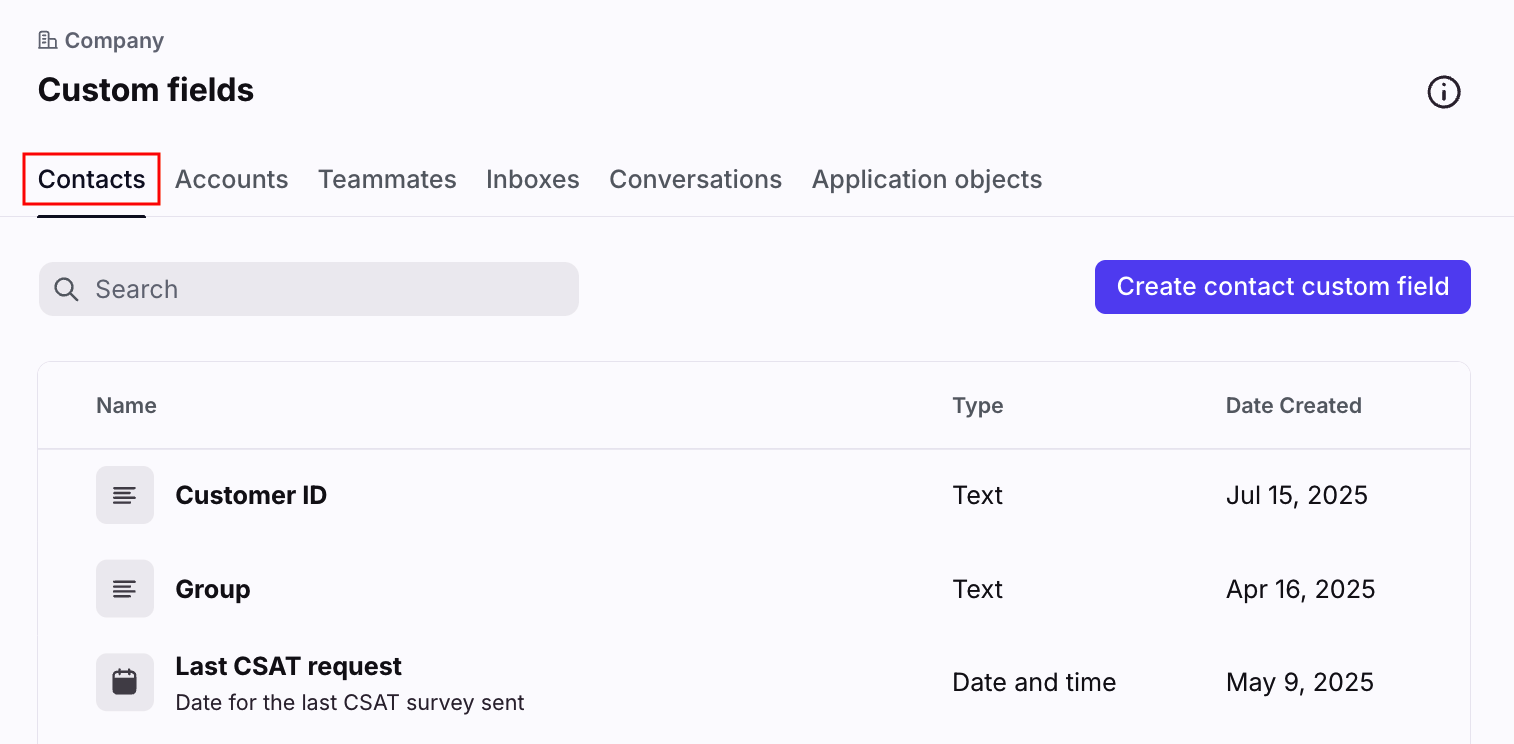
Click the gear icon, navigate to company settings, then select Custom fields from the left sidebar menu.
Step 2
In the Contacts tab, select Create contact custom field.
Step 3
Enter a Name and Description for your custom field, then select a data Type. See below for default contact fields or this article to learn more about custom field data types.
Step 4
Click Create.
Default contact fields
The following fields are created by default and are ready to use:
Contact field | Description | Type |
Name | The contact's name | Text |
The contact's email address | Text | |
Phone number | The contact's phone number | Text |
The contact's Twitter handle | Text | |
Twitter DM | The contact's Twitter handle for direct messages | Text |
Custom channel | The contact's custom channel handle | Text |
Description | A short blurb about the contact | Text |
Link | A web address | Text |
Import custom field data
Check out this article to learn how to upload contact custom fields via CSV file.
How it works
View custom fields in Contact Manager
Any contact custom fields you've created will show as columns in your Contact Manager.
Add custom field to a new contact
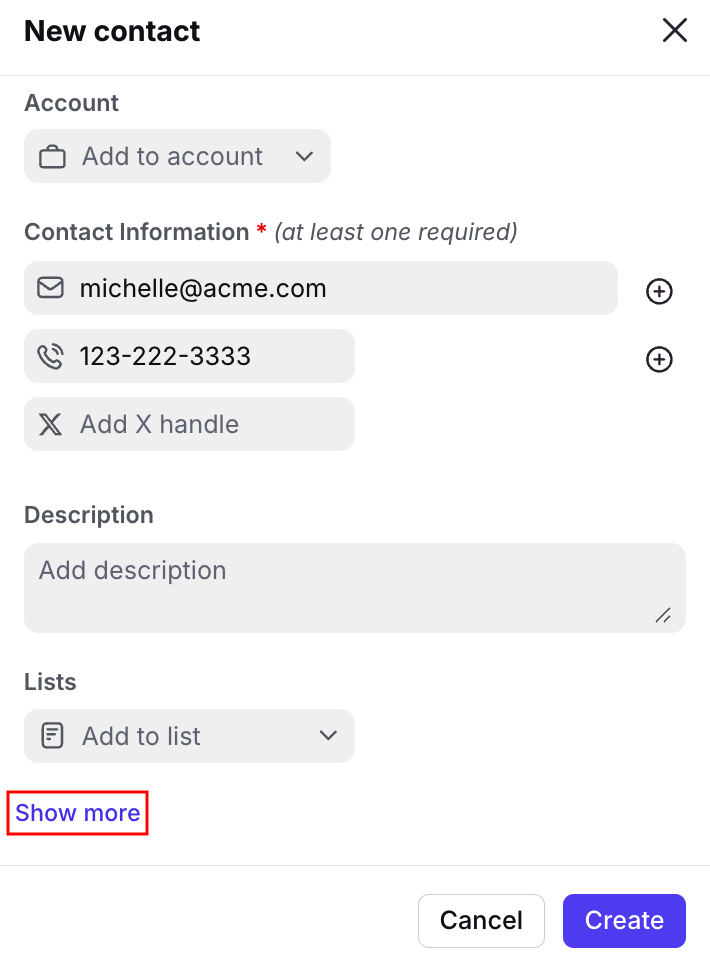
When creating a new contact, click Show more to display your contact custom fields.
Add custom field to an existing contact
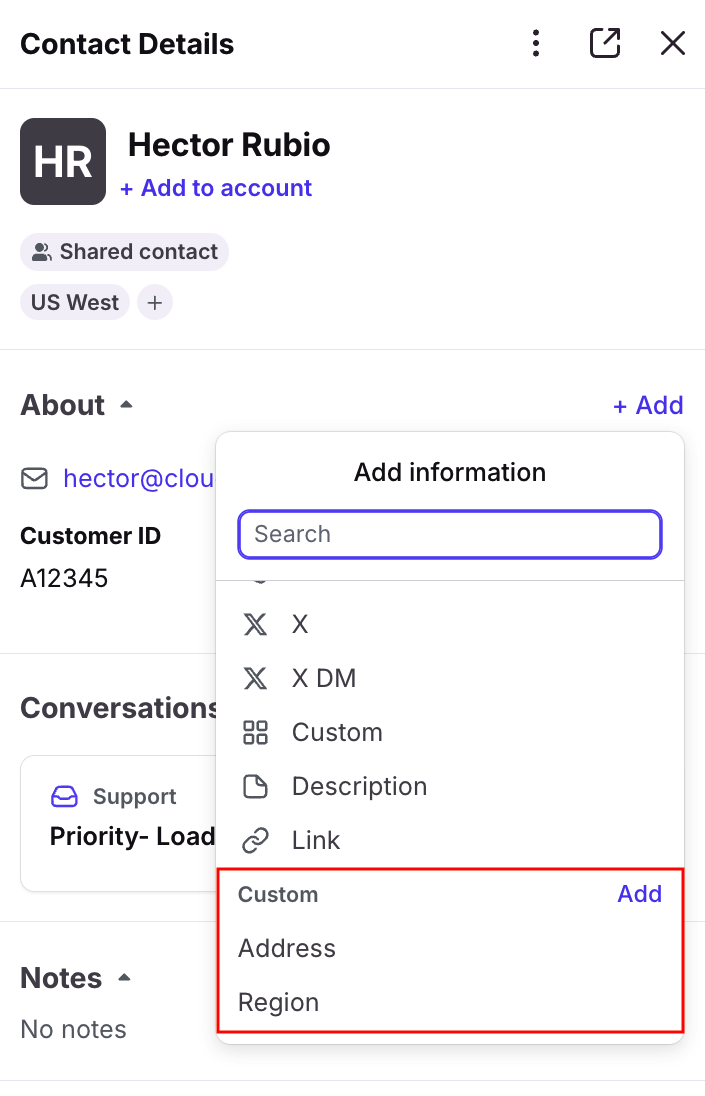
When editing a contact, click Add at the top of the About section to see the list of the custom fields you've created.


