How to set up a Dialpad inbox in Front [legacy]
⚠️ A new and enhanced version of this integration is available! See this article to learn more. If you’re using this legacy integration, we recommend migrating to the new integration as soon as possible. We will no longer support the legacy integration on October 31, 2025.
Overview
Dialpad is a cloud-based phone system and call center software solution that allows you to log call activity and listen to call and voicemail recordings directly from Front.
Create a Front conversation as soon as a call is connected
Access AI transcripts, voicemails, and recordings
Monitor missed calls, track call history, and ensure calls get tagged and routed appropriately to ensure successful resolution
To get even more out of Dialpad, use our in-app phone integration and connect a Dialpad SMS channel to send and receive text messages. See the articles below to learn how:
Set up instructions
⚠️ Setting a Dialpad Channel requires Company Admin permissions in Dialpad ⚠️
Step 1
Click the gear icon on the top right of Front, then select company or workspace settings in the left sidebar.
Step 2
Click Inboxes in the left menu and create a new shared inbox or individual inbox.
Step 3
Click Channels in the left menu, then click the Connect a channel button.
Step 4
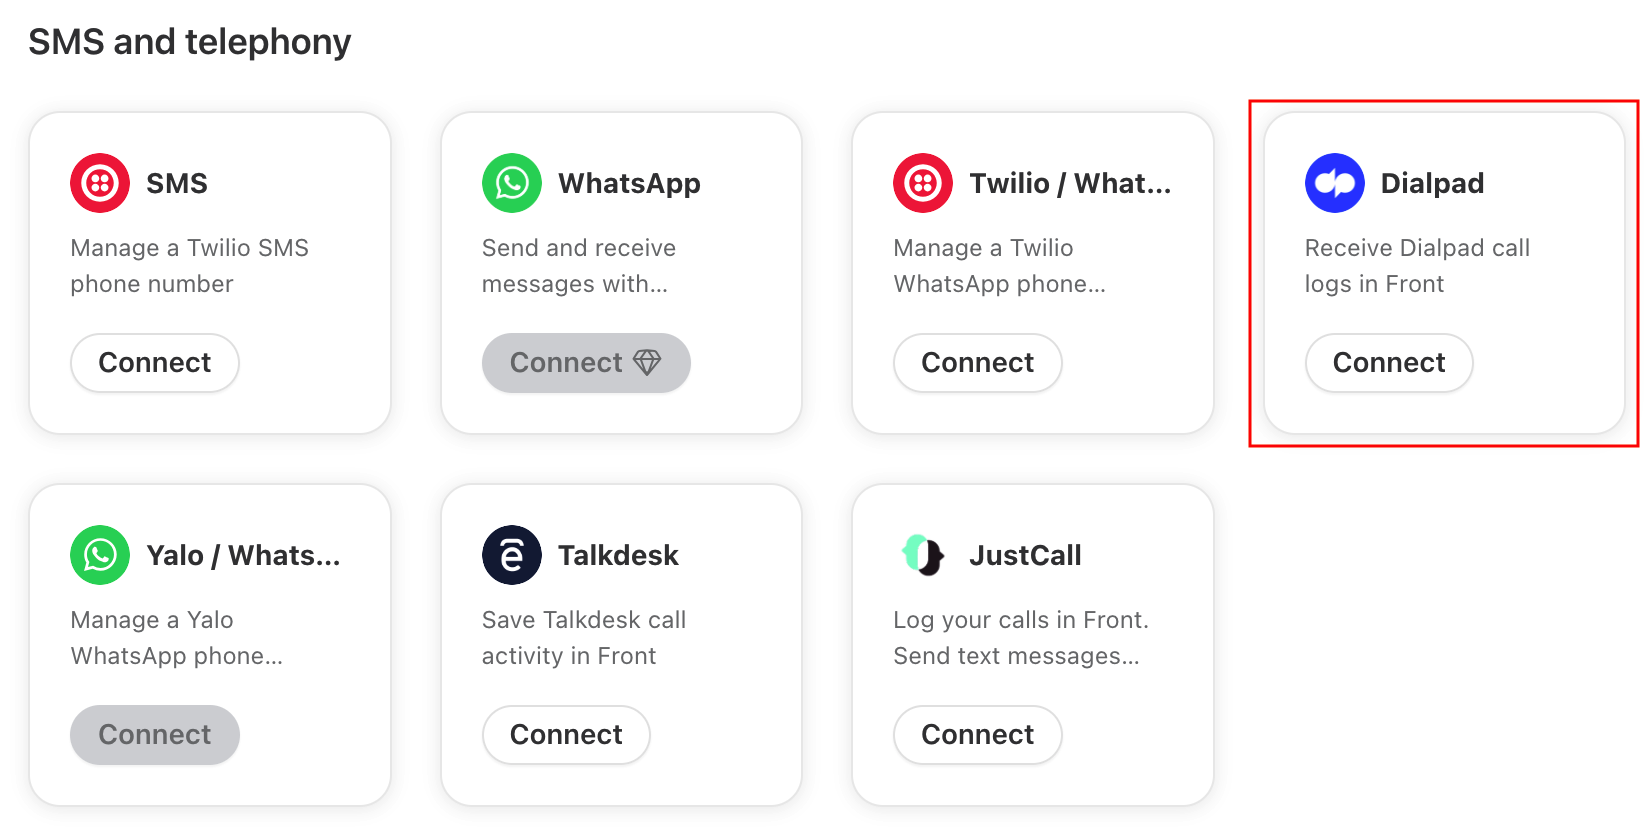
Under SMS and telephony, choose Dialpad from the channel menu and click Connect.
Step 5
Click the blue Connect to Dialpad button. A window will appear that will guide you through the embedded sign-in process.
Step 6
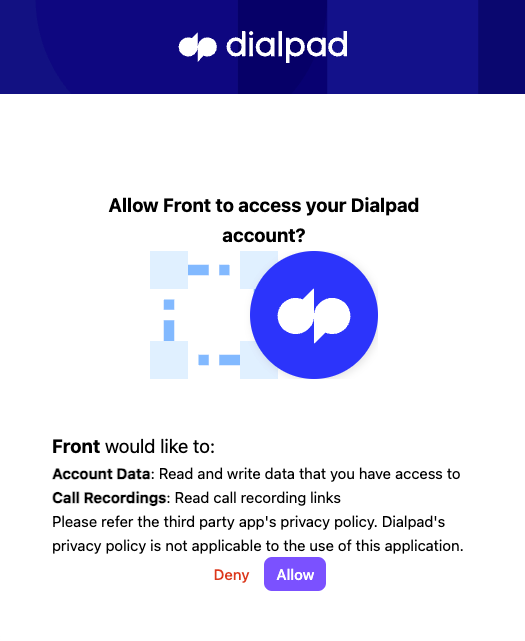
Click the Allow button to allow Front to access your Dialpad account.
Step 7
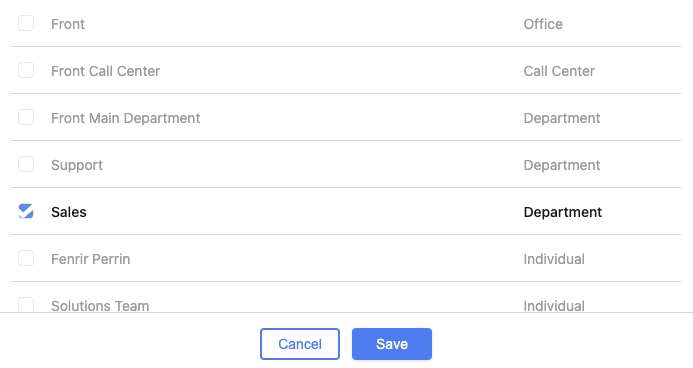
Select the Dialpad lines that you want to connect to this inbox. Selecting a single line will log all call activity to the inbox of your choosing. Choosing multiple lines will route all call activity for each line to a single inbox.
Click Save.
Step 8
Choose the inbox that conversations will route to and click Save.
Step 9
To get the most out of Dialpad, click the Enable plugin button to add the Dialpad phone integration. This integration will allow you to make and receive calls directly in Front. See this article to learn more.
How it works
For each Dialpad call, Front will create a conversation with information about which individuals were involved, how long the call was, as well as Dialpad AI transcripts, when available. Replying to these conversations will be disabled as they are call logs.
Call activity
You will receive messages in Front for the following Dialpad activities:
Inbound calls
Missed call
Outbound calls
Transferred calls
Abandoned calls
The following information will be available for each call:
Who made the call, who answered the call, and who the call was transferred to
How long each leg of the call was
The following information, when it is available
CSAT and PCSAT scores
Dispositions
Call recording links
Voicemail recordings and transcripts
AI transcripts
Contacts
The inbound caller will be mapped to the appropriate Front contact, as long as the number being used to make the call matches a number stored in your Contacts. Front can successfully match to contacts in the Contact Manager or synced from a CRM plugin (Salesforce, HubSpot, Zoho, etc).
Note: The format of the numbers must match exactly, including parentheses, spaces, and the leading country code.
Contact syncing
If a contact already exists in Front with a matching phone number, then the message will display their name as the sender. If the contact does not already exist in Front, a new contact will be created for that phone number. Contact information like first and last names will not sync from Dialpad to Front.
Conversation assignment
Incoming calls are automatically assigned to the Front user who answered the call. Outbound calls are automatically assigned to the Front user who made the call. If you’d like to change this, you can create rules to unassign conversations, automatically.
Enabling AI Transcripts
To log AI transcripts to Front:
Ensure Dialpad’s AI feature is enabled in the Dialpad admin and user settings.
To log the transcript to Front, the call must be recorded. Calls can be recorded manually while on the call, or admins can enable automatic call recording in Dialpad.
Pricing
This feature is available on the latest Professional plan or above. Some legacy plans may also have access to this feature.


