
Teammate groups
⚠️ This article references the legacy permissions system. Front companies using the new permissions system can view the instructions here.
Overview
Teammate groups allow you to create centralized lists of users that can be used in rules, manage inbox access, or manage shared contacts access. Many rules and inboxes reference a list of teammates, for example, notifying everyone in a particular time zone, or granting inbox or contact access to a specific group of teammates.
Keeping these lists accurate and up to date can be tedious and error-prone as you create new rules/inboxes or as teammates come and go. Teammate groups make the process cleaner and quicker.
Create or edit teammate groups
All company admins can create, edit, or delete teammate groups. This ability can be delegated to other users.
Step 1
Click the gear icon, then navigate to company settings.
Step 2
Click Teammate groups in the left menu.
Step 3
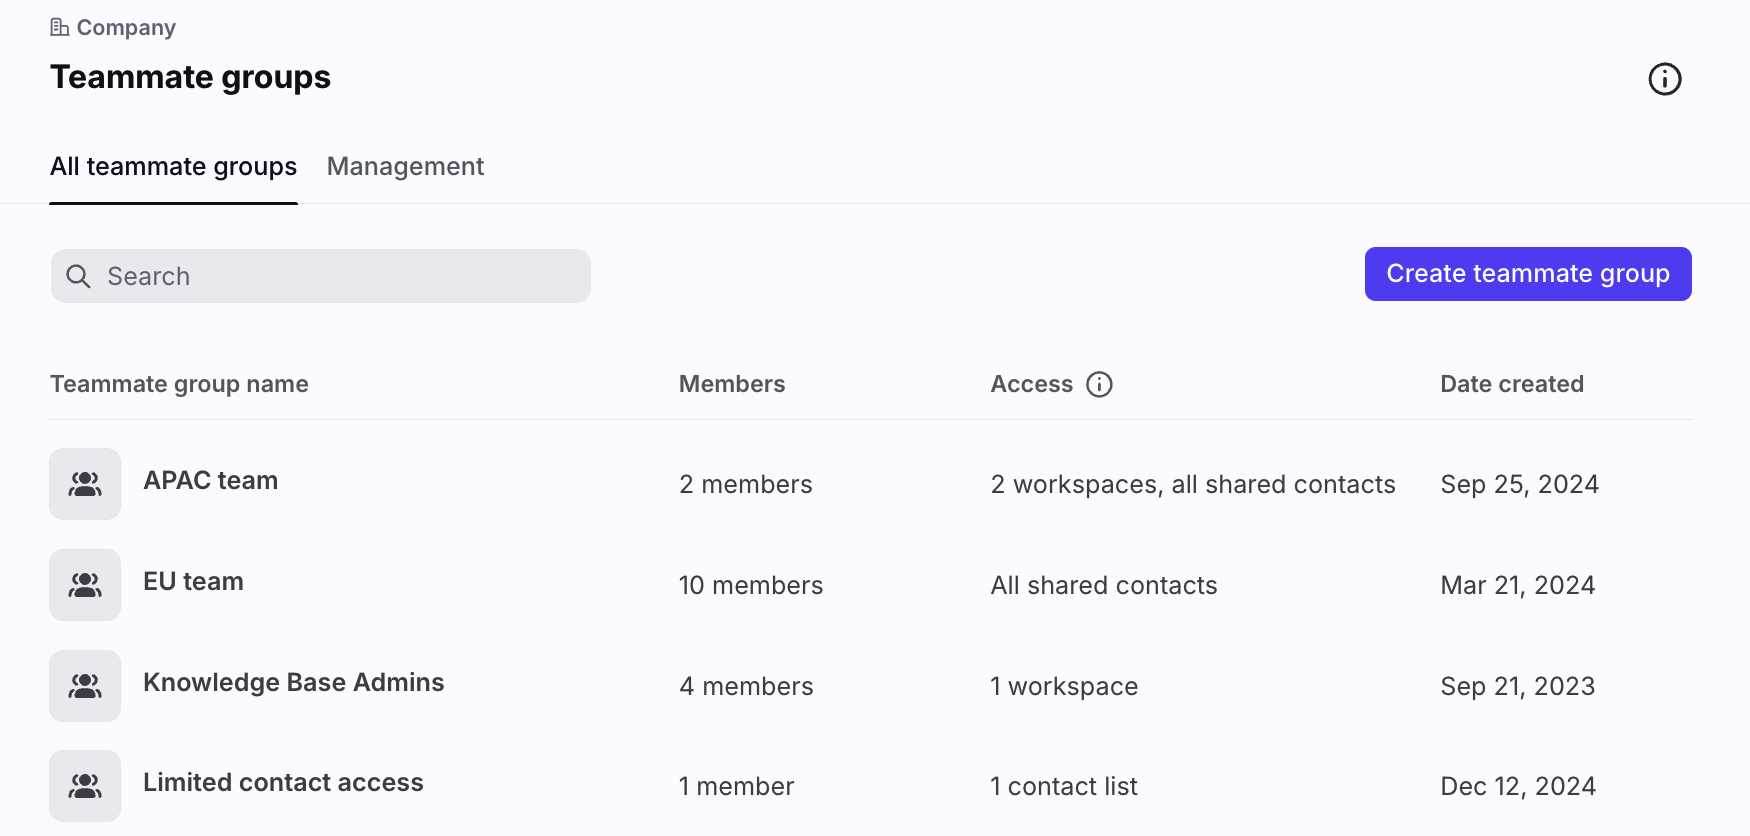
Click Create teammate group, or select an existing group you want to edit.
Step 4
In the Members tab, fill out the fields:
Name: The name of the group.
Description (optional): A description of the group.
Teammate group members: Select the list of teammates that will be part of this group.

Step 5 (optional)
Set up any optional inbox, contact access, or editing permissions for this teammate group.
Access and permissions tab: Select the workspaces and inboxes this teammate group should have access to. See this article for more details.
Contacts access tab: Select the level of access this teammate group should have for your company's contacts. See this section below for more details.
Management tab: Select the teammates or teammate groups who can edit or delete this teammate group. See this section below for more details.
Step 6
Click Create when finished. Click Save if you’re editing an existing one.
Import teammate group members
Group members can be added in bulk via CSV import. Many employee directories, such as Microsoft Entra ID, Okta, and Google Workspace, allow you to export users/user groups to CSV, which can be used to populate your teammate groups in Front.
File formatting
Column headings and naming conventions are critical for a successful import. The file must only contain one column described below:
Column heading | Teammate field | Example value |
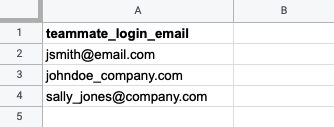
teammate_login_email | Login email of the user | teammate@acme.com |
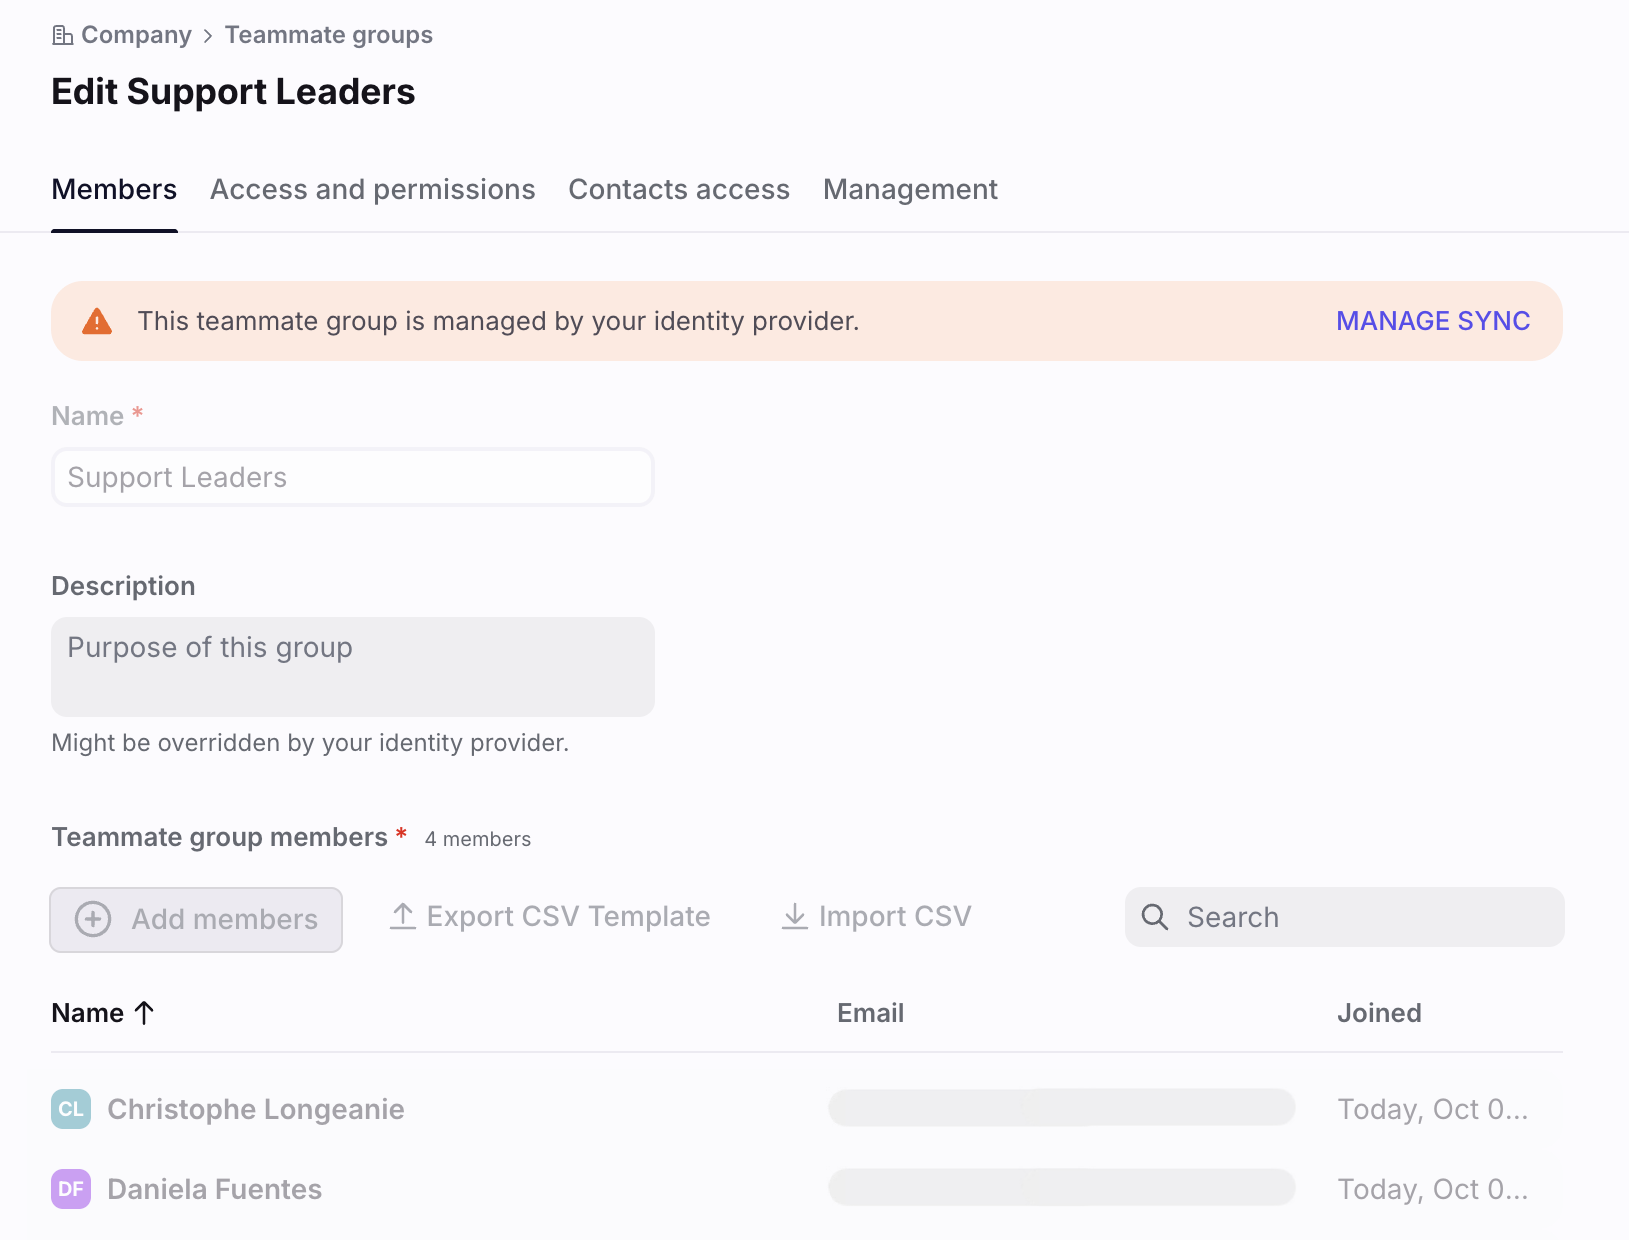
You can download a template file with this format by clicking Export CSV Template in your teammate group.
Example CSV file:
Important to know
You can upload up to 1000 rows in a single upload.
If the email does not correspond to an existing user, then they will be skipped. The remaining users will still be imported successfully.
Pending teammates (those who have been invited to Front, but have not yet logged in) can be imported to the teammate group.
If the teammate is already a member of the teammate group, then they will be skipped without error. The remaining users will still be imported successfully.
Import instructions
Step 1
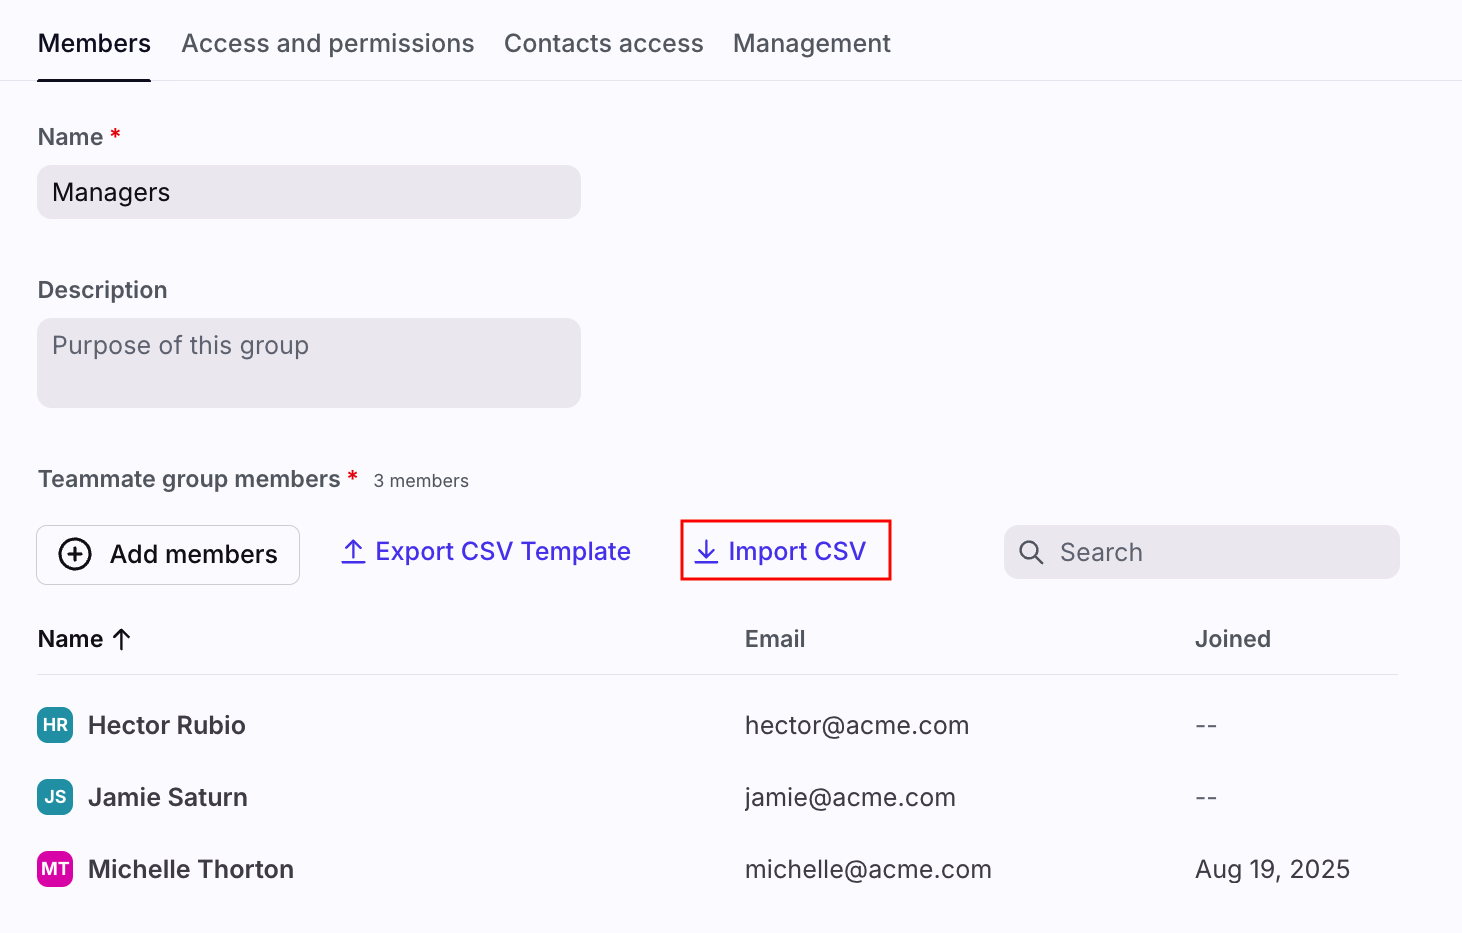
In your teammate group, click Import CSV.
Step 2
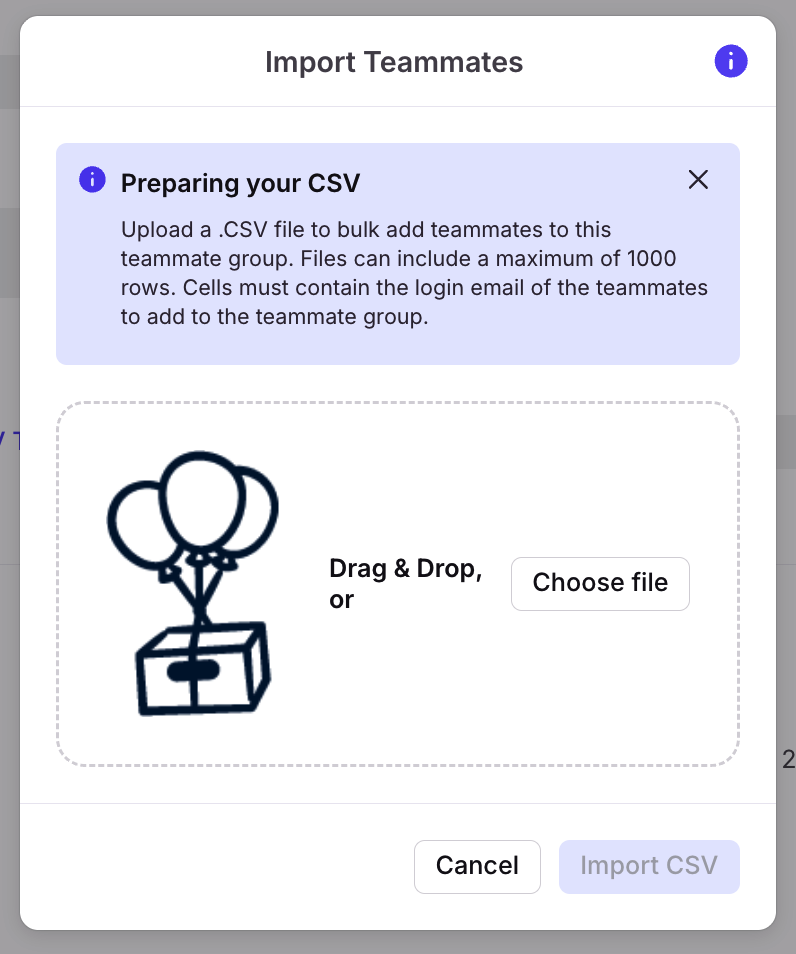
Click Choose file and select your file. You can also drag and drop your file from your computer into this section.
Step 3
Click Import CSV.
Step 4
Click Create when finished, or click Save if you’re editing an existing one.
Sync teammate groups from an Identity Provider (IdP)
Front can integrate with Identity Providers (IdPs), such as Microsoft Entra ID and Okta, to automatically provision user access. These integrations can also be used to push groups from the Identity Provider to Front, and automatically sync group membership. See this article to learn more about integrating with an Identity Provider.
You cannot edit the name or membership of a teammate group that is managed by an Identity Provider. You can see if a teammate group is IdP managed, by clicking on the teammate group and checking for a banner at the top of the page.
Use teammate groups in rules
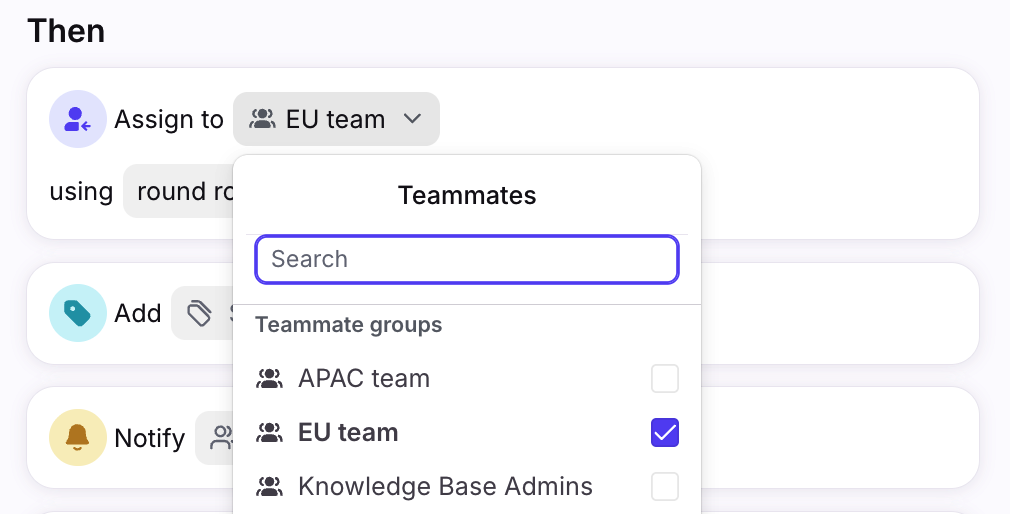
Teammate groups can be used as part of a rule in any place where it is possible to select multiple teammates. For example, this includes the rule triggers, conditions, actions:
Assignee changes
Assignee is
Assign to teammates (using round-robin or load balancing)
You can select multiple teammate groups, or a combination of teammate groups and individual teammates.
Use teammate groups to manage inbox access
See this article to learn more about granting inbox access to teammates in teammate groups.
Use teammate groups to manage contact access
Use the Contacts access tab in teammate groups to manage access to shared contacts based on group membership. Once enabled:
Teammates can only browse shared contacts if they belong to a group that was granted access.
Teammates who are not in teammate groups, or are in teammate groups set to Restrict to contact lists or No access will not see the Contacts icon in the top toolbar.
Teammates can always see contacts when browsing conversations they have access to.
Company admins can always see all contacts.
Step 1
Click the gear icon, then navigate to company settings.
Step 2
Click Teammate groups in the left menu, then select the teammate group you want to edit.
Step 3
Select the Contacts access tab, then click Enable contacts permissions.

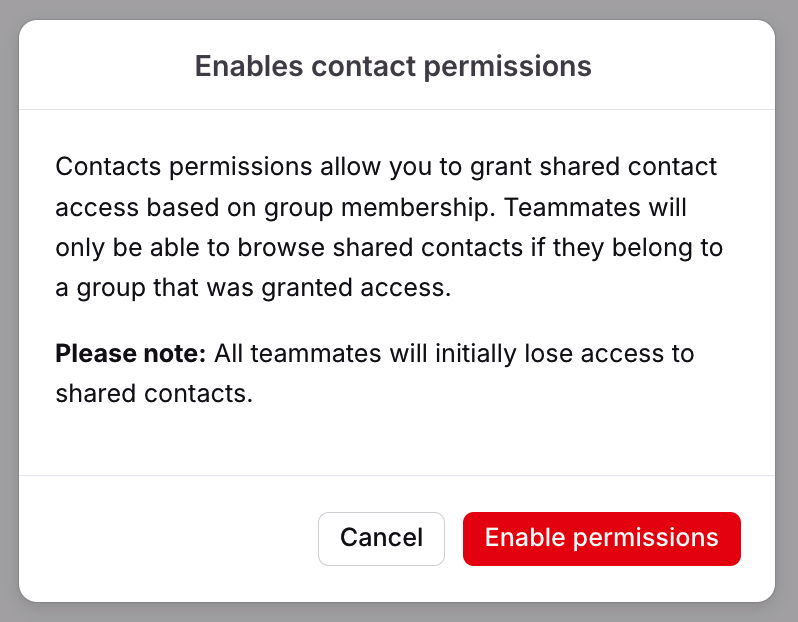
Step 4
A pop-up will appear. Click Enable permissions to confirm.
Step 5
Select the level of access your teammate group should have:
All shared contacts: Group members can browse and edit all shared contacts.
Restrict to contact lists: Group members can't access the Contact Manager in the top toolbar, but will receive recipient suggestions in the composer from the selected contact lists. They can see contact information in the Contact Details plugin, but can't edit any contact/account fields.
No access: Group members can't access the Contact Manager in the top toolbar, and can't see shared contacts when adding recipients to the composer. They can't see contact information in the Contact Details plugin, and can't edit any contact/account fields.

Step 6
Click Save to finish. If you have multiple teammate groups, navigate to the Contacts access tab to repeat Step 5 for each group.
Delegating permissions to users
Initially, all company admins can create, edit, or delete teammate groups. When a company admin creates a teammate group, they can delegate these permissions to other users.
Permissions by role:
Company admins: Have full control over all teammate groups. They can create, edit, delete, and manage permissions for all groups. Company admins always retain these permissions and their access cannot be removed.
Delegated teammates/groups: Users can be granted specific permissions (Create, Edit, Delete) individually or through teammate groups. These permissions can be granted company-wide (applying to all groups) or on a per-group basis.
Types of permissions
Create: Allows the assigned teammate/group to create new teammate groups. This permission is granted at the company level only.
Edit: Allows the assigned teammate/group to modify existing groups. This includes:
Adding/removing teammates from the group.
Editing the group's name and description.
Enabling/disabling access to specific shared inboxes and workspaces for the group (subject to limitations described in the FAQ). This permission can be granted at the company level (applying to all groups) or for specific teammate groups.
Delete: Allows the assigned teammate/group to delete existing groups. This permission can be granted at the company level (applying to all groups) or for specific teammate groups.
Company-level delegation
Step 1
Click the gear icon, then navigate to company settings.
Step 2
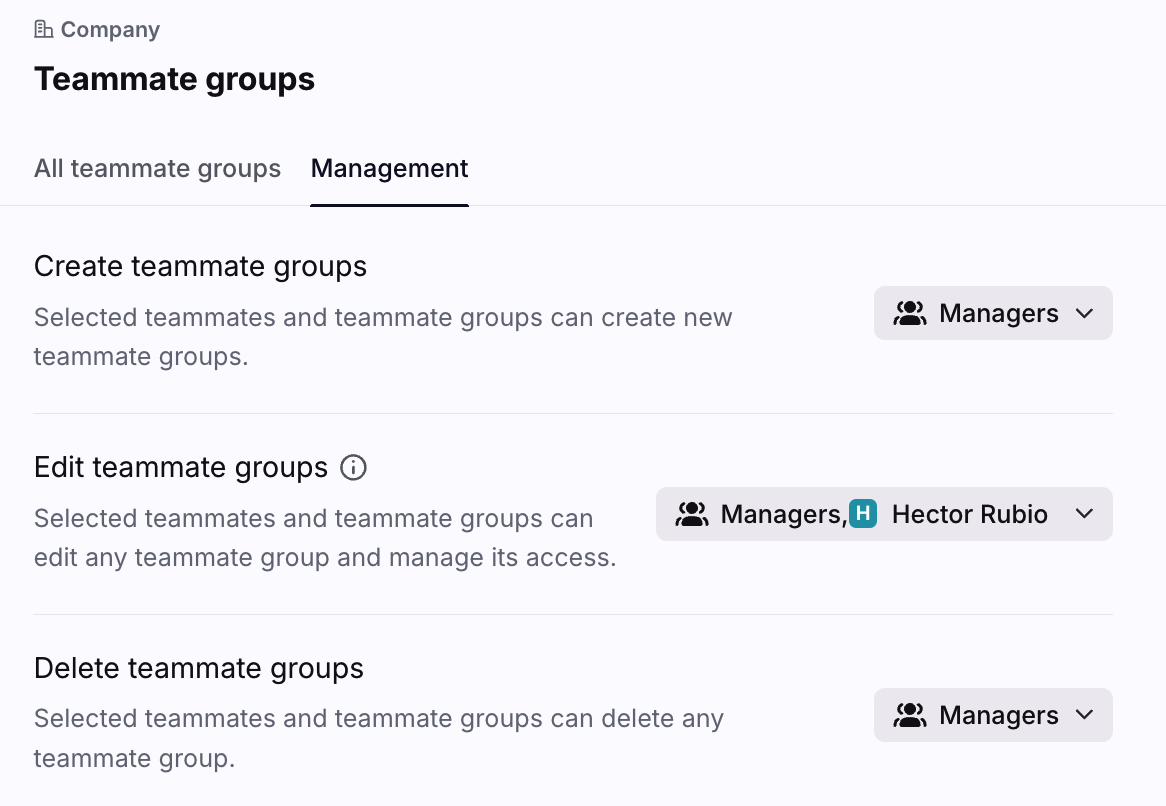
Click Teammate groups in the left menu, then select the Management tab.
Step 3
Select the teammates or teammate groups who should have permissions to create, edit, or delete any teammate group.
Step 4
Click Save.
Teammate group-level delegation
Step 1
Click the gear icon, then navigate to company settings.
Step 2
Click Teammate groups in the left menu, then select the teammate group you want to edit.
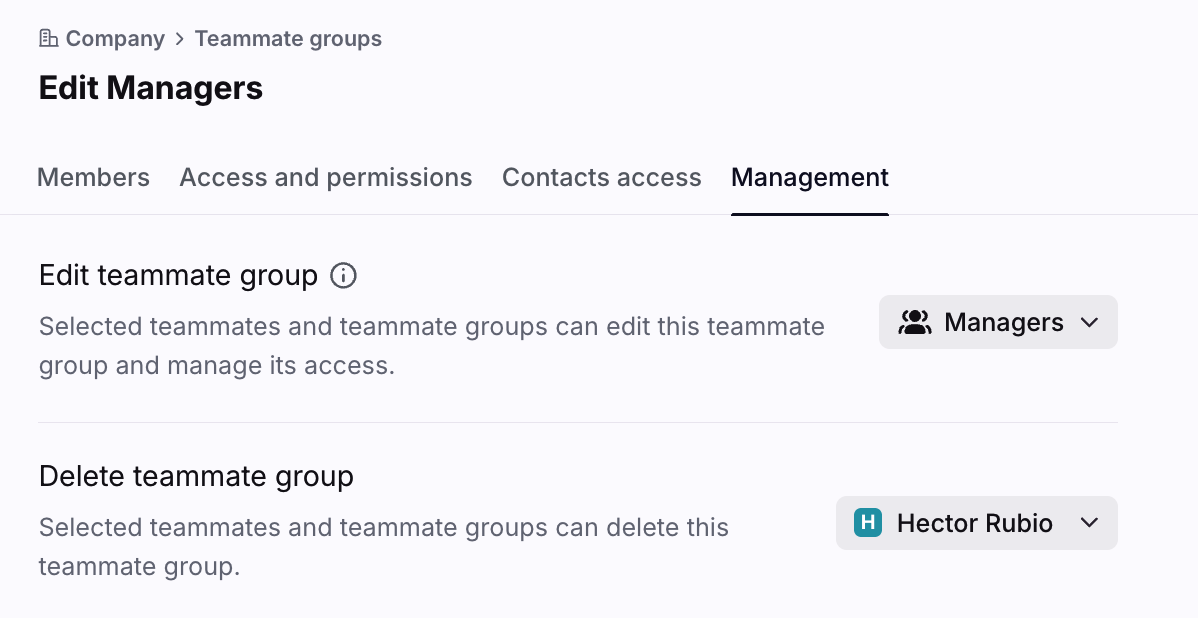
Step 3
Select the Management tab, then select the teammates or teammate groups who should have permissions to edit or delete the selected teammate group.
Step 4
Click Save.
FAQ
Who can use teammate groups in rules?
Any teammate can select teammate groups in personal, shared, or company rules after the groups have been created by a company admin or delegated user.
Are there limits?
Each teammate group has the following limits for optimal performance:
A teammate can be part of up to 70 teammate groups
A teammate group can contain up to 1000 teammates
An inbox can link up to 50 teammate groups
A teammate group can link up to 500 inboxes
A macro can link up to 50 teammate groups
A teammate group can link up to 500 macros
A workspace can link up to 500 teammate groups
A teammate group can link up to 75 workspaces
Can I create an empty teammate group?
Yes. An empty teammate group can be created, allowing you to add teammates at a later time.
What happens if I have Edit permission but try to grant a group access to an inbox/workspace I don't have edit permission to?
You cannot grant access or permissions to resources you don't have access to. To grant access to an inbox you must have the Shared inboxes - create / edit / delete / manage access permission, and for workspaces you must have the Teammates - invite / manage permission. See this article for more information on permissions.
Options like the Enable button or checkbox will be disabled for those specific inboxes/workspaces within the group's settings.
Are there limits to how many teammates I can delegate permissions to?
Yes. There’s a limit of 3 teammates and 50 teammate groups you can grant permission to.
Can I delegate management of IdP (SCIM) synced groups?
No. You cannot delegate permission to change the name, manage members, or delete these groups, as these actions are controlled by your Identity Provider (IdP). You can potentially delegate Edit permission for other attributes (like description or associated resources, subject to limitations) and use these groups when assigning permissions for other items.
If I'm granted permission to edit a group, can I also manage its contact access level?
No. This can only be done by a company admin.
What if I only have the Delete permission for a group?
You can delete the group, but you may not be able to see its details (like members or associated resources) if you don't also have Edit permission.
Pricing
This feature is available on all plans.