
How to add a generic SMTP forwarding inbox
Overview
For any email providers other than Gmail and Office 365, you will use this method to set up your email channels in Front. This is the forwarding (SMTP) method.
Instructions
Part 1: Create inbox and channel in Front
Step 1
Click the gear icon then into the Company or Personal settings tab, depending on which space you are working with. Admins can also access user settings by following these steps.
Step 2
Click on Inboxes on the left menu and create a new shared inbox or individual inbox.
Step 3
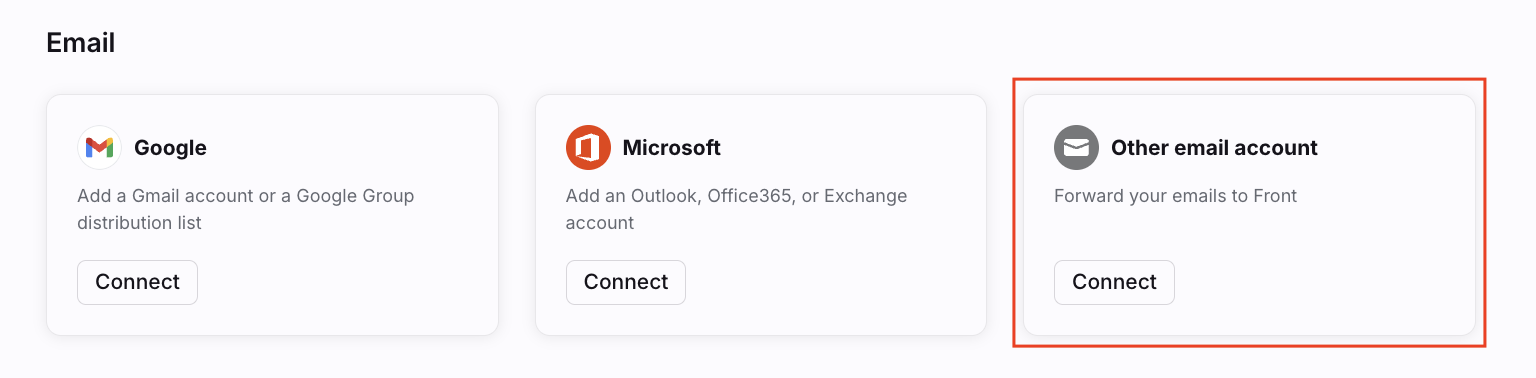
When following the steps to add a channel, choose Other email account from the channel menu.
Step 4
Enter the email address and click Continue.
Step 5
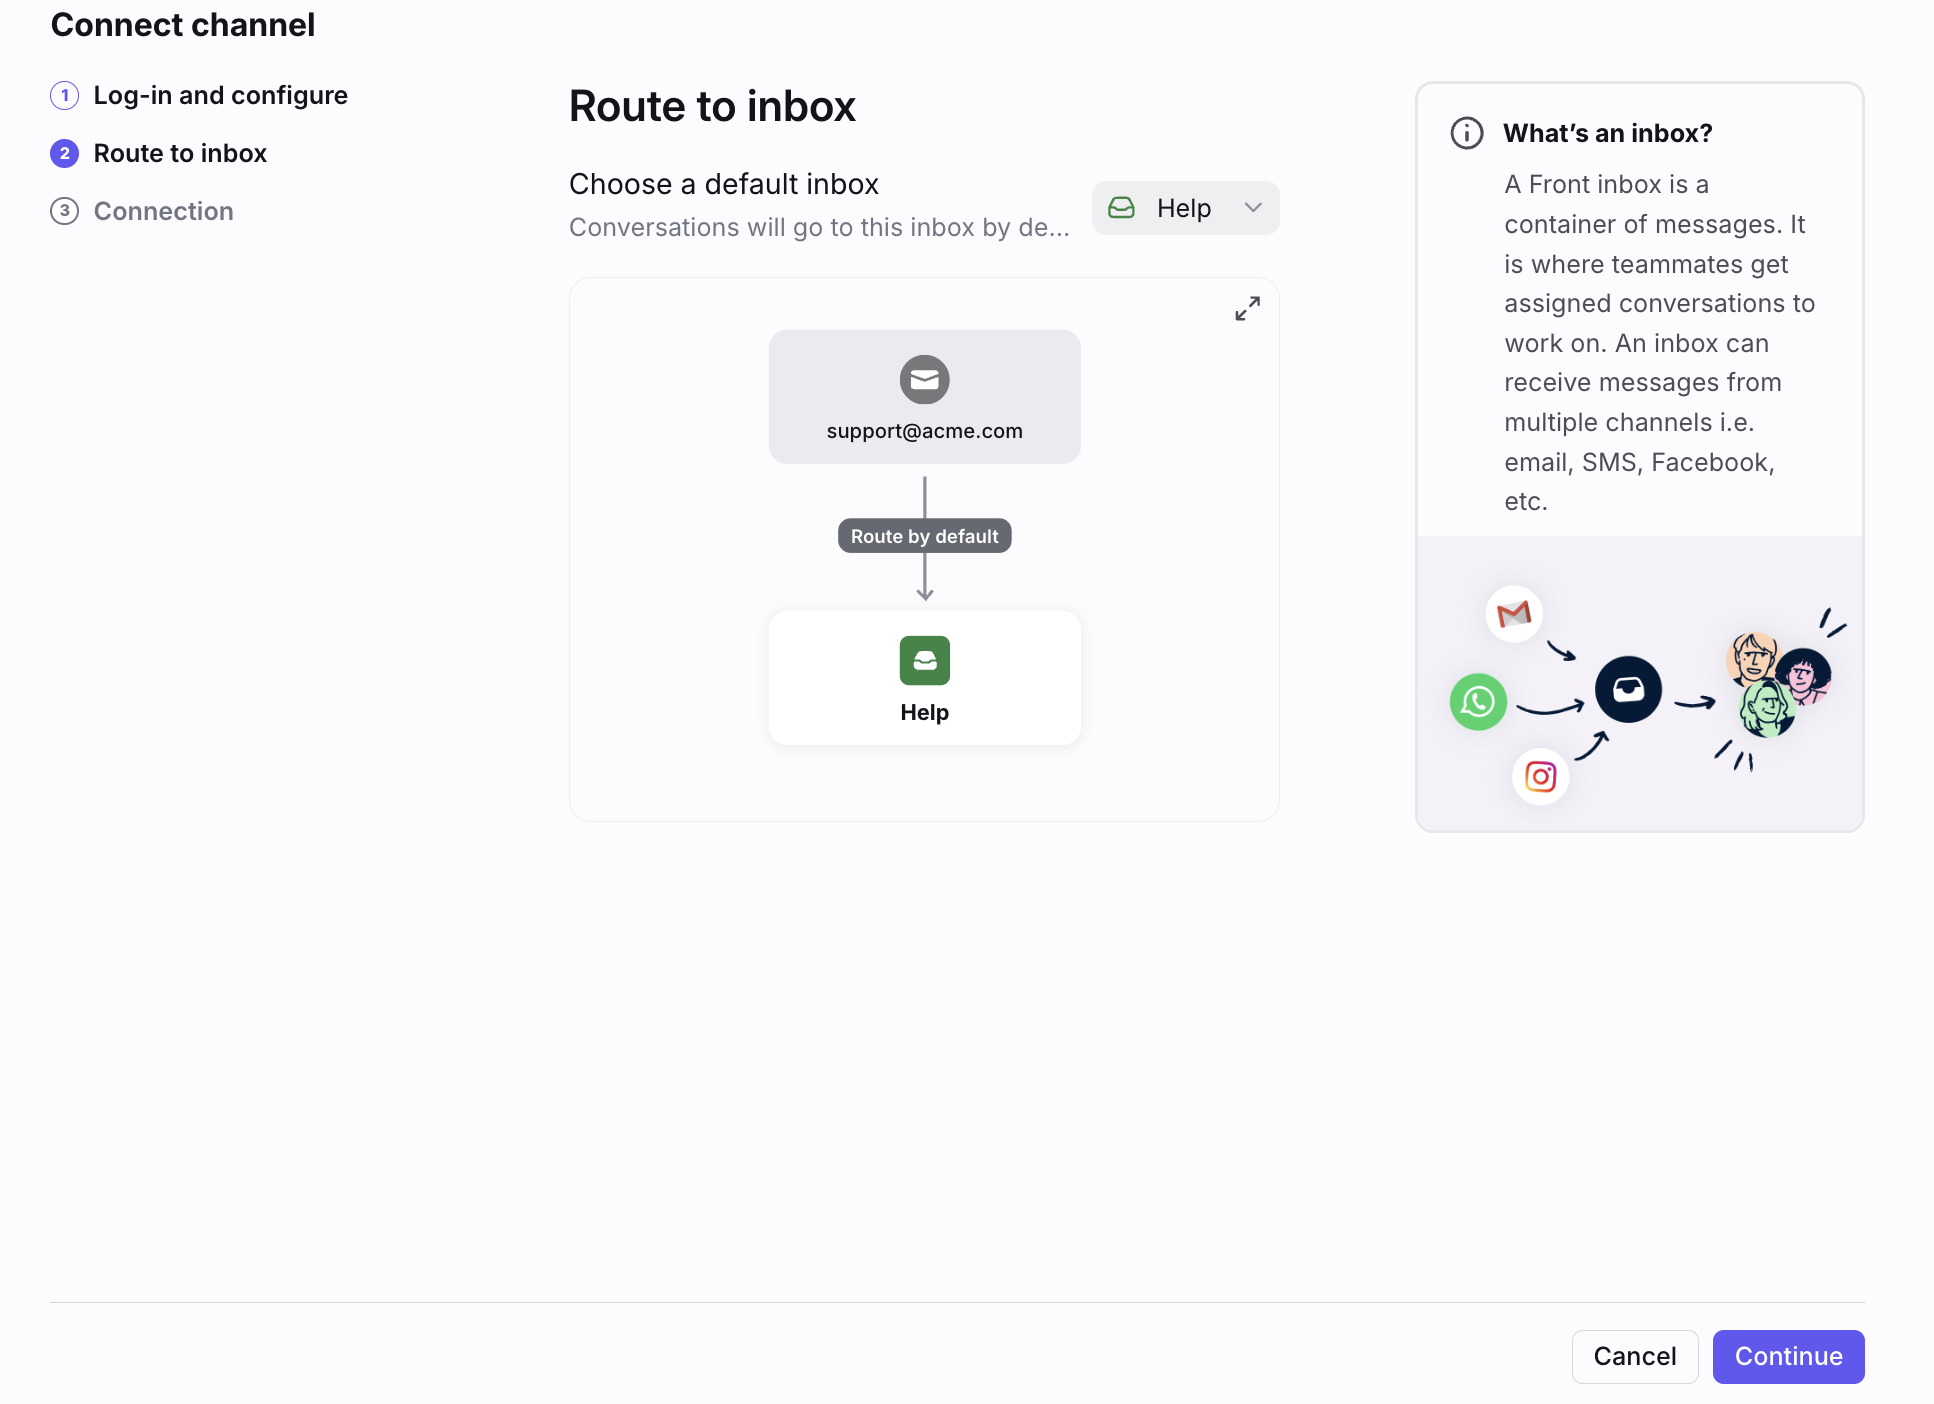
Select the inbox to connect to your channel, then click Continue. All messages from your channel will route to this inbox by default.
Part 2: Redirect from your provider
Step 6
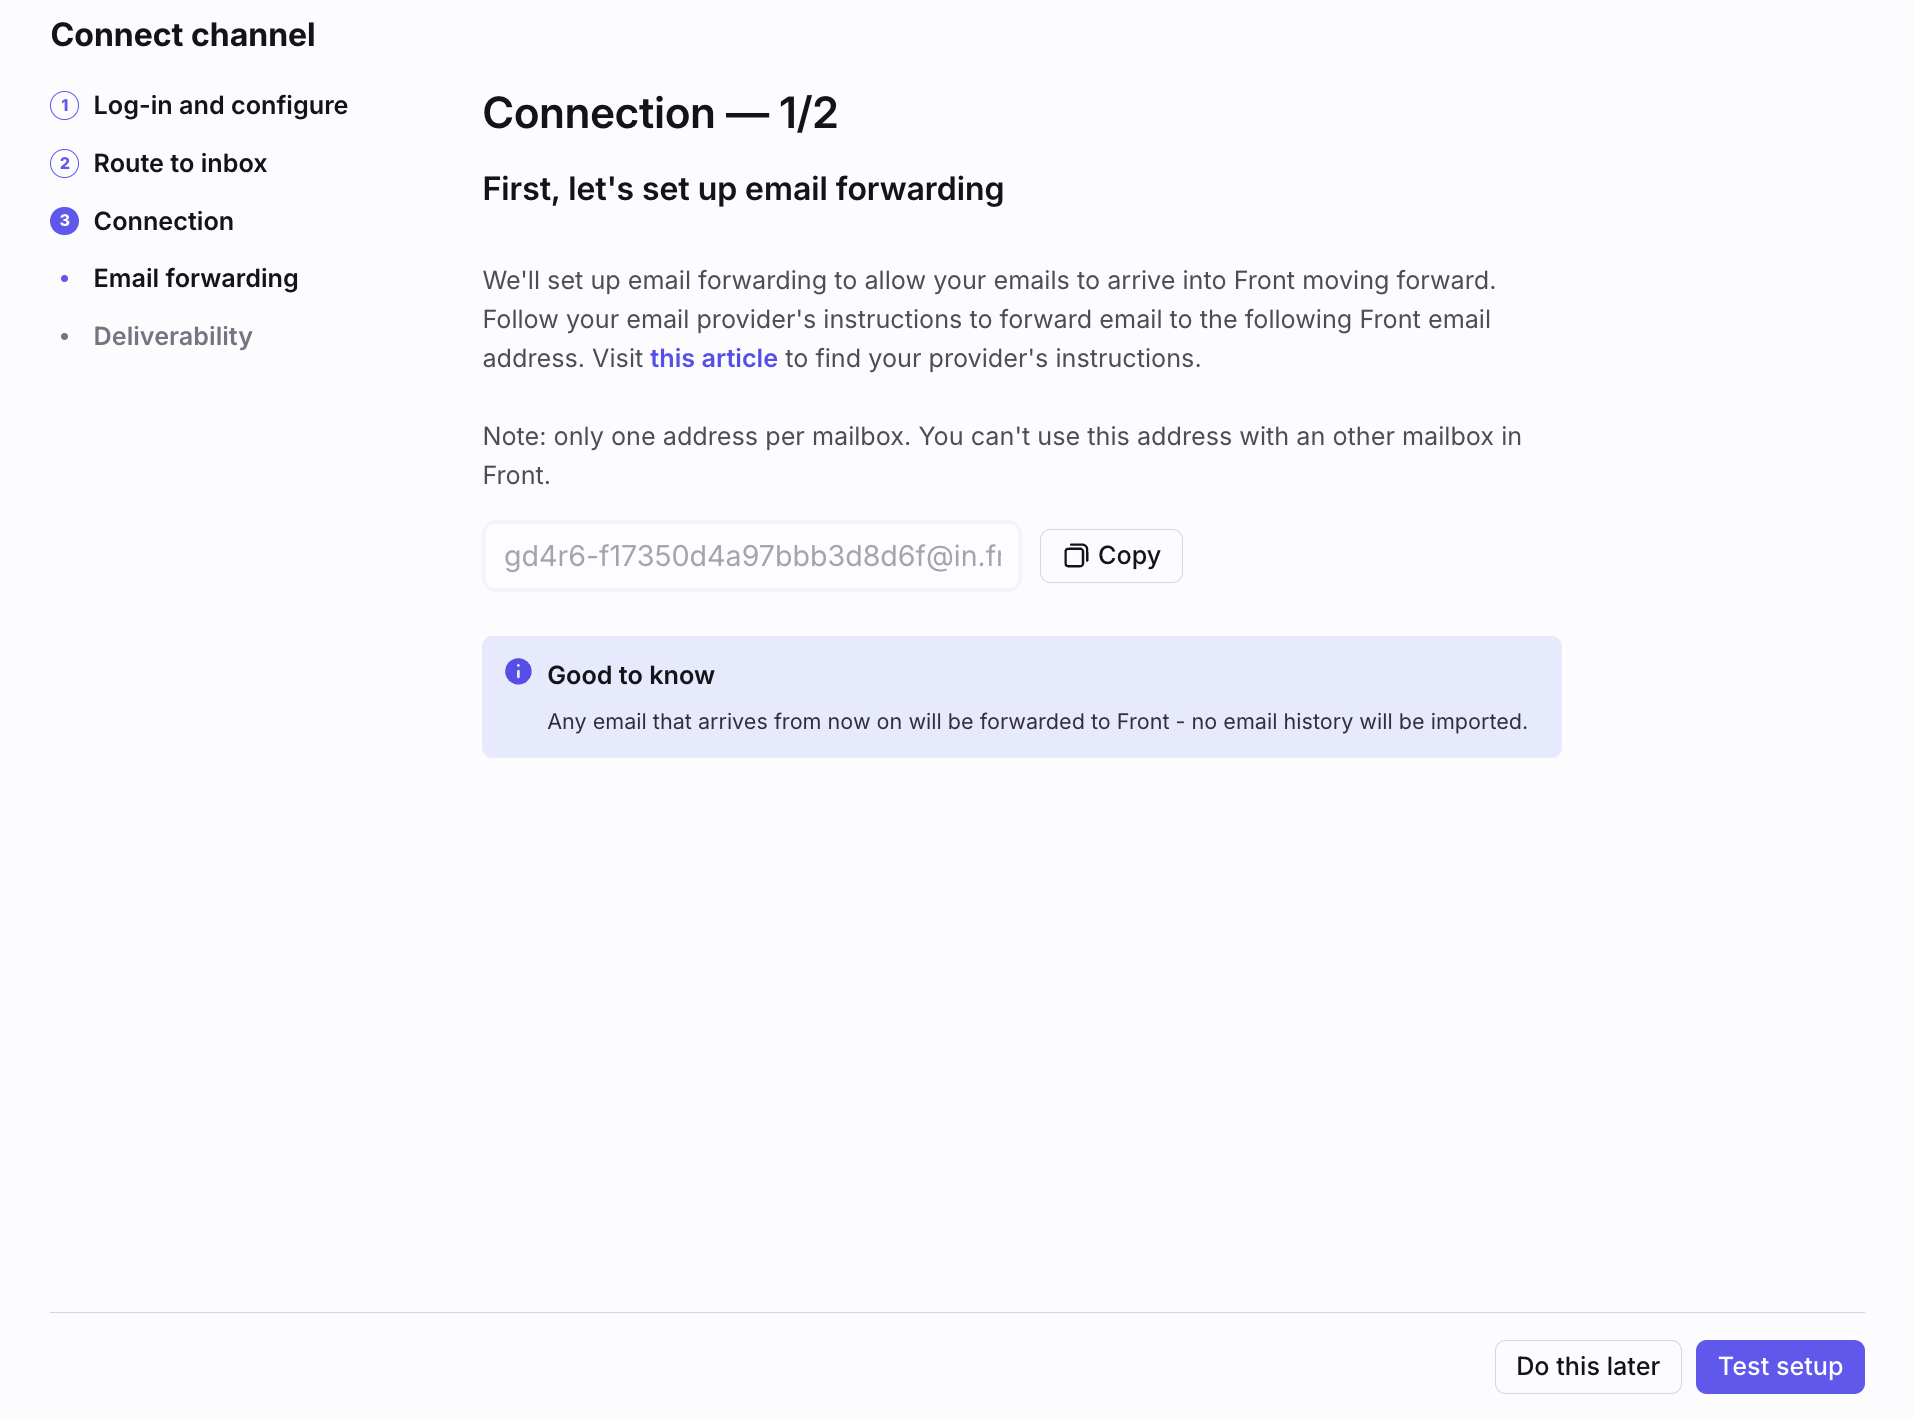
Copy the Front-generated forwarding address.
Step 7
Log into your email provider and find where to set up email forwarding. Make sure you're setting up a redirection and not setting up a rule to forward a new copy of the email to Front.
See here for a list of instructions from popular providers.
Step 8
Paste Front’s forwarding address when prompted.
Part 3: Validate the address in Front
Step 9
Click Test setup to validate the redirection. If you select Do this later, see this article for instructions to validate your channel.
Part 4: Deliverability settings
Step 10
Select Custom SMTP or SPF/DKIM records to configure your outbound message deliverability settings.
For custom SMTP: Follow these additional steps.
For SPF/DKIM records: Follow these additional steps. You can skip this step if SPF/DKIM records have already been configured for your email domain.
Custom SMTP is required for Yahoo, Hotmail, and iCloud domains as they do not allow you to specify SPF/DKIM records. Instructions from each provider below:
*Some Yahoo customers have reported issues generating an app password. If you cannot generate an app password, please out to Yahoo directly for more information.
Validate an existing SMTP inbox
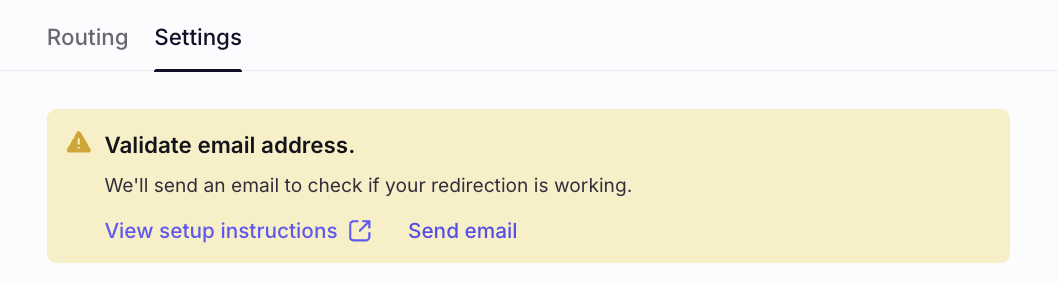
If an existing SMTP channel needs to be validated, we will display a warning icon in your Inboxes settings. Follow the steps below to validate the channel.

Step 1
Select the inbox and click the Channels section.
Step 2
Click on the channel to open the channel settings, then click Send email.
Step 3
You should receive a notification that your email address has been validated.
FAQ
Where's my validation email?
If you have not received your validation email from Front, check your spam folder. To make ensure that our emails don't get sent to your spam folder, we suggest you add team@front.com to your list of approved recipients with your email provider.
If you are unable to find the email in your spam folder, you can request a new validation email by clicking Send email again.
If you're still unable to validate your account, please contact us.
Pricing
This feature is available on all plans. For the latest Starter plan, you must have email set as your company's channel type.