
How to set up a custom SMTP inbox
Overview
When sending an email you have the choice to send emails using your own dedicated SMTP server. An SMTP server is a mail server that you can use to send an email. It stores your messages and ensures that your messages are either delivered or returned to you with a failure message.
You can set up a custom SMTP inbox in Front, meaning you want to use your own server to send messages. Follow the instructions below to set up a custom SMTP inbox.
Please note if you are updating an existing inbox you'll want to open the existing channel's settings and can skip to Part 2 of the article.
Instructions
Part 1: Receive email with forwarding
Step 1
Click the gear icon, then select workspace or personal settings in the left sidebar, depending on the space you’re working with. Admins can also access user settings by following these steps.
Step 2
Click Inboxes in the left menu and create a new shared inbox or individual inbox.
Step 3
Click Channels in the left menu, and click the Connect a channel button. Select Other email account from the channel menu.

Step 4
Enter the email address and click Continue.
Step 5
Click the dropdown menu and choose the inbox that conversations will go to by default and click Save.
Step 6
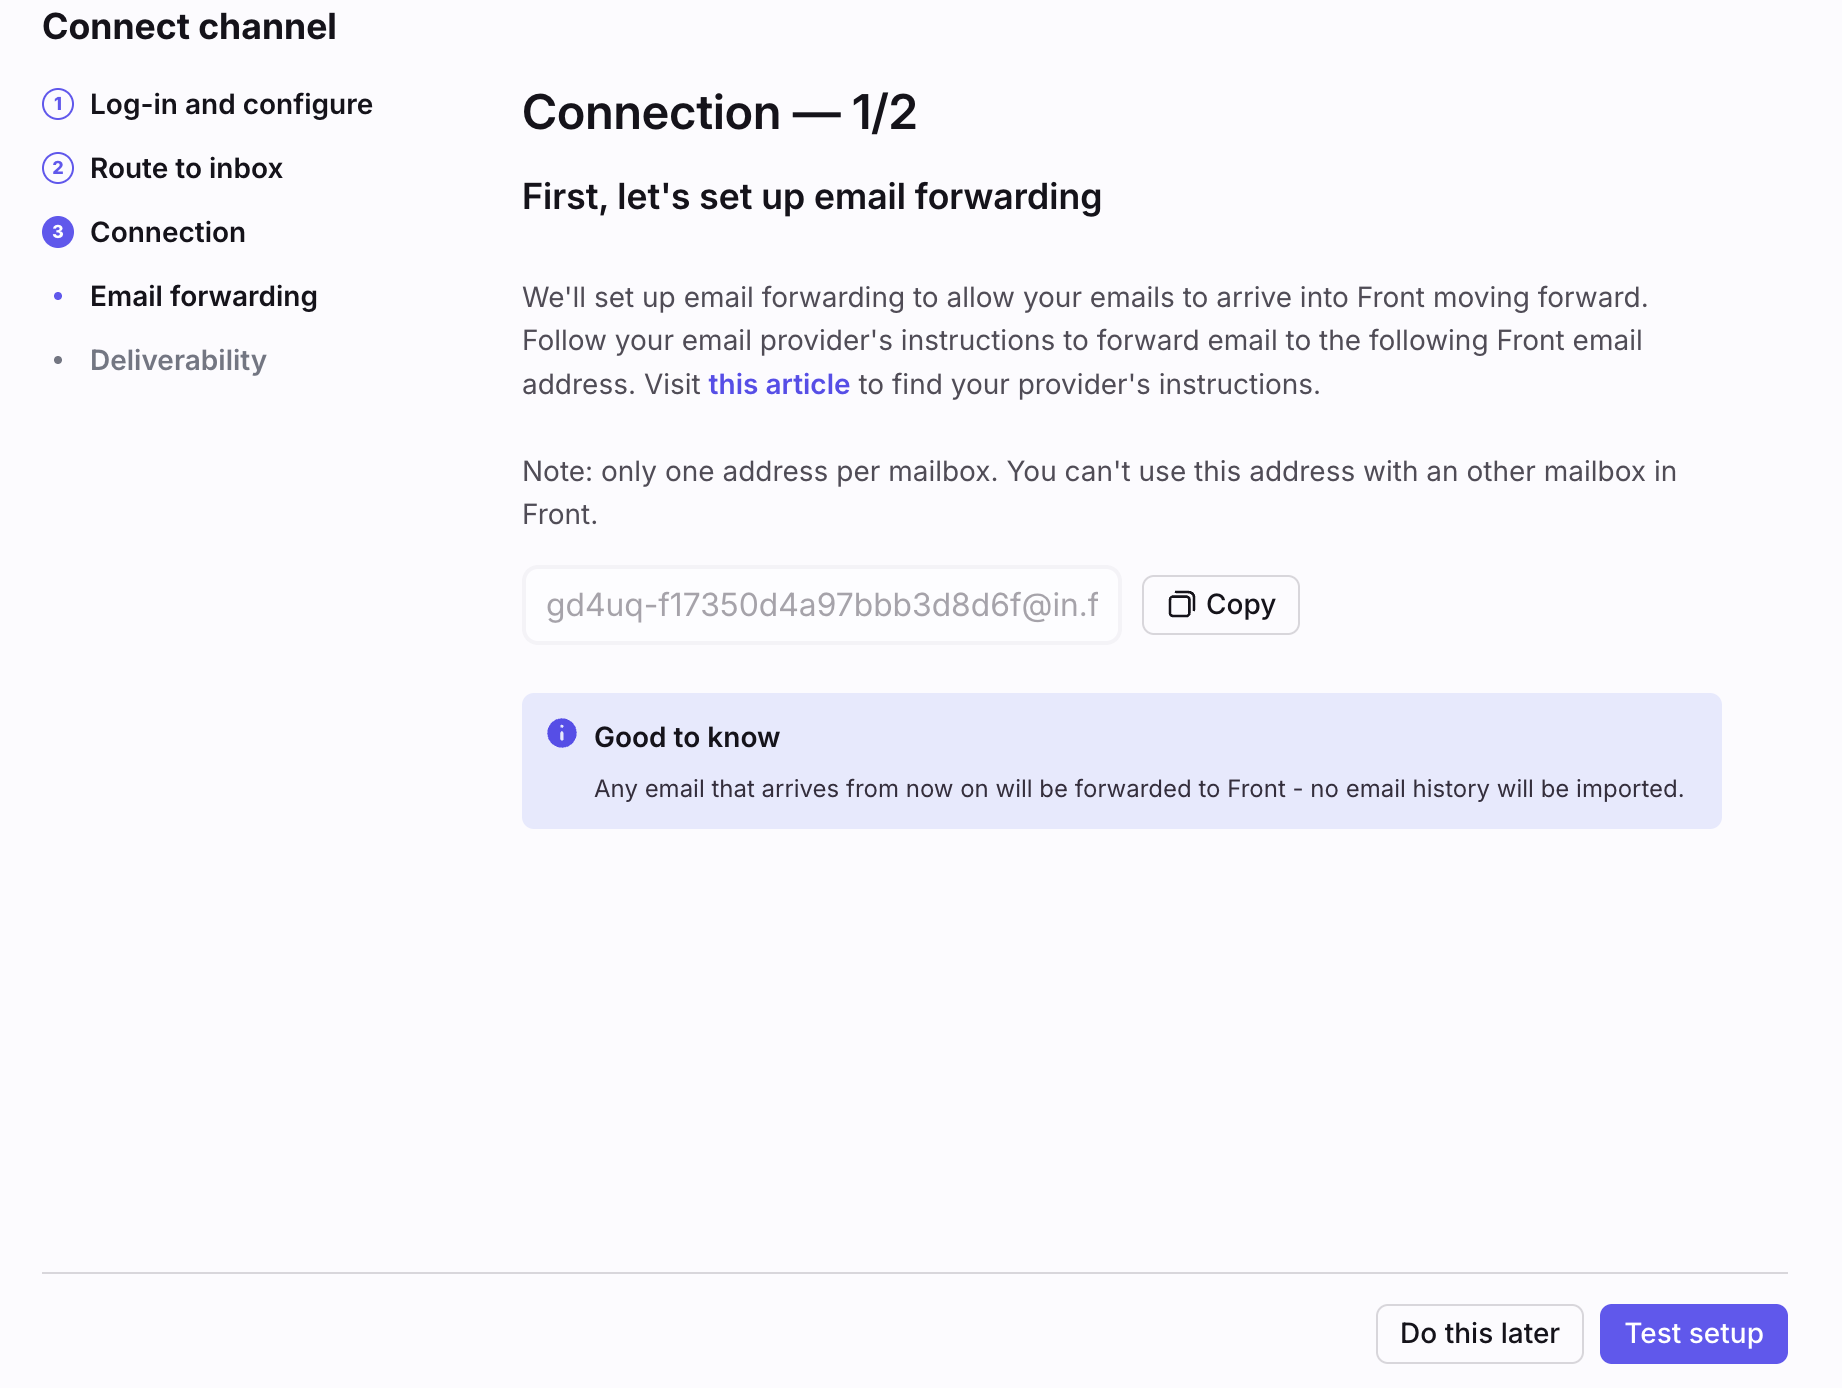
Copy the Front forwarding address, then set up email forwarding in your email provider. See this article for a list of some popular providers.
Step 7
Click Test setup to confirm that the redirect is working. Then click Continue on the next page.
Part 2: Send email using custom SMTP
Step 8
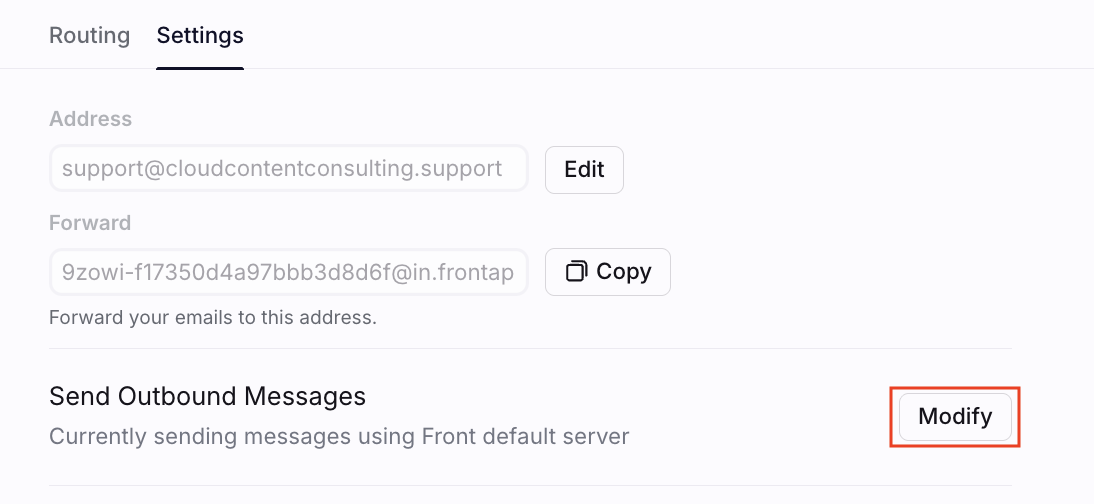
In the Channels tab of the sidebar, select the channel you'd like to manage, then click the Settings tab.
Step 9
Navigate to the Send Outbound Messages setting and click Modify.
Step 10
Click Other SMTP then complete the Host, Port, Login and Password fields, as well as specifying if you want to Connect with SSL/TLS (recommended) then test your connection.
For Gmail/Office 365, your host would be smtp.gmail.com or smtp.office365.com over port 587. You may also want to generate an app password in Gmail or Office 365 if you're utilizing 2FA in either platform.

Step 11
Click Save when finished.
FAQ
Why should I set up custom SMTP?
Since the emails are sent from your specified SMTP channel, you have full control over the emails that are being sent via Front. Also, if you are unable to set up the SPF/DKIM DNS records that are required for Front, you can set up custom SMTP to send via your own mail servers, where you will have full control over the DNS records.
Will the emails I send from Front show in my custom server?
Depending on your custom email server's settings and configurations, the emails you send from Front may or may not be saved on your own server outside of Front. You'll want to consult your email service provider regarding what configurations are supported.
For example, setting up a custom SMTP with Microsoft's cloud-based Office/Microsoft 365 mailboxes will allow sent emails to be reflected in the respective inbox's Sent folder. This is not the case with Microsoft's on-prem products though.
Pricing
This feature is available on all plans. For the latest Starter plan, you must have email set as your company's channel type.