AI Tagging [legacy]
⚠️ AI Tagging is no longer available to new users. Please check out Topics and Branch by Autopilot workflows to automatically classify your messages.
Overview
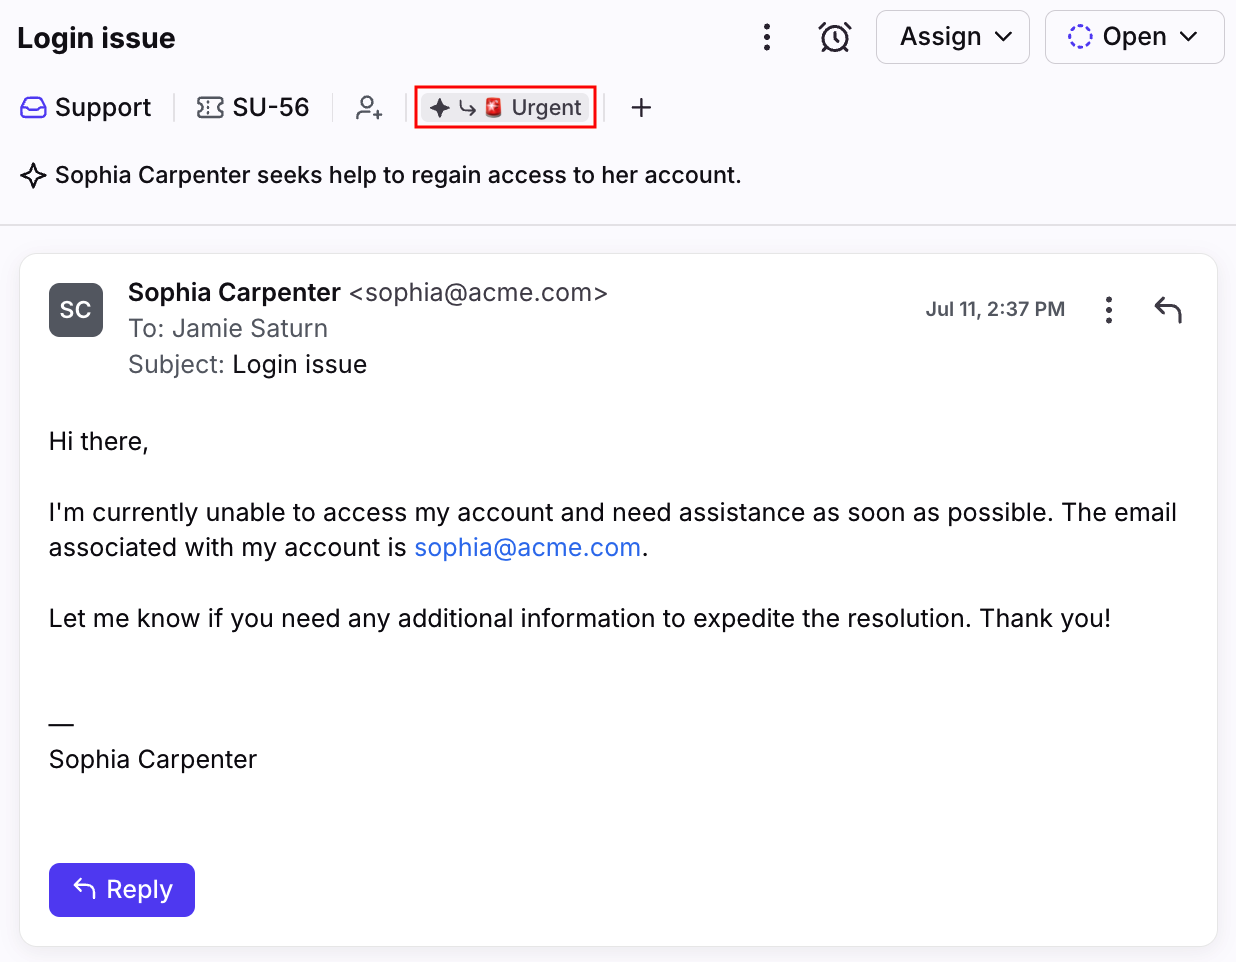
Front's AI Tagging rules automatically categorize and tag emails to make them easier to organize, search, and report on. An admin can set up to 50 tags per inbox to be used with AI. As emails flow into an inbox, AI uses the message subject and body to determine appropriate tags that can be applied.
The benefits of using AI Tagging include:
Saving time by eliminating the need to manually tag each email.
Ensuring consistency in tagging across all emails.
Enabling faster search and retrieval of emails based on tags.
Providing accurate insights and analytics into the types of emails you receive, informing future organization and workflows.
How it works
The AI Tagging workflow in Front is as follows:
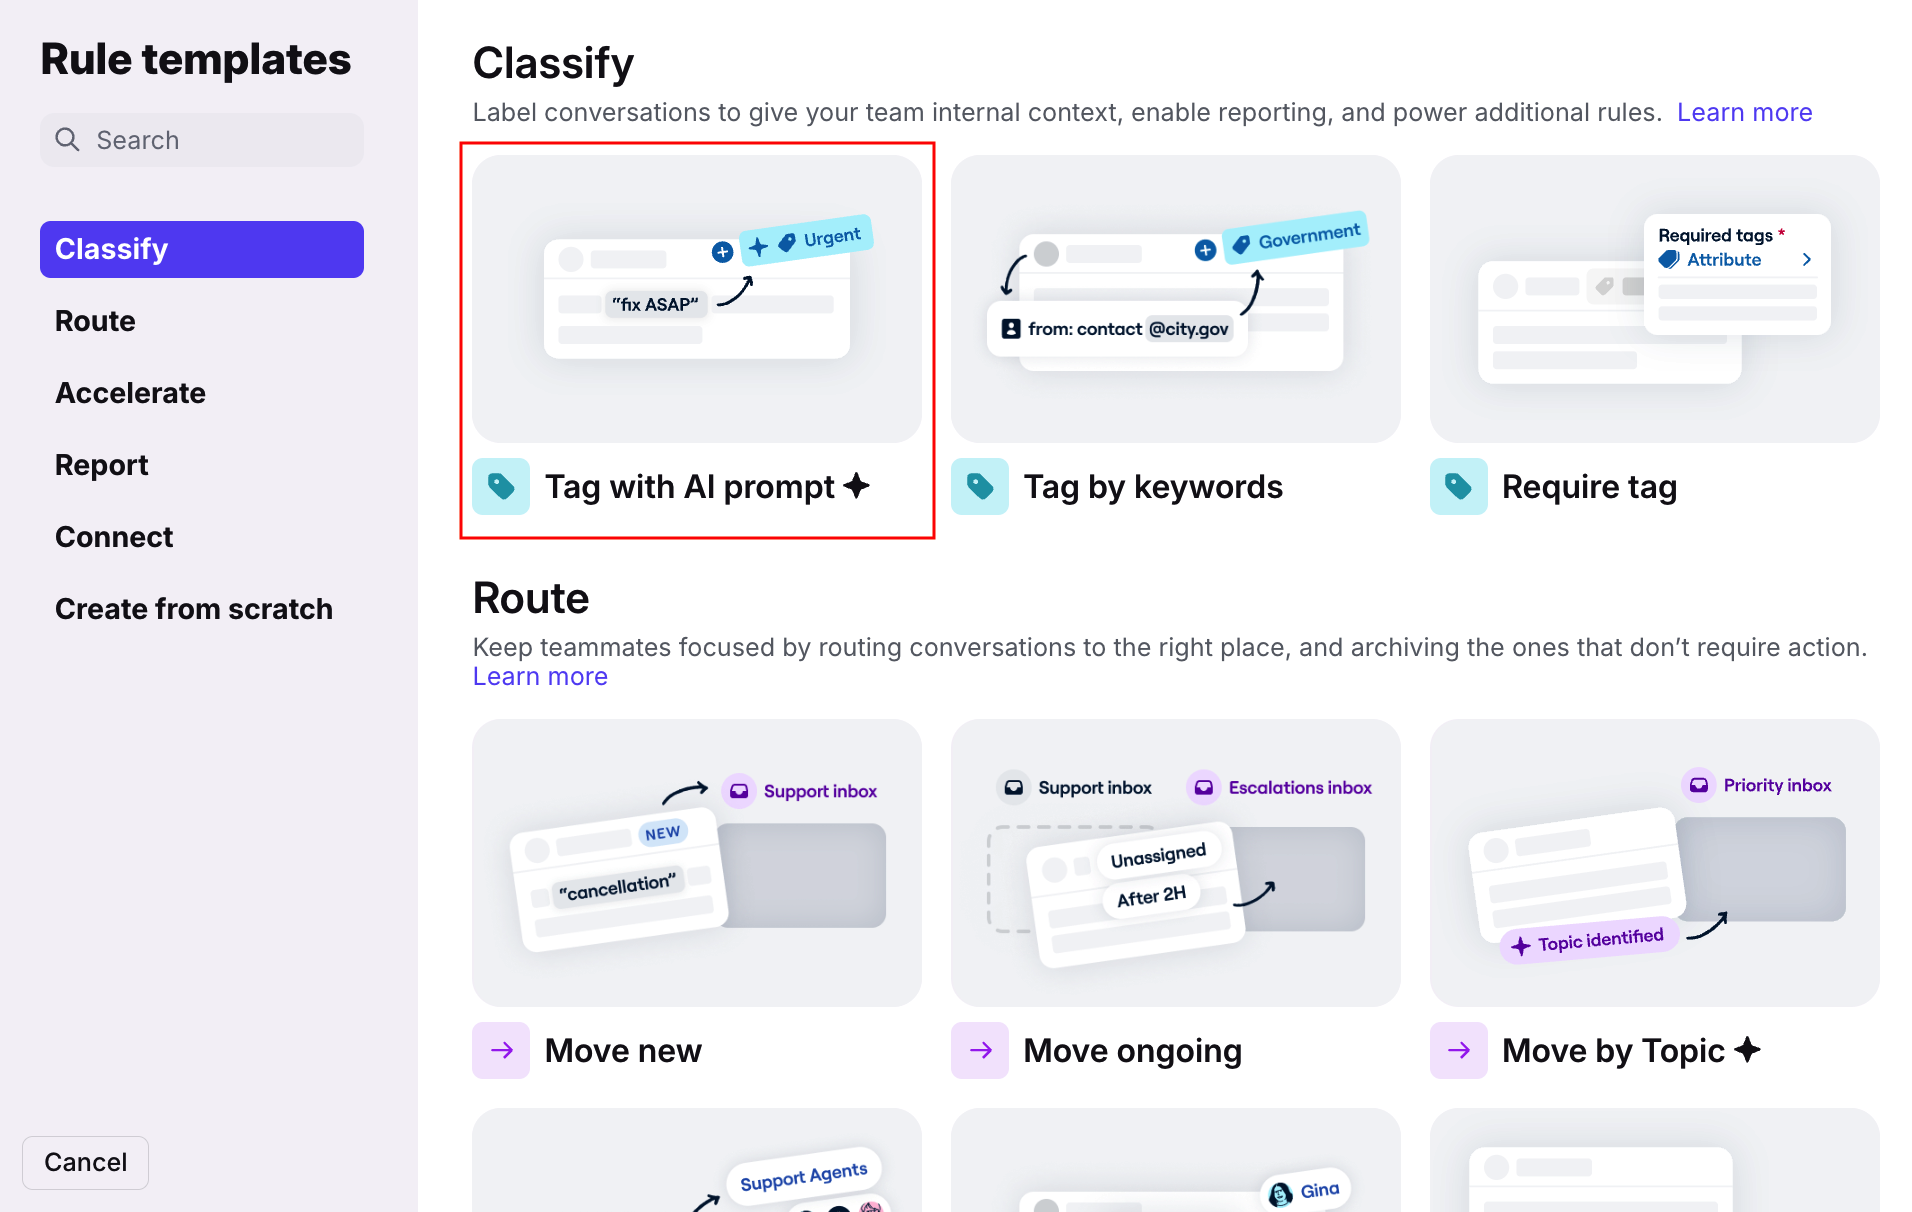
Create a rule using the Tag with AI prompt template.
Select inboxes
Select tags and set up descriptions
Train your AI Tagging rule by approving related emails.
Automatic tagging is enabled after you approve 10 emails.
AI Tagging rule template
AI tags are applied based on the tag descriptions set up in your rule. As an example, you can set up tags and descriptions with these categories:
Tag by topic: Categorize conversations by specific subjects or themes. e.g. Troubleshooting, Billing, Sales, etc.
Tag by sentiment: Categorize conversations by the recipient’s thoughts or opinions. e.g. Positive, Negative, Urgent, etc.
Rule training
Guided training: For each tag, Front will look at your past emails and set up a training pop-up that will allow you to teach AI how to tag new messages accurately.
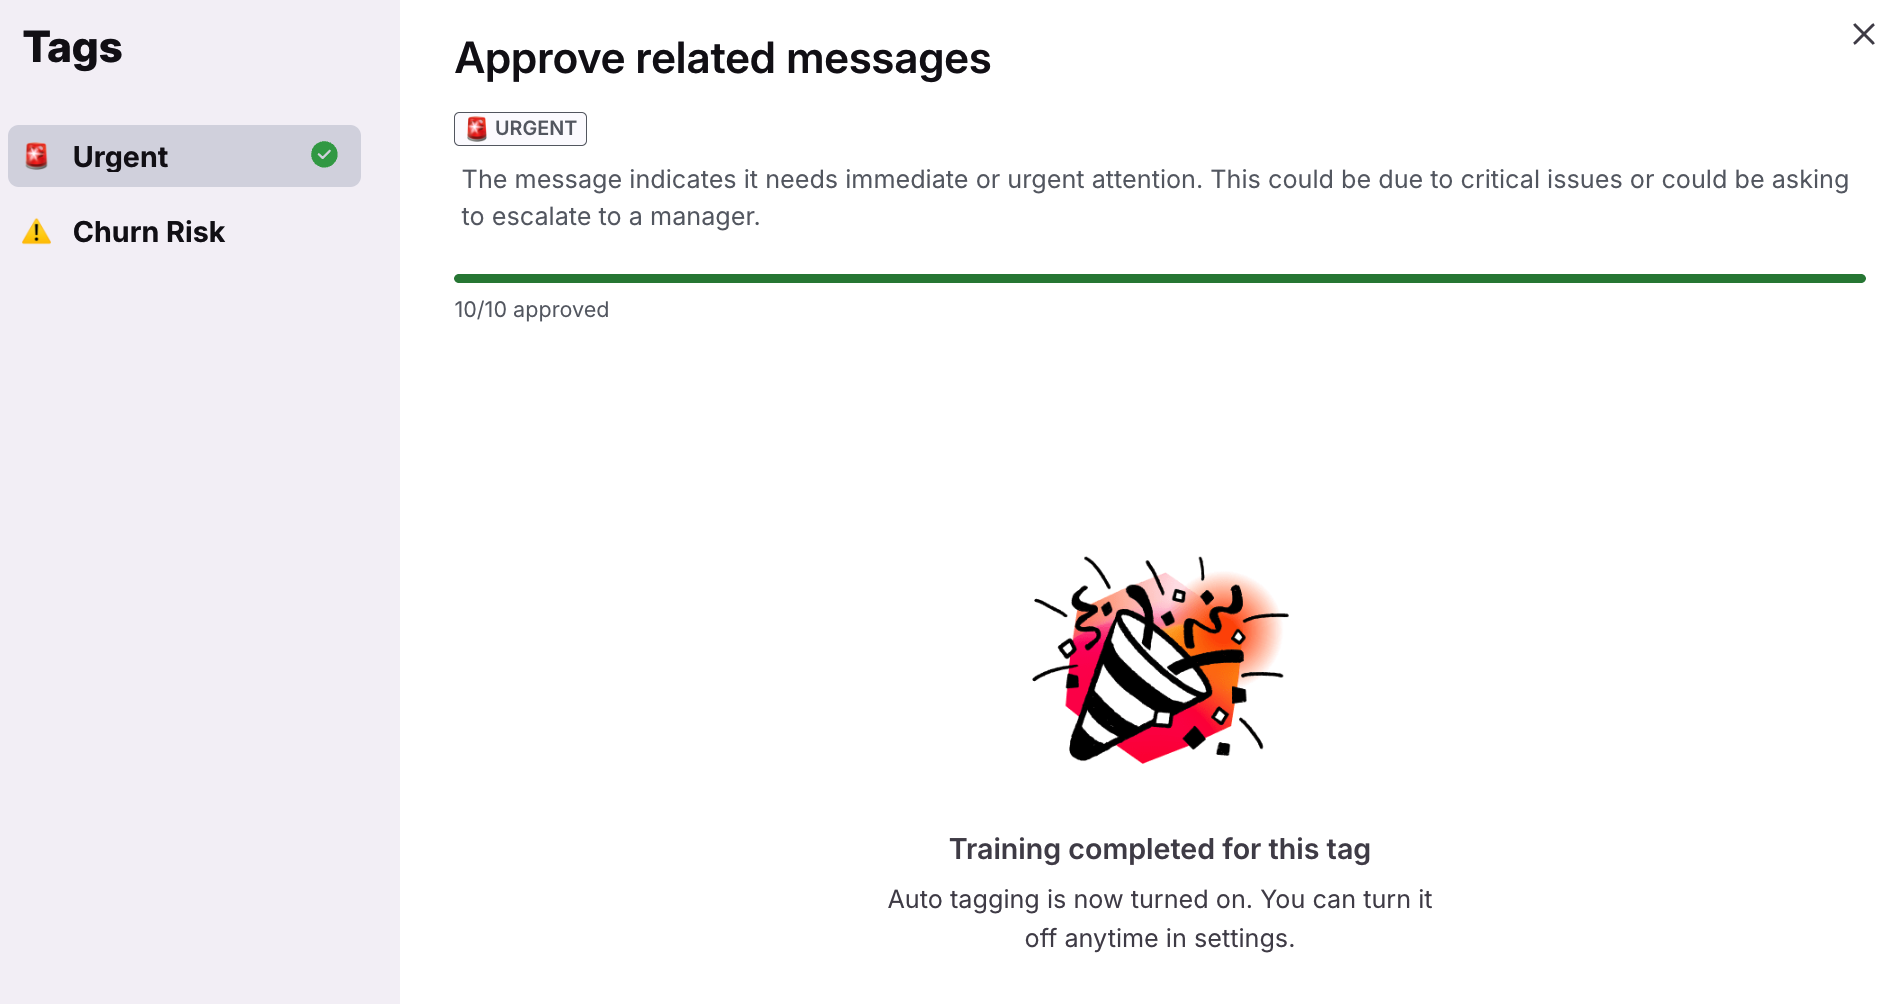
Quick approval: During training, you'll approve 10 example messages that fit the tag. Once this is done, automatic tagging will be enabled for that tag.
Best practices
For the best AI Tagging experience, your tag description should instruct the AI when the tag should be added. We recommend following these best practices:
Be prescriptive and specific.
Describe when the tag should be applied or when it does not apply.
Imagine that you’re writing a description to guide a new team member on when to apply the tag.
Remember that AI Tagging will only look at the message body and subject. For example, it cannot look at the sender’s email address or any other information.
Instructions
Part 1: Admin setup
Step 1
Click the gear icon and navigate to the workspace you want to create a rule for.
Step 2
Click Rules and macros in the left menu, then click Create rule. Select the Tag with AI prompt template from the rule library.
Step 3
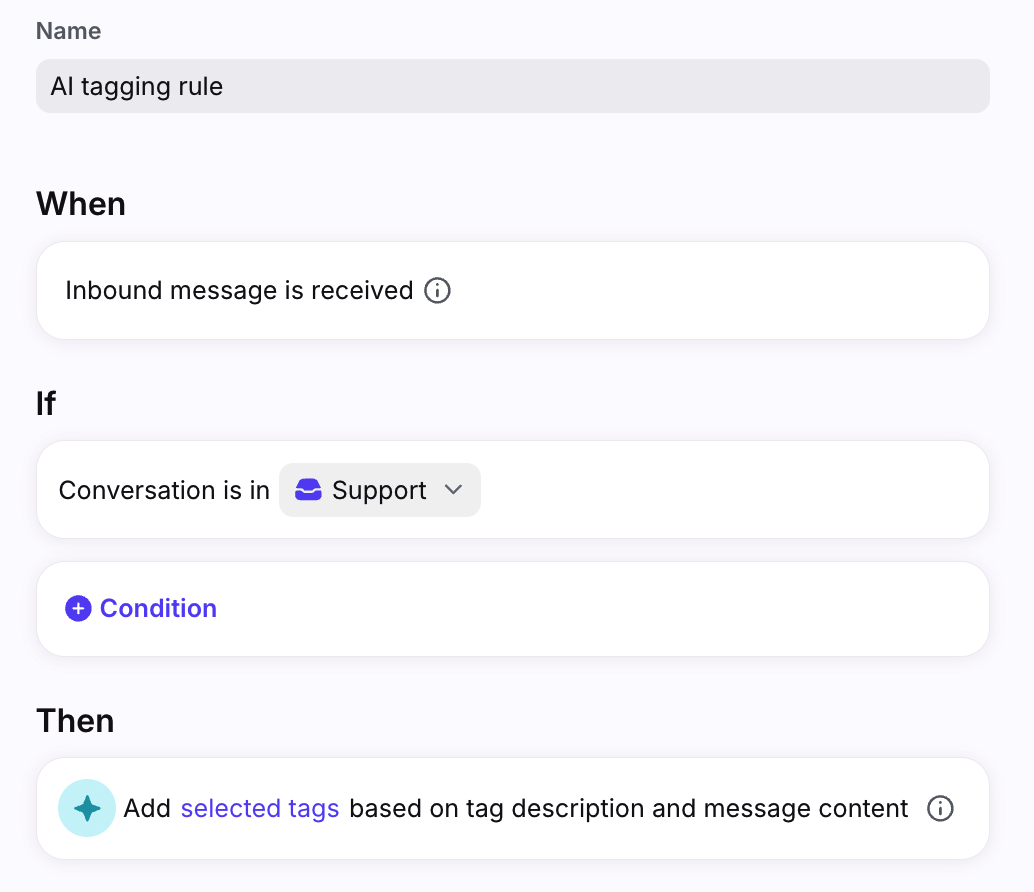
Give your rule a name, select the inbox(es) this rule should apply to, and add any additional conditions as needed.
Step 4
In the Then section of the rule, click selected tags to choose the tags that you would like AI to automate tagging for.
Step 5
On the Selected tags page, you’ll see a list of pre-filled tags and descriptions. Actions you can take on this page:
Select tags to adjust settings like name, description, color/emoji, or tag nesting
Add additional tags you want to automate tagging for
Remove tags you don’t want to automate tagging for
You can include a maximum of 50 tags per rule.
Step 6
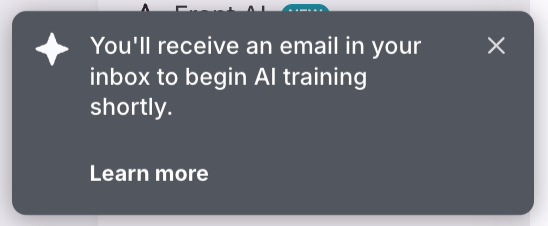
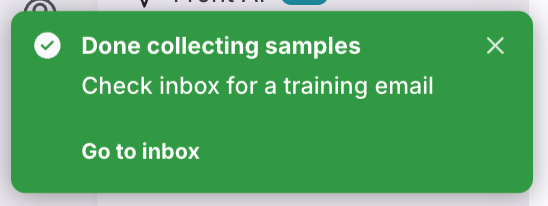
Click Create when finished. You’ll see a confirmation message at the bottom showing that Front is collecting related messages that need approval from an admin. This can take some time based on the number of tags and the volume of messages in the selected inboxes.
Part 2: Training
Step 7
There are two ways to start the training process:
Option 1: Click Go to inbox in the confirmation message, then click the Review messages button in the automated email sent to the admin who set up the rule.
Option 2: Click the Start training button in the Selected tags tab in your rule.
Step 8
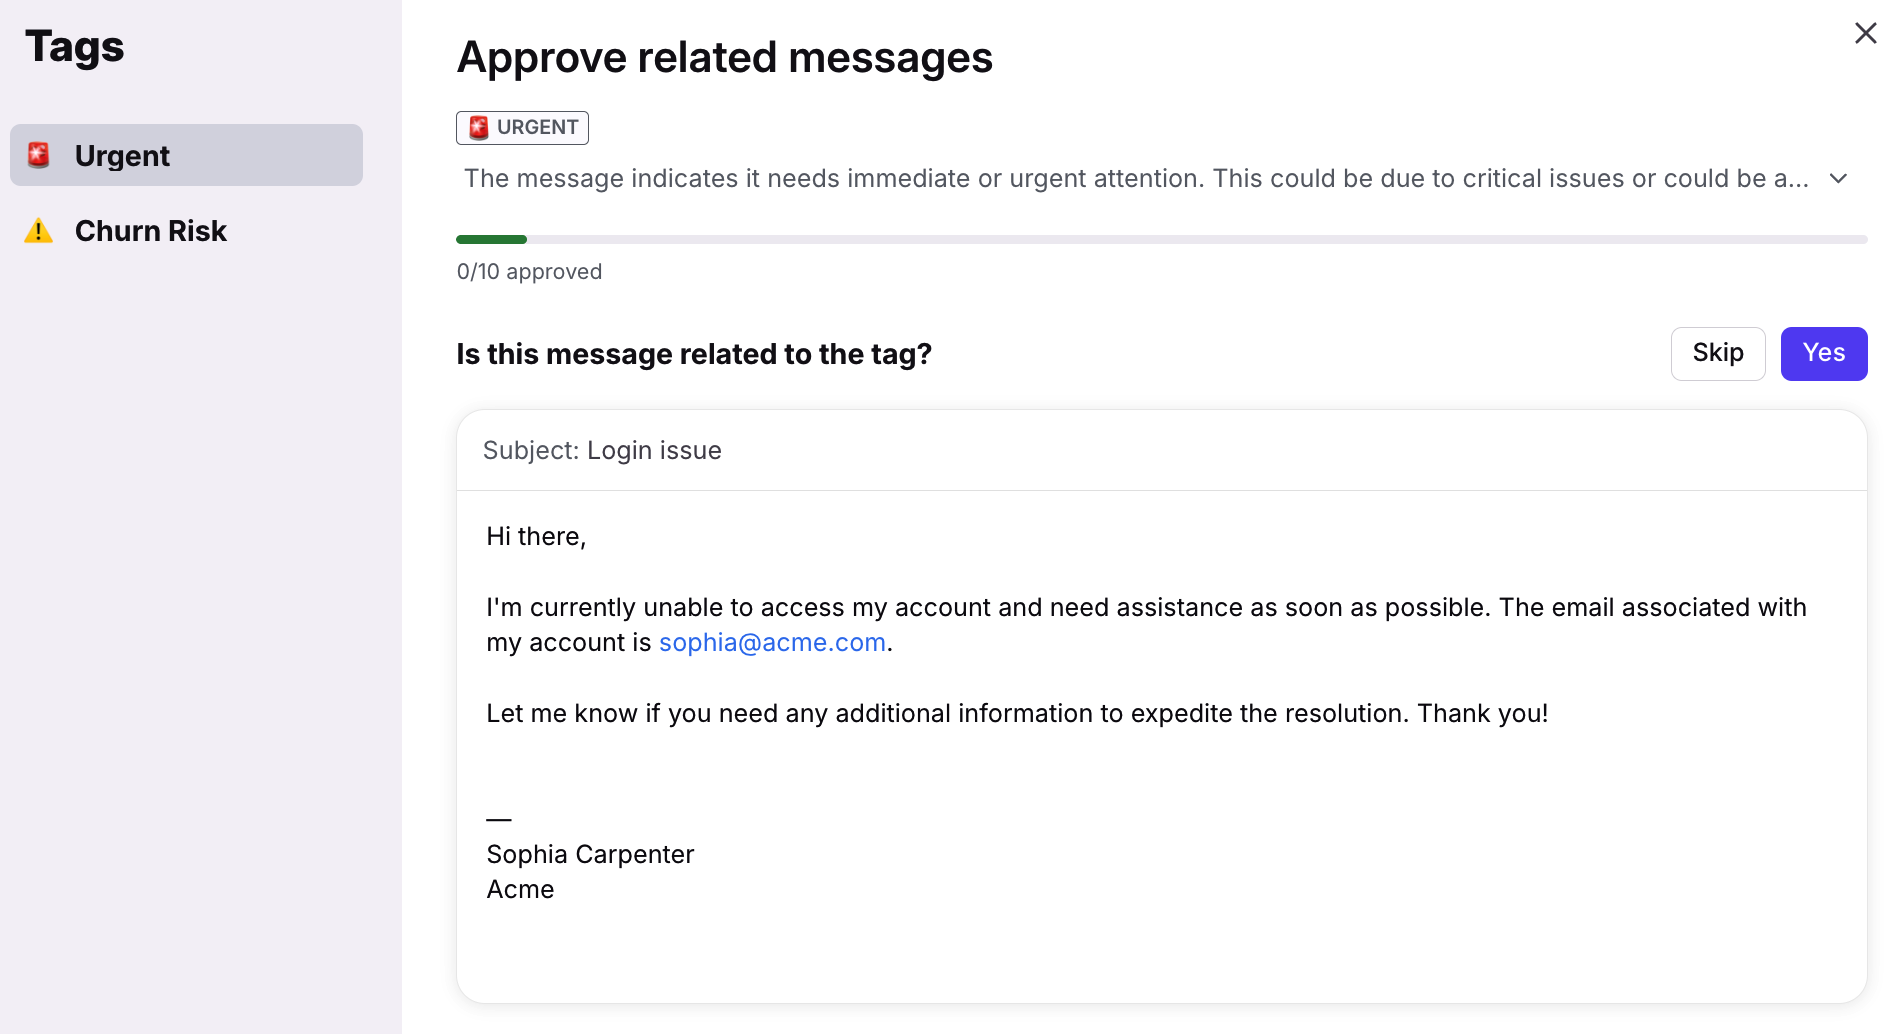
A pop-up will appear for you to approve messages related to your tags. You will need to approve 10 messages per tag to complete AI training.
⚠️ Important: You should only approve or reject the suggestion based on the highlighted message. No other messages, comments, or context will be used for training.
Step 9
Once you've approved 10 related messages, the tag is fully trained and will start auto-tagging from that point onward.
Step 10
You can return to the Selected tags tab in your rule at any time to edit your tags, check the AI training status, or continue training.
To review AI-tagged conversations, click the View button for any tag in the list.
FAQ
What channels are supported?
This feature is only available for email channels.
Does AI Tagging apply to individual inboxes?
No. AI Tagging only applies to shared inboxes.
What does the AI look at, in order to tag?
The AI will only look at the subject and message body. It currently does not look at comments, the conversation as a whole, nor the sender from / to addresses.
Which conversations are used in the training process?
Training conversations will only be pulled from inboxes selected in the Conversation is in condition of your rule.
How long does the training process take?
The training process involves two phases of conversation harvesting:
An initial harvest should take a few minutes to 30 minutes at most
A continuous harvest which is dependent on the volume of new messages
Note: AI Tagging accuracy during training/harvesting will not be as precise compared to the accuracy after training is completed.
Can I retrain a tag?
Yes. If you want to retrain your tag based on its current description or a new description, you can follow these steps:
Navigate to your AI Tagging rule, then click the Selected tags tab.
Hover over any tags you want to retrain, then use the checkboxes to select them.
Click Remove, then Save.
Navigate to the Selected tags tab in your rule again, click Add tags, then re-add the tags to your rule.
Click Save.
Wait a few minutes for the rule to re-harvest conversations, then click Start training in the rule to retrain the tag.
Why should I use AI Tagging vs. keyword-based tagging?
Better coverage: Keyword-based rules are hard to set up completely to cover all cases, and can become outdated with emails that are more semantic-based. AI Tagging makes it easy to set up tagging automations that can capture a wider range of language without having to specify exact keywords.
Easy setup: With keyword-based rules, you have to learn and discover which keywords are good triggers for your rule. Front’s pre-built template allows you to create tag rules and complete AI training in minutes.
No ongoing maintenance: With keyword-based rules, you have to update the rule every time you discover a new keyword. AI Tagging automatically learns relevant keywords.
Can I select the same inbox in multiple AI Tagging rules?
No. You can only have one AI Tagging rule per inbox. One AI Tagging rule can target multiple inboxes, but only one AI Tagging rule can be active per inbox.
If I update the tag description in the rule, does the tag description update everywhere?
Yes. Updating the tag description in the AI Tagging rule editor will update the tag description everywhere in Front.
How many tags can I include per inbox?
You can include up to 50 tags per shared inbox.
Where are the tags created by the template created?
If you have access to company tags, the tags will be added to the Company tags tab. This allows the tags to serve as a shared resource across all workspaces. Company tags simplify analytics reporting and reduce duplicate tags across workspaces.
Otherwise, the tags will be added to the Tags tab in your workspace.
Can I give the AI examples of bad emails to exclude from the tagging rule?
No. It is not possible to flag examples to exclude at this time.
What should I do if I see an inaccurate tag?
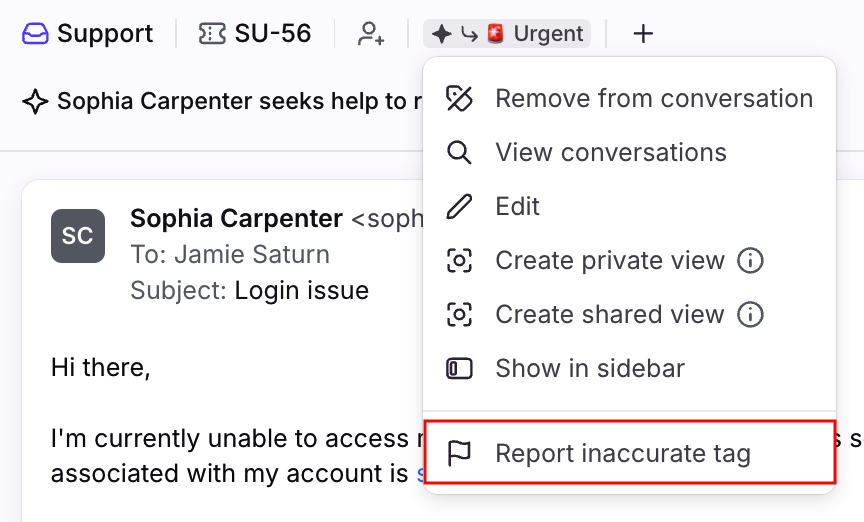
You can report an inaccurate tag by clicking on the tag from the conversation, then selecting Report inaccurate tag. The tag will be removed from the conversation, and a notification will appear to confirm your feedback was received.
Which languages are supported?
AI Tagging supports the following languages:
Danish
Dutch
English
Finnish
French
German
Italian
Japanese
Korean
Polish
Portuguese
Romanian
Russian
Spanish
Swedish
Turkish
How do I share feedback?
Check our ideas portal here to see if your idea or feedback already exists.
If it exists, you can upvote and/or comment on the idea to add additional details or describe the importance to your team’s workflows.
If it doesn't exist, you can submit a new idea by clicking Add a new idea and share details about your idea and/or the problem you're having.
Doing any of those actions will ensure your feedback is reviewed by our Product team. This will also subscribe you to any updates and progress made on those ideas.
If you're encountering a bug and need support, please reach out to our Support team.
What happens to my data? Which providers does Front use?
See this article for additional AI FAQs.

