
How to create and message a contact list
Overview
Front's contact lists allow you to organize your contacts, and make it easy to message a group of people at the same time with the exact same message. You are able to manually create contact lists using the steps below, or by uploading a CSV of your contacts.
However, if you need to personalize emails to a group of people such as dynamically populating their names, use the Sequences feature instead.
Create a contact list
Step 1
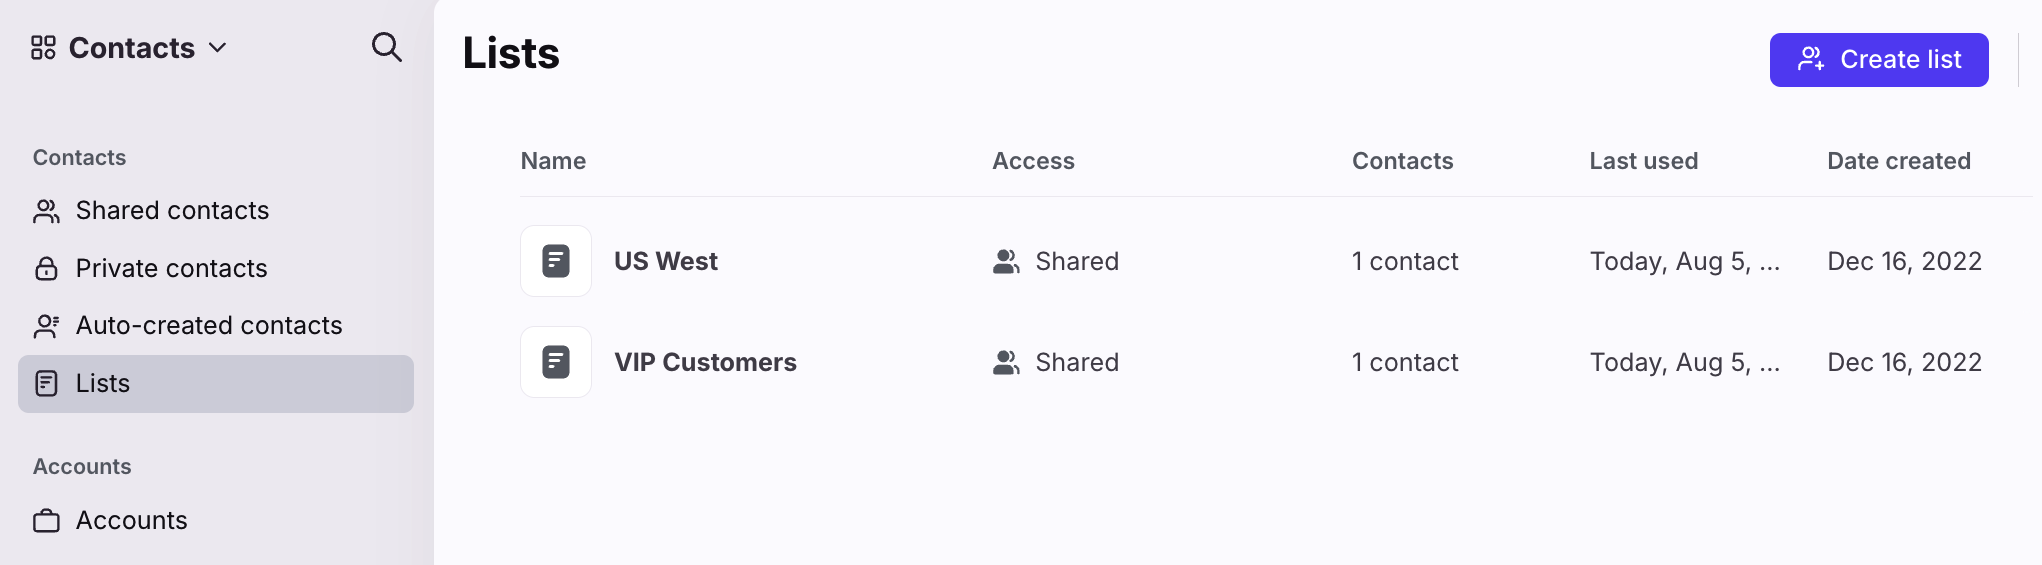
Click the navigation menu, then select Contacts to access the Contact Manager.
Step 2
Select Lists in the left sidebar menu to view your contact lists.
Step 3
Click Create list at the top right to create a new contact list.
Step 4
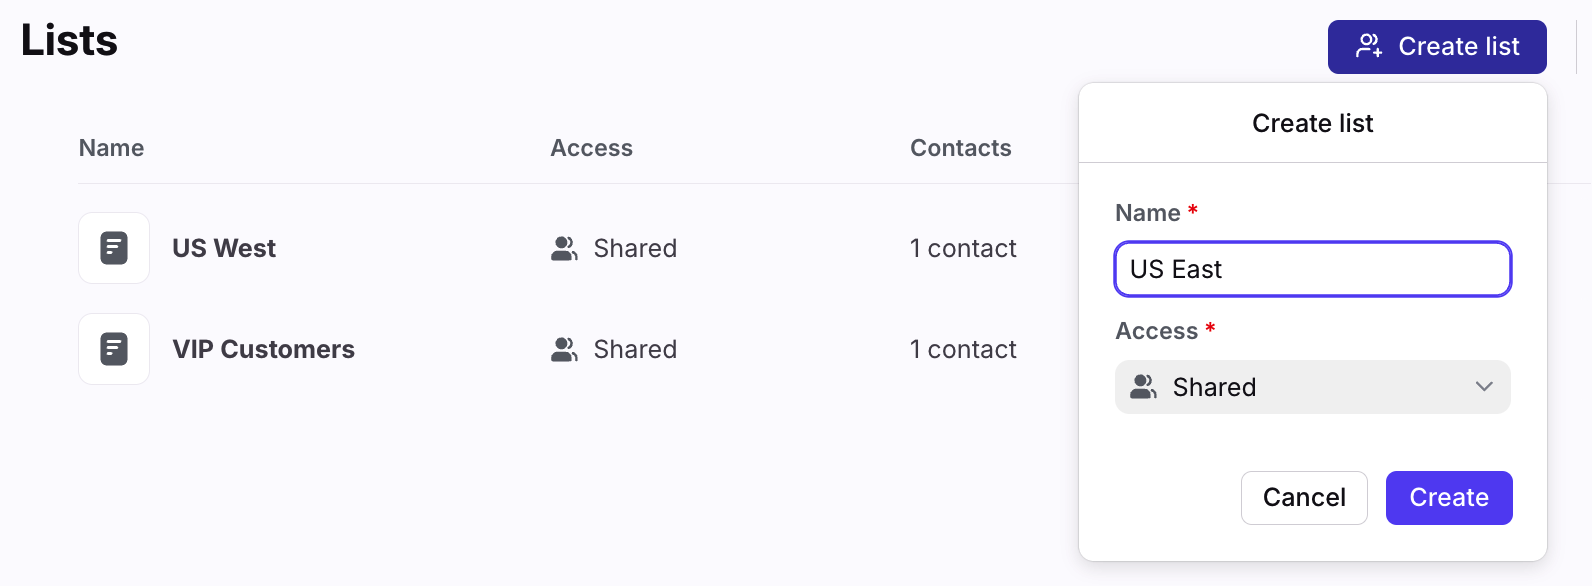
Enter a name and select an Access option for your list.
Shared: Shared contact lists will be accessible to all teammates in Front.
Workspace: Workspace contact lists will only be accessible to members of that workspace. If your Front company only has one workspace, shared contact lists and workspace contact lists will both be accessible to all teammates.
Private: Private contact lists will only be accessible to your personal account.
Step 5
Click Create to create your list.
Add contact to contact list
From your Contact Manager
From your Contact Manager you can add contacts to a contact list individually, add contacts to a contact list in bulk, or can add additional contacts to a contact list from the list itself.
Add a specific contact to contact lists
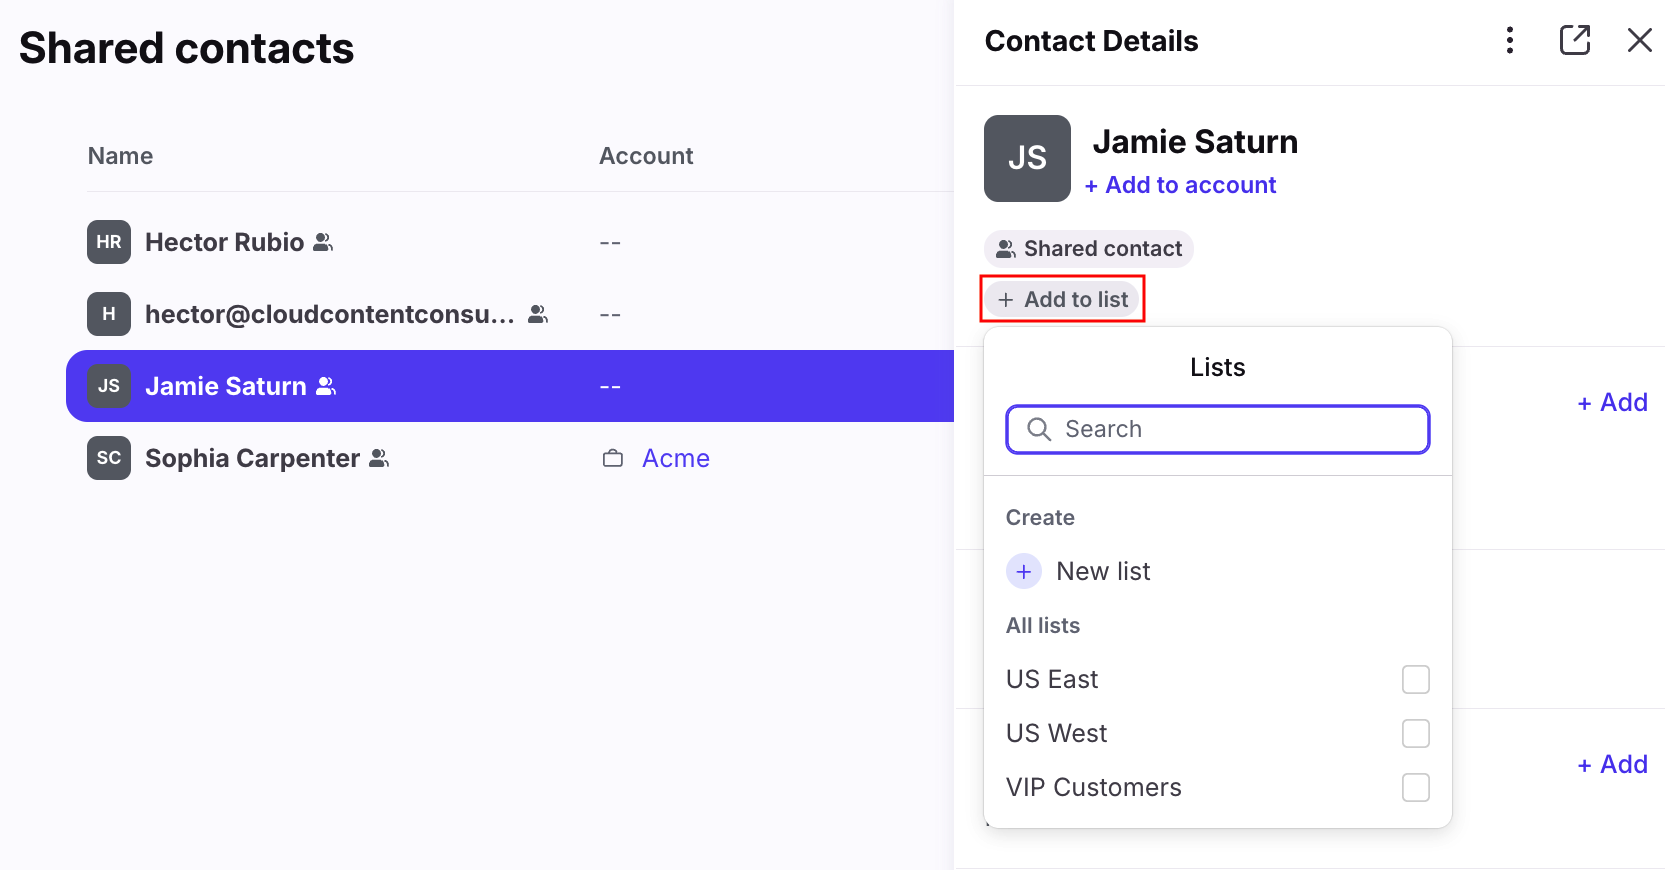
Navigate to your Contact Manager and select a contact to open their contact details. Click Add to list under the contact name, then select one or more contact lists to add the contact to. You can also select New list to create a new contact list and add this contact to it.
If the contact is already in a list, click the (+) plus sign under the contact's name to add it to an additional list.
Add contacts to contact lists in bulk
Step 1
Navigate to your Contact Manager and select Shared contacts, Private contacts, or Auto-shared contacts from the left sidebar menu. Or, use the search bar at the top to search for contacts.
Step 2
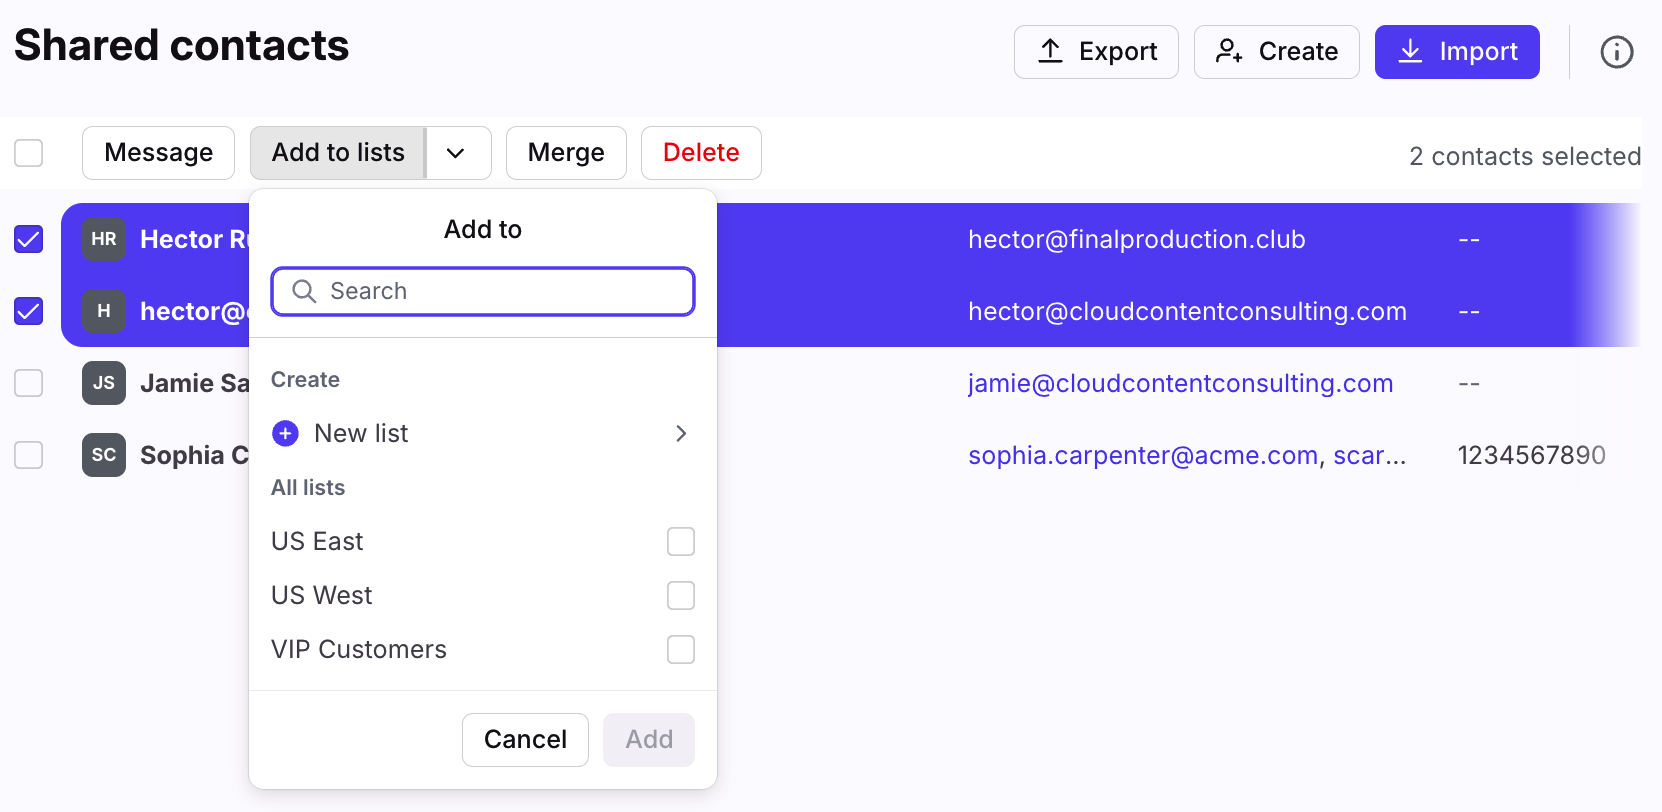
Hover over a contact and select the checkbox that appears to the left of the contact name. You’ll then be able to select that contact, plus any other contacts you’d like to add to your contact list.
Step 3
Click the Add to lists, then select one or more contact lists.
Step 4
Click Add to add the contacts to the selected lists.
Add additional contacts to contact list
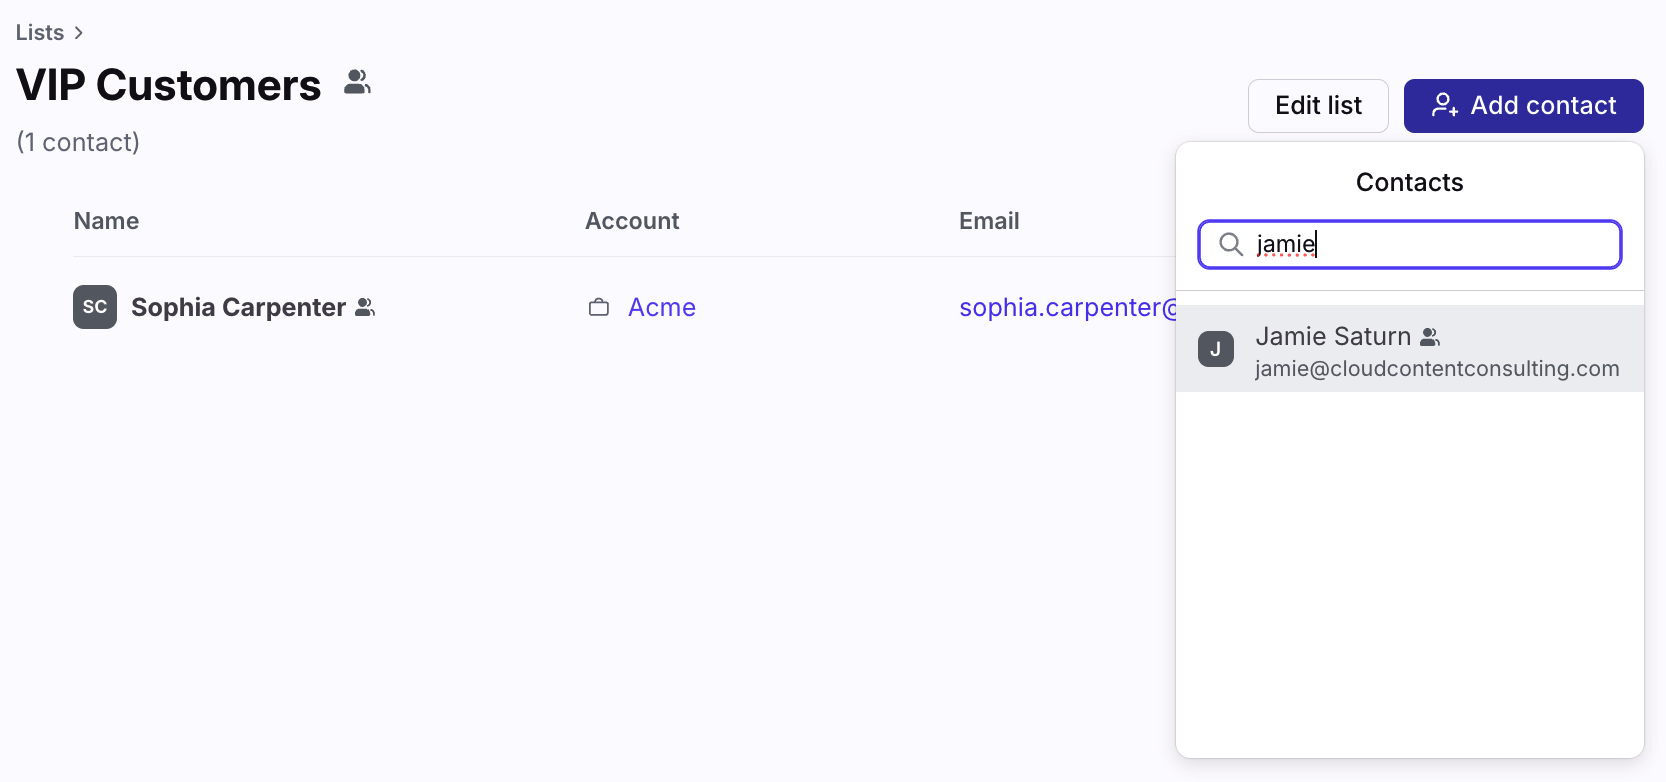
Go to your Contact Manager and click Lists in the left sidebar menu. Select the contact list that you'd list to add teammates to, then click Add contact. Search for the contact you'd list to add to your contact list and select their name to add them to the list.
From a conversation
Step 1
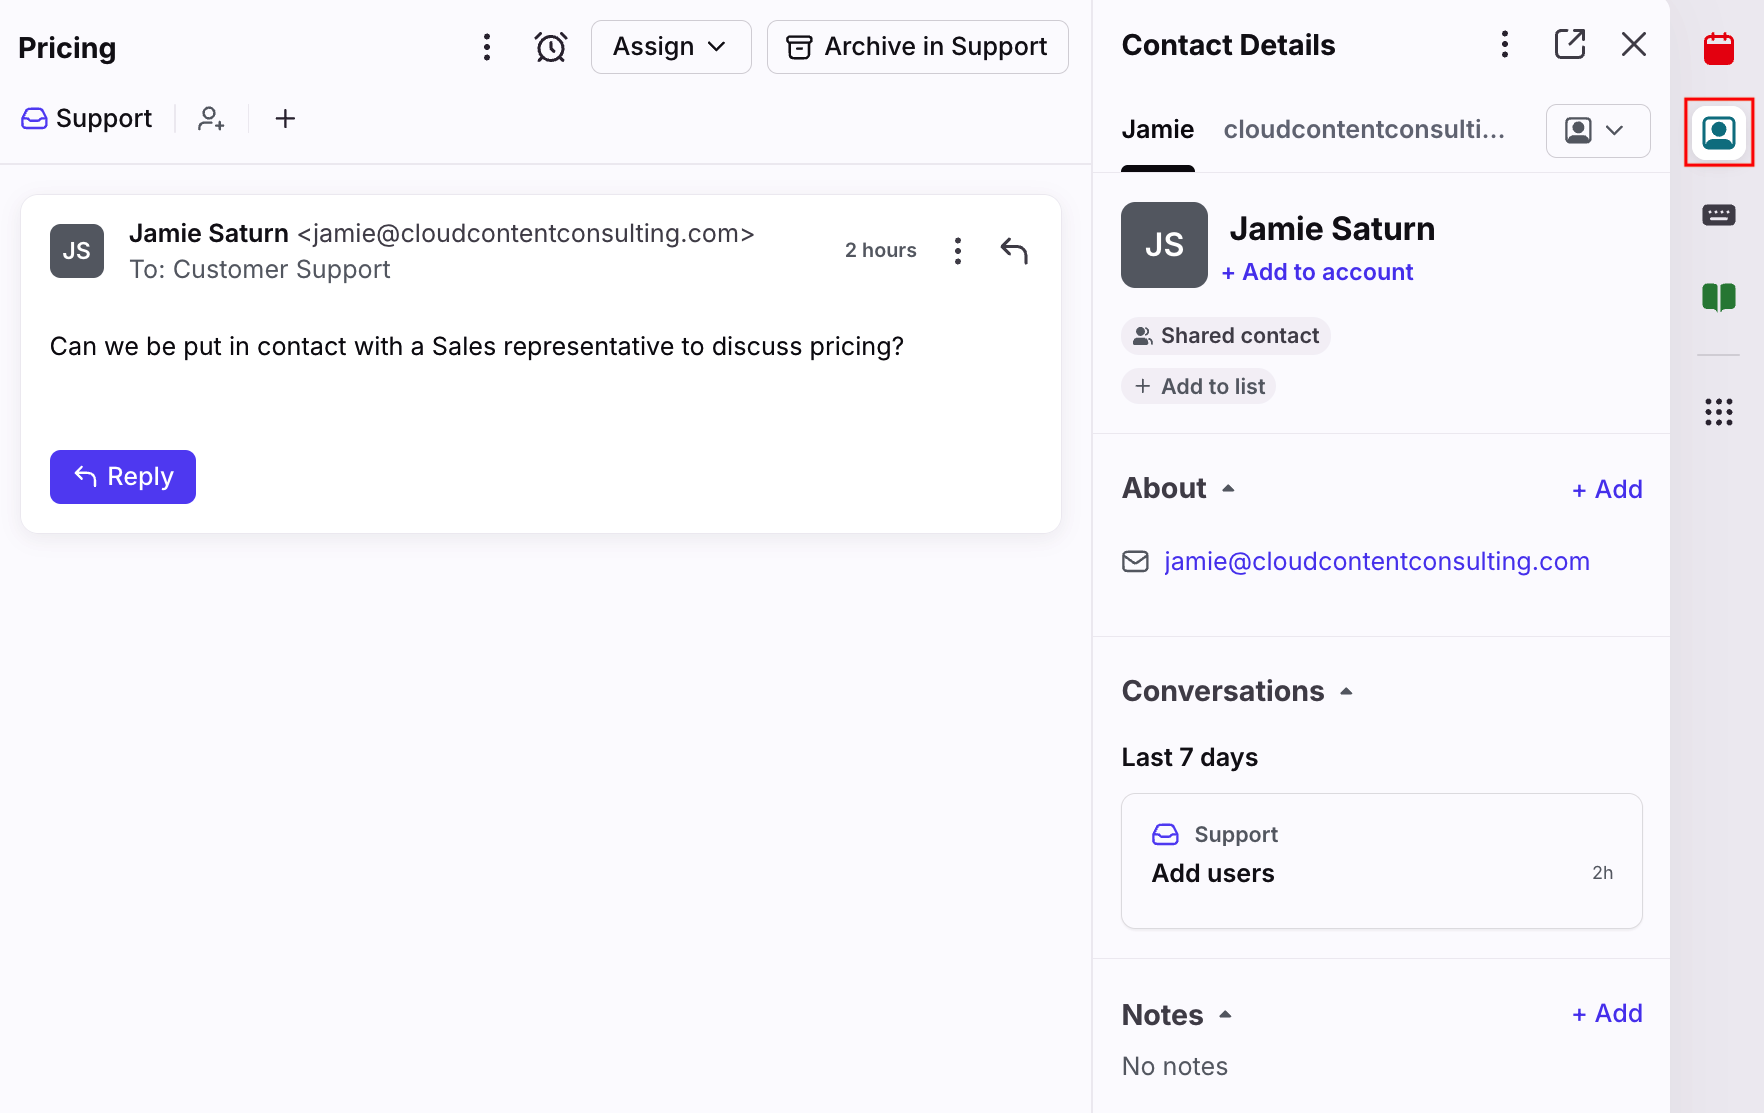
Open a conversation in your inbox, and click the Contact Details plugin in the sidebar.
Step 2
Click Add to list under the contact's name.
Step 3
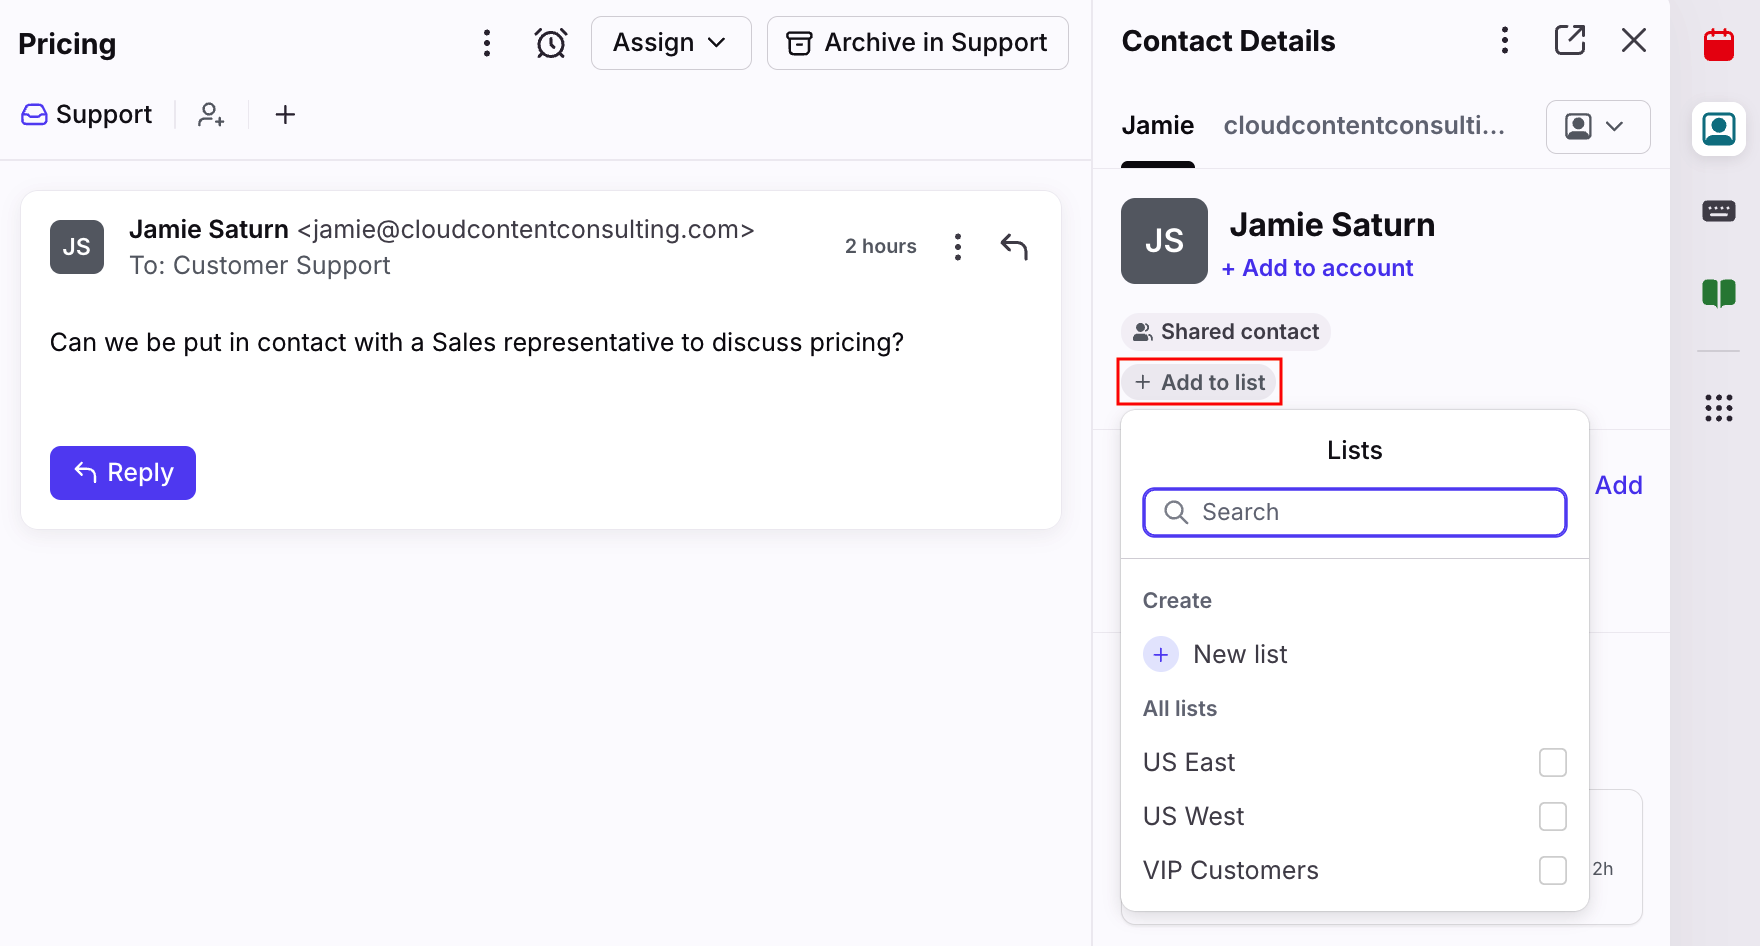
Select one or more contact lists, or click New list to create a new contact list. The lists will automatically be added to the contact.
Remove contact from contact list
From your Contact Manager
Step 1
Navigate to your Contact Manager and select Shared contacts, Private contacts, or Auto-shared contacts from the left sidebar menu. Or, use the search bar at the top to search for a specific contact.
Step 2
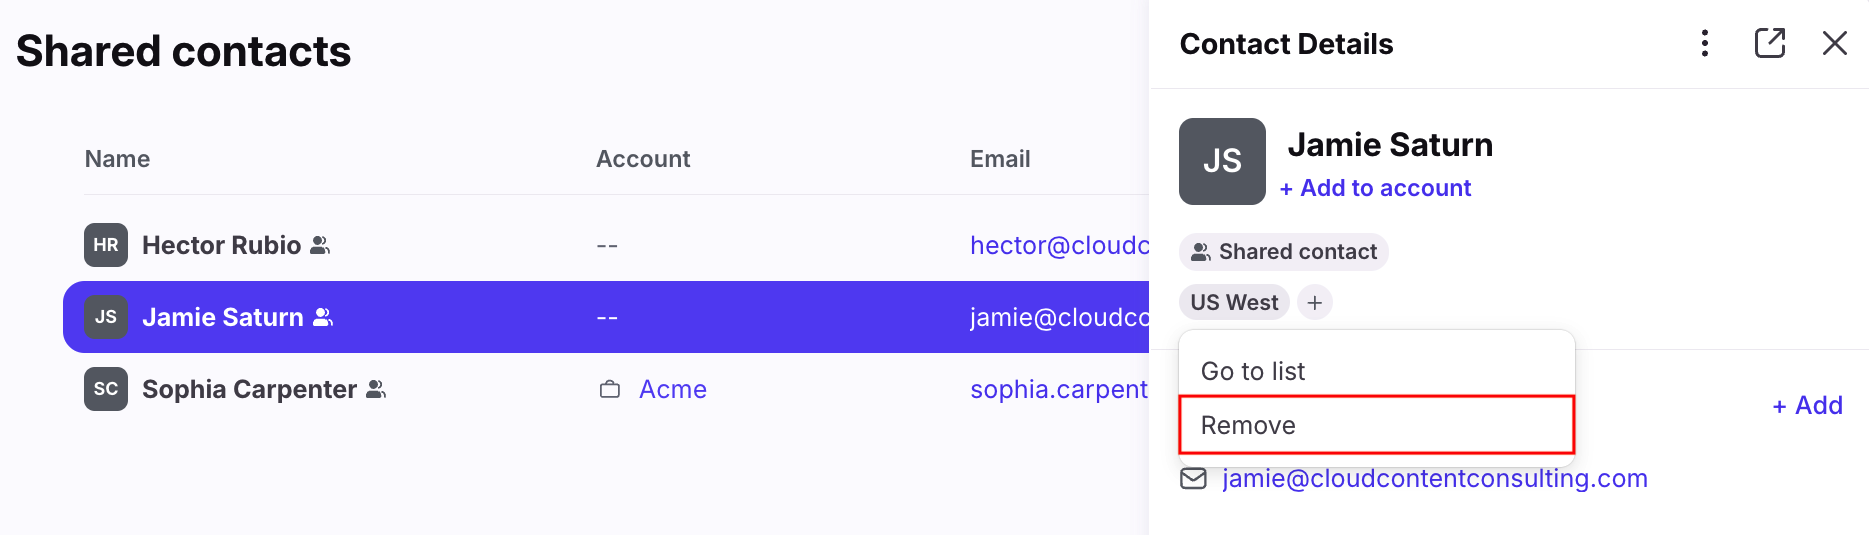
Click a contact to open their contact details. Click the contact list label under the contact's name then select the Remove option.
From a conversation
Step 1
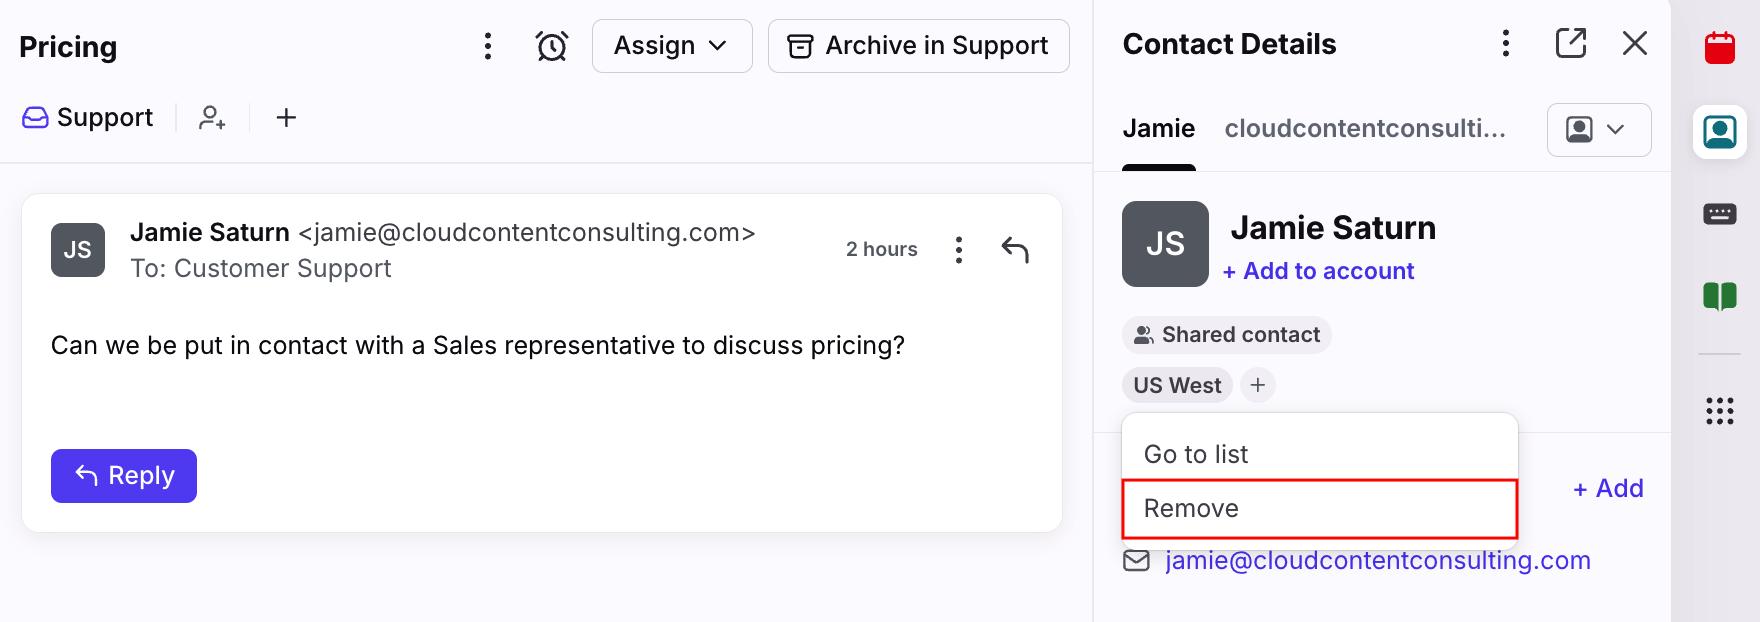
Open a conversation in your inbox, and click the Contact Details plugin icon in the sidebar to view the contact's details.
Step 2
You will see a list of contact lists under the contact's name. Click on the list you wish to remove, then click Remove.
Edit contact lists
Rename or delete a specific contact list
Step 1
Navigate to your Contacts Manager and click Lists in the left sidebar menu. Select the contact list you want to rename.
Step 2
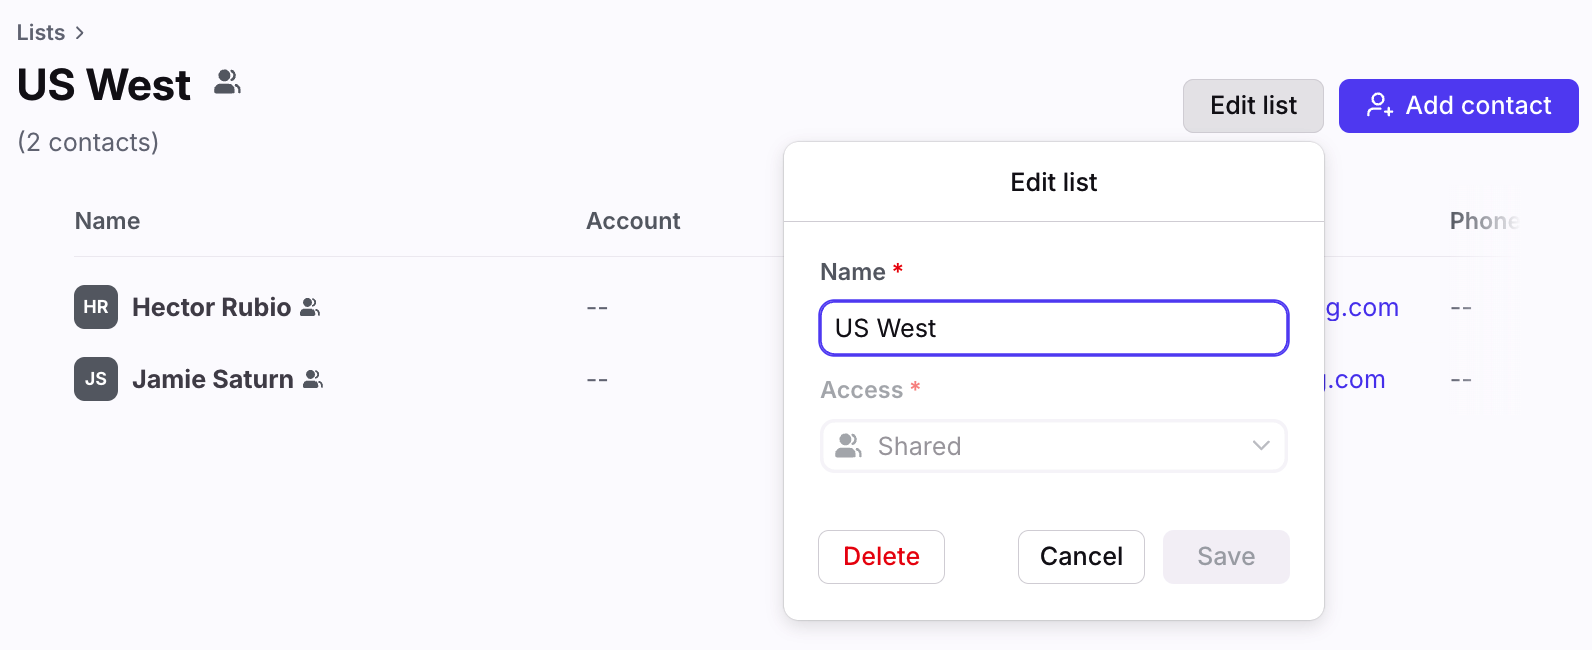
Click Edit list at the top right.
Step 3
From the edit menu, you can enter a new name for your list in the Name field, or can click Delete to delete this contact list. Deleting a contact list will not delete the individual contacts within the list.
Delete contact lists in bulk
Step 1
Go to your Contact Manager and select Lists from the left sidebar menu.
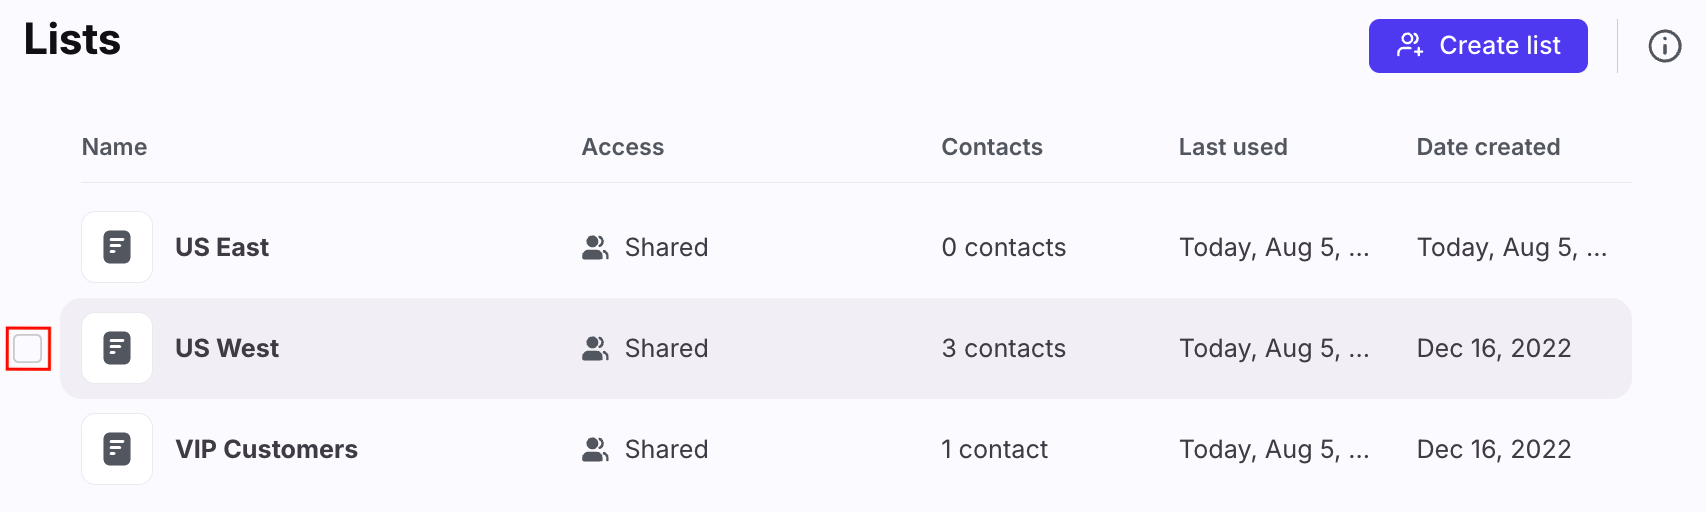
Step 2
Hover over a contact list and select the checkbox that appears to the left of the list name. You’ll then be able to select that list, plus any other lists you’d like to bulk delete.
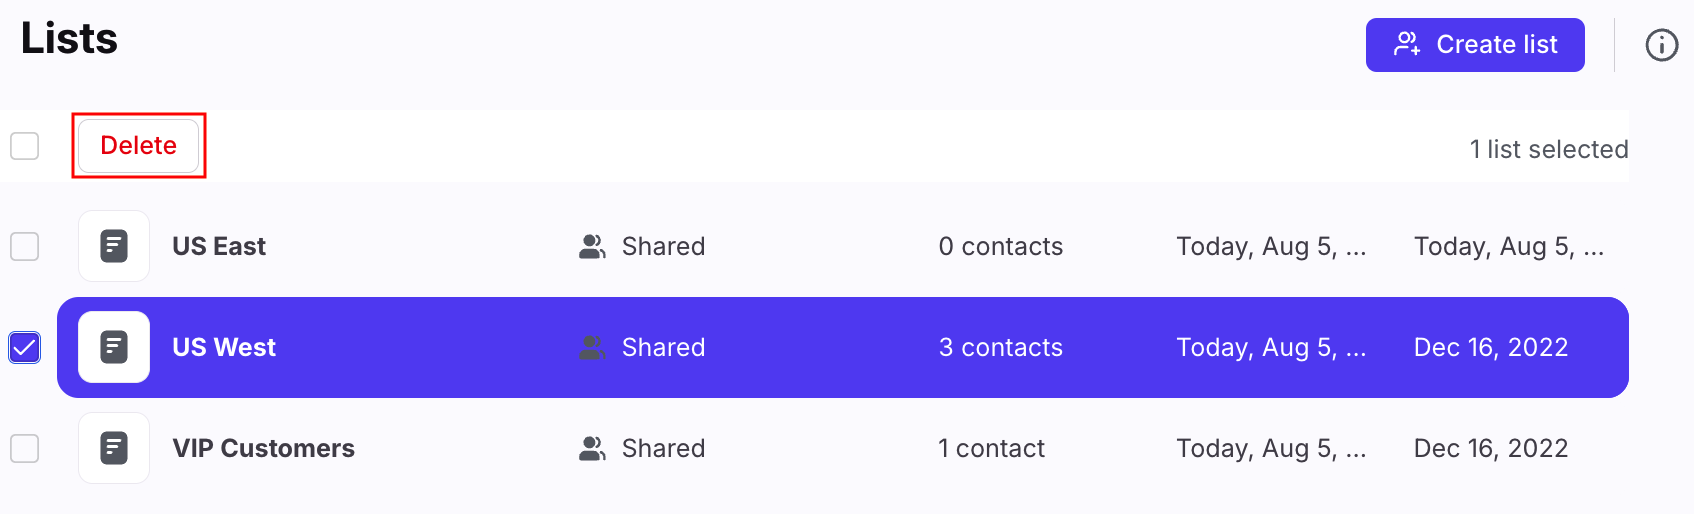
Step 3
Click the Delete button at the top to delete the selected lists.
Step 4
You'll then be asked to confirm that you'd like to delete the selected list. Deleting a contact list will not delete the individual contacts within the list.
Take bulk actions in a contact list
Navigate to your Contact Manager, click Lists in the sidebar menu, and select a contact list to take bulk actions on contacts in that contact list.
You’re able to take the following bulk actions:
Message: Send a new message to the selected contacts
Merge: Merge the selected contacts into one contact
Remove from this list: Remove the selected contacts from this list but do not delete the actual contacts
Delete: Permanently delete the actual contacts you've selected
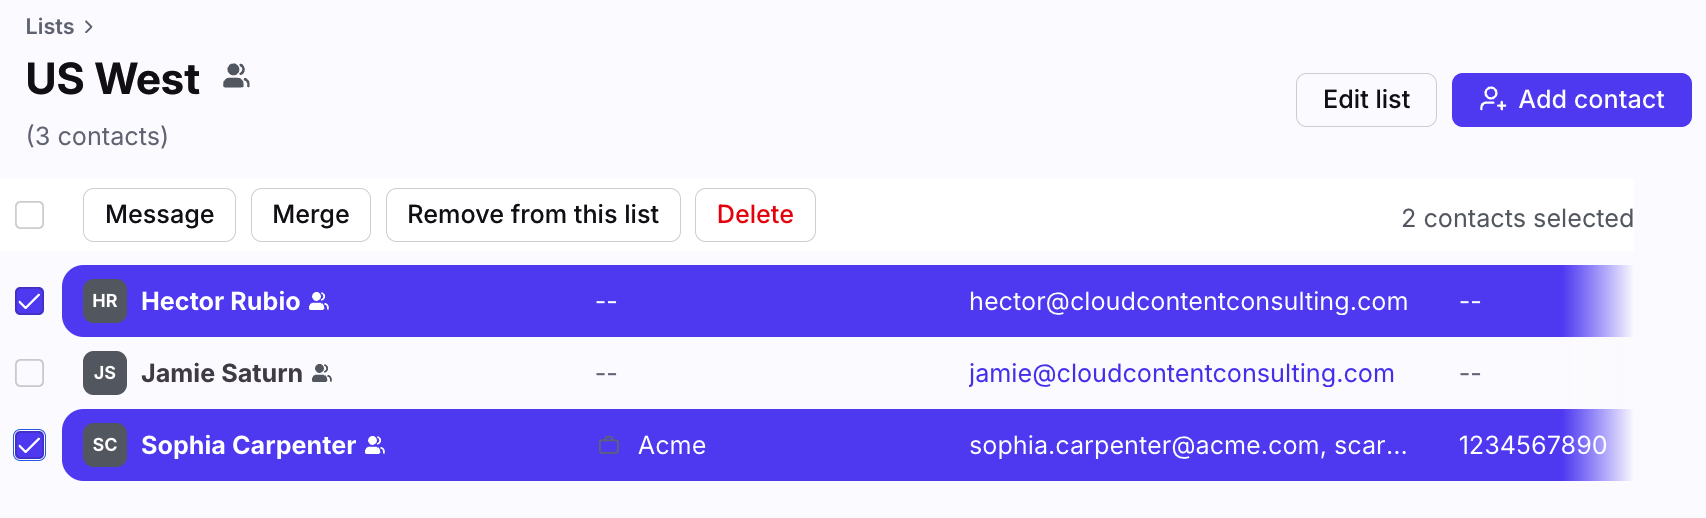
Select contacts to take bulk action
To select a contact to bulk edit, hover over the contact and select the checkbox that appears to the left of the contact name. You’ll then be able to select that contact, plus any other contacts you’d like to take action on.
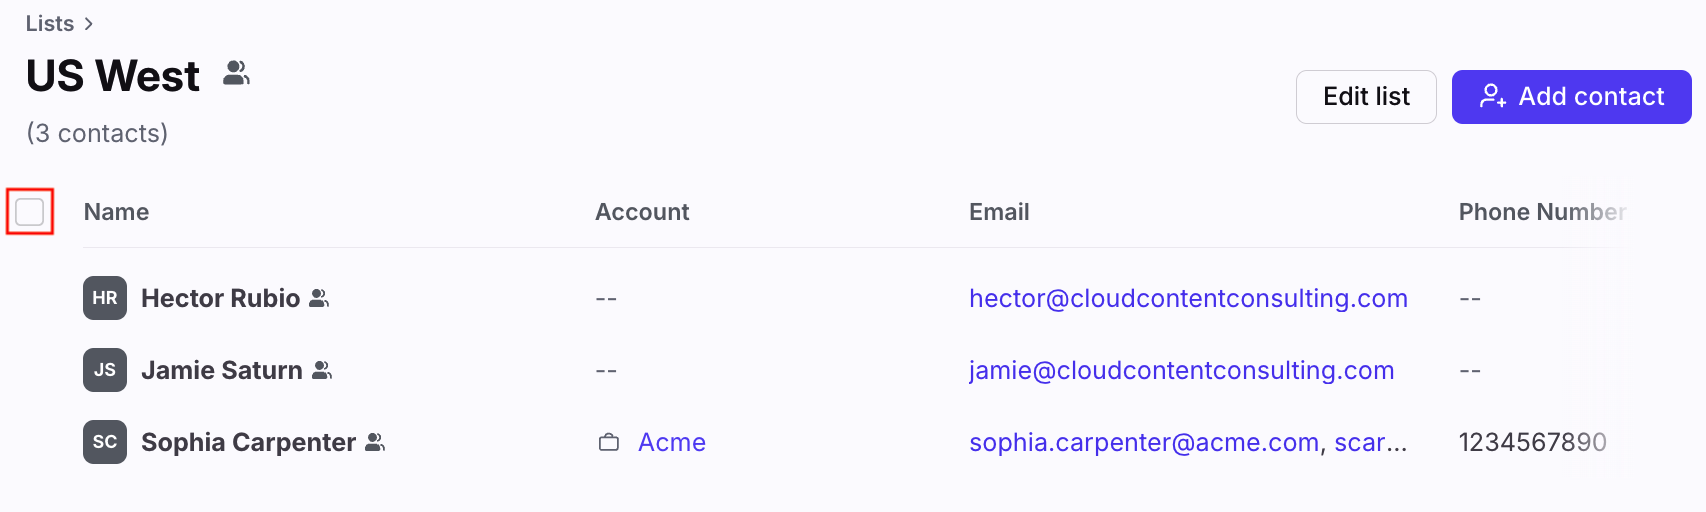
Select all contacts in list
Hover on the header row at the top of your contact list, and a checkbox will appear. Click this to select all contacts in your contact list.
Message a contact list
Use contact lists to quickly send the same exact message to a group of people. This is helpful when you need to send group updates, announcements, and more.
If a contact has multiple email addresses, only the oldest email associated will be used. For example, if the contact Sophia Carpenter has email addresses sophia@acme.com (added Dec 1) and scarpenter@acme.com (added Dec 2), Front will send the message to sophia@acme.com.
From the composer
You can send a message to all contacts in a contact list by typing the list name in the To: field of your message.

From the Contact Manager
Follow the instructions in the bulk actions section above to select your contacts within a contact list.
Click the Message button and choose a message type.
