
SPF/DKIM - Removing "via mandrillapp.com" from outgoing emails
This is advanced material that would best be done by an IT admin or someone that fully understands what it means to make changes to DNS records.
Overview
If you use SMTP channels in Front, we strongly recommend that you authorize Mandrill to send emails on your behalf by setting up specific Mandrill SPF/DKIM entries in your DNS configuration. This will improve email deliverability, avoid messages being marked as spam, and remove the via mandrillapp.com that appears next to the sender email address in your sent emails.
Follow these steps to add your SPF/DKIM records for each email domain you use to send email from Front. There is one deliverability settings page visible to company admins where you can configure records for all your email domains in one place. If you are not a company admin, you will not see this settings page and will need to get your admin’s help.
⚠️ Important: Whenever there are missing SPF/DKIM records for an email domain you use in Front, all members of the team will see prominent warnings in the app indicating this setup step has not been completed.
Instructions
Step 1
Click the gear icon, then navigate to company settings.
Step 2
Select Security, click the Deliverability tab, then select the domain you'd like to manage. Here, company admins can configure SPF/DKIM records. This page will only be visible to company admins after they add at least one team SMTP channel.
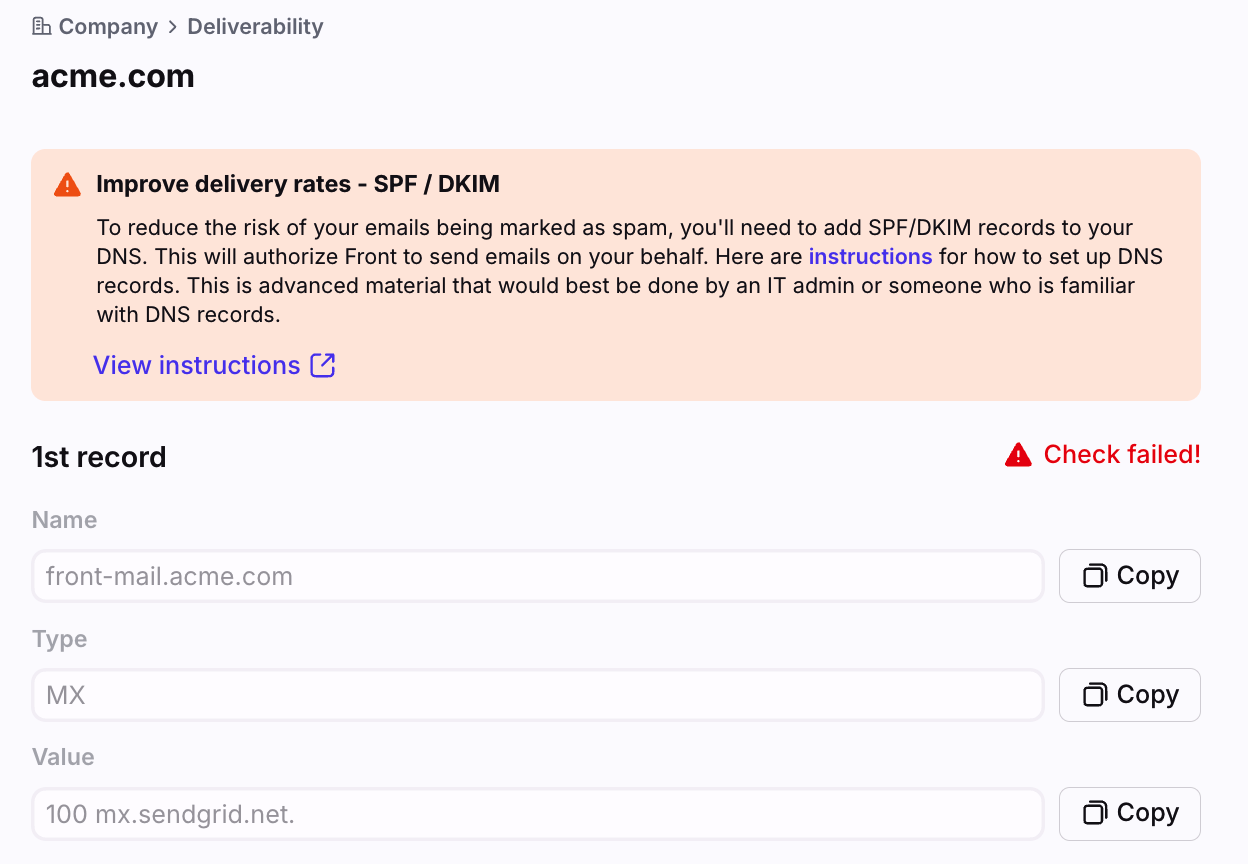
Note: If you do not see the Deliverability tab, it is likely because only individual inboxes have been added which require these DNS records to be configured. If this is the case, you will find the records listed in the channel settings for the channel, under Improve delivery rates - SPF / DKIM.
Step 3
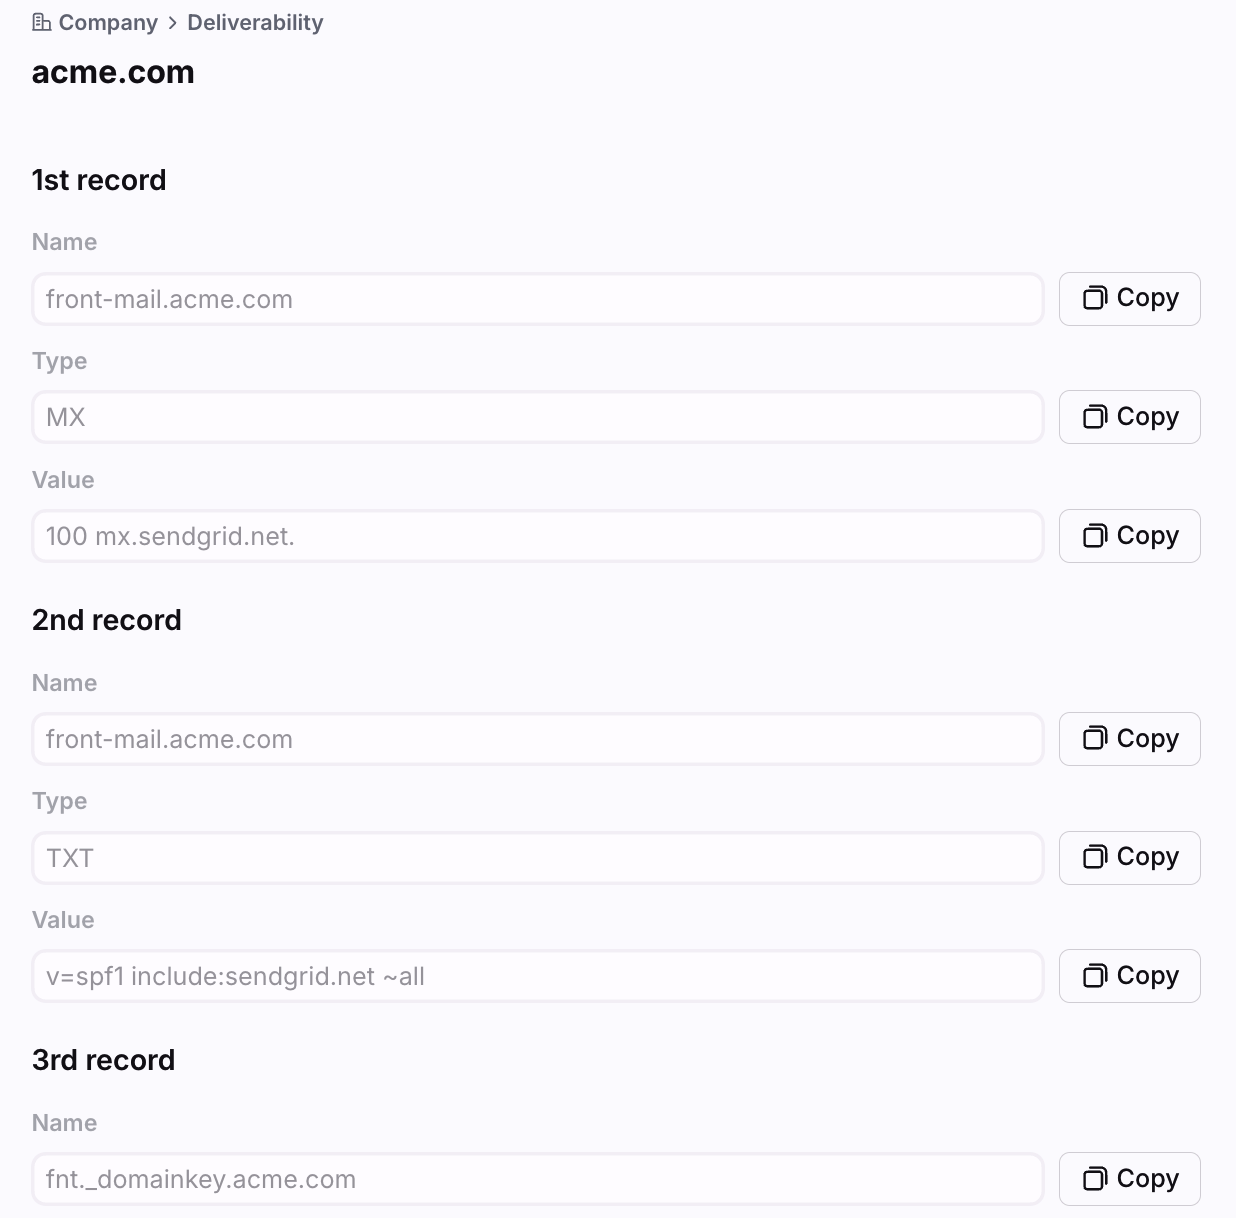
You will see a list of your SMTP channel domains in the tabs at the top. Any email domains with missing SPF/DKIM records will have a warning icon.
Step 4
Add your SPF/DKIM records for each channel with a warning icon. Take the values and add them as a DNS record in your DNS settings. Each provider offers a different UI to add these entries to the DNS. Feel free to ask your IT department if you're unsure how to do this.

Step 5
Once your DNS settings are set, you can go back to Front and click Check DNS settings. This will trigger a check by Mandrill to verify that your DNS configuration is correct. Be aware that Mandrill might not see your changes before the time specified in your DNS TTL settings.
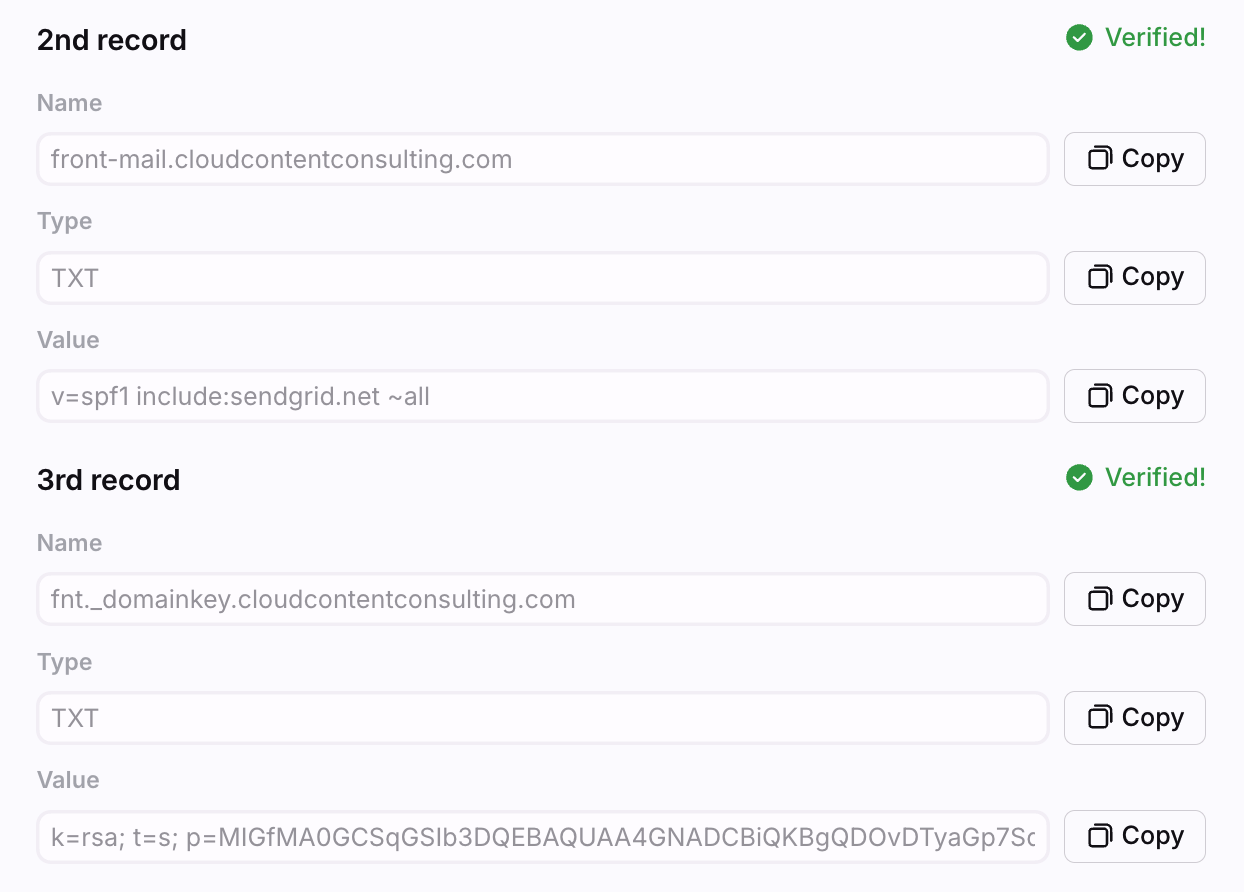
When you’ve successfully added the SPF/DKIM records, the warning icon will be removed from the channel name in the list and the DNS records will say Verified.
Step 6
To correctly use your SPF/DKIM entries, Mandrill needs to validate your domain.
To accomplish this, Mandrill can send you a validation link on one of your domain addresses. To get this validation link, contact our Support team when your DNS configuration is correct as per the above instructions.
Once you receive that validation link from Mandrill, forward it to our Support team so we can validate your domain on our Mandrill account.