
How to set a default signature for a channel
Overview
You may have several signatures set up, and if you'd like to use different default signatures for different email addresses, you can set different default signatures for each channel. The default signature will then populate any time you compose a new message or reply from that channel.
As Sender info is linked to signatures, the steps below will also allow you to set different default display names when sending from different channels.
If you are setting this up for shared signatures, you must be a workspace admin, or have permissions within Front to edit shared signature settings. If you have not yet created a shared signature, follow the steps here to add a new shared signature.
Instructions
Step 1
Click the gear icon, then navigate to workspace or personal settings tab, depending on which space you are working with. Select Signatures from the left menu.
Step 2
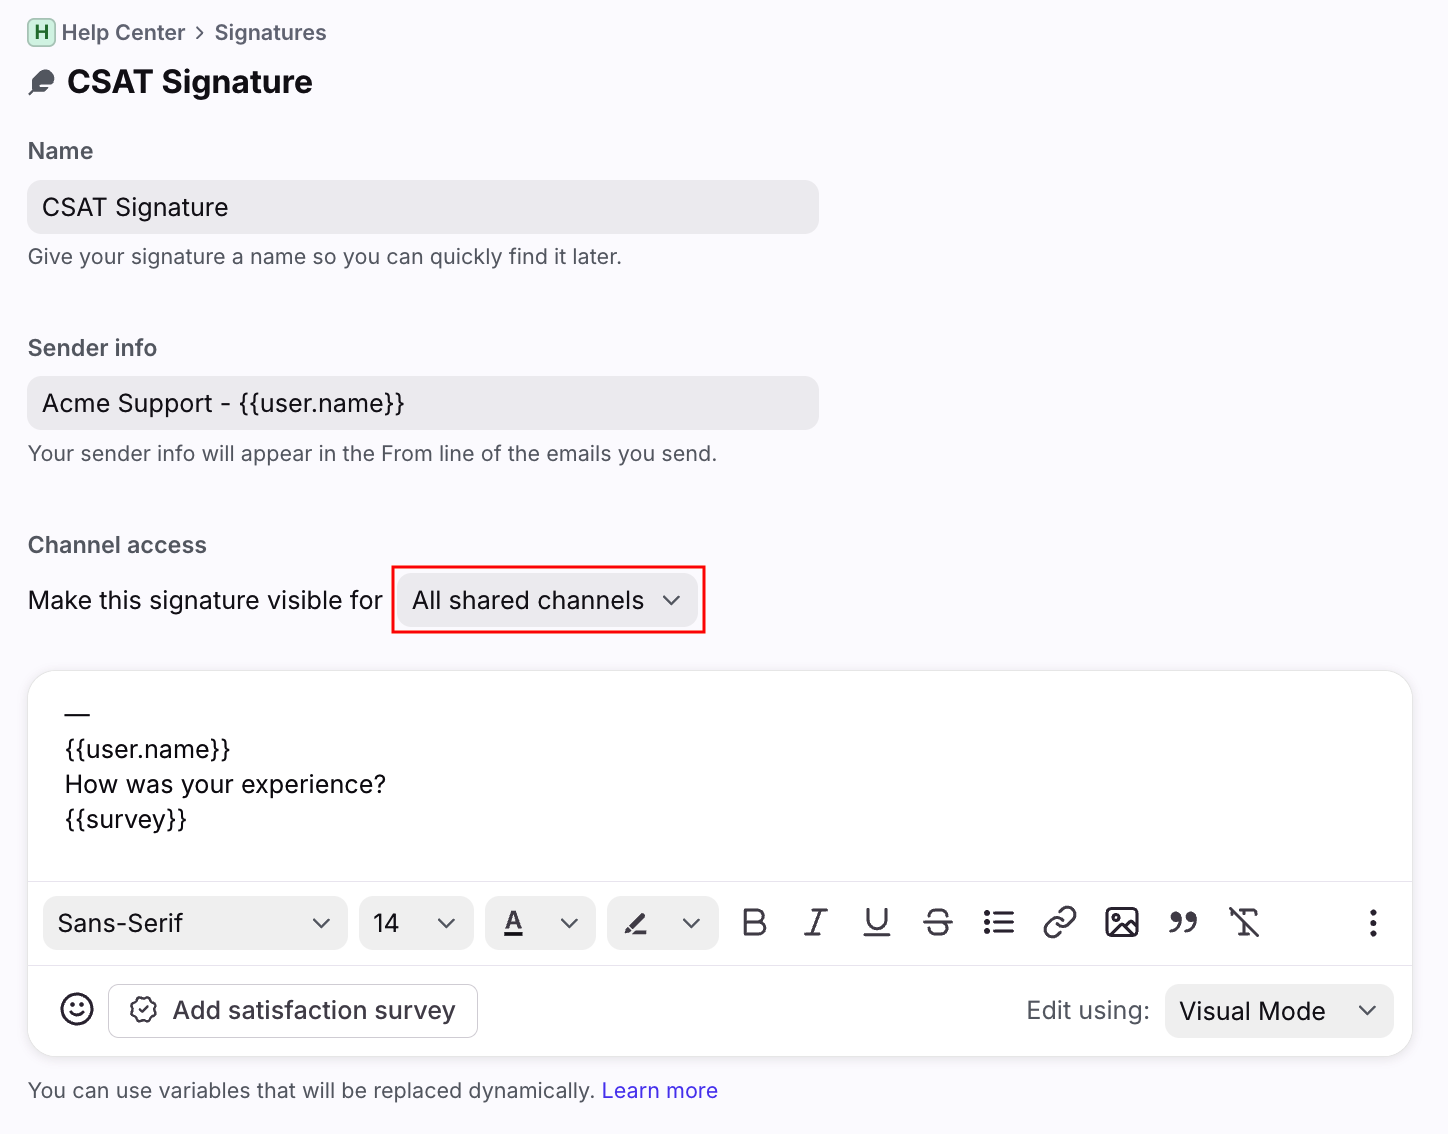
Select the signature you would like to set as the default, then click the dropdown under the Channel access section.
Step 3
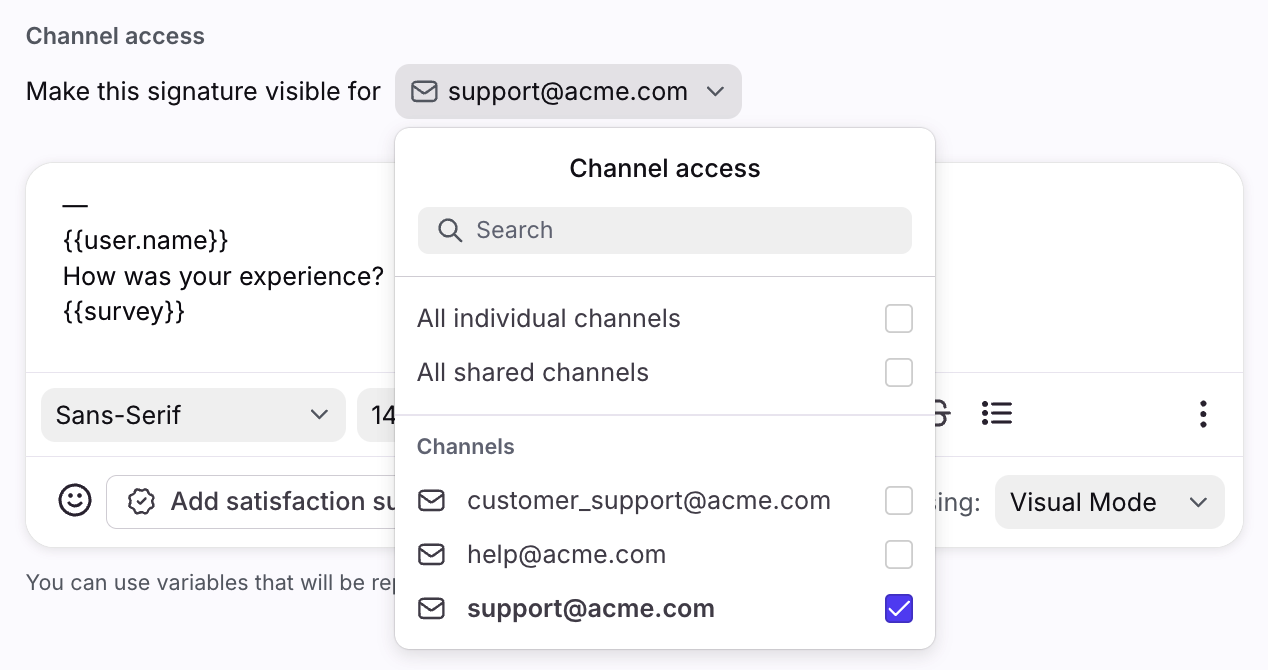
Use the checkboxes to select the channels you’d like the signature to apply to. To restrict the signature to only be used for specific channels, use the checkboxes to select them. Individual signatures will not have the All shared channels option.
Step 4
Click Save.
FAQ
Why does my individual signature show instead of the shared signature?
If your individual signature is visible to a shared channel, then your individual signature will take precedence over any shared signatures. If you do not want to use your individual signature when sending from a shared channel, follow the instructions above to make sure the shared channel is not selected in the dropdown menu.