
Branching rules
Overview
Branching rules let you define multiple sets of actions based on different conditions within a single rule. This allows you to consolidate and manage more dynamic workflows within a single rule. When a conversation matches multiple branches, the rule will prioritize the highest path in the list. For situations where you need to execute all actions from every branch, we recommend using a rule set instead.
Not sure where to start? Start with a linear rule to create one path, then upgrade to branching as your needs evolve.
Instructions
Step 1
Click the gear icon, then select company, workspace, or personal settings in the left sidebar, depending on where you want to create the rule. Select Rules and macros or Rules, depending on your view.
Step 2
For individual rules, click the arrow icon next to Create rule, then select Create branching rule. For workspace and company rules, click Create rule and select the Create branching rule template.
In this example, we'll create a workspace rule.
Option 1: Build with AI
Step 3
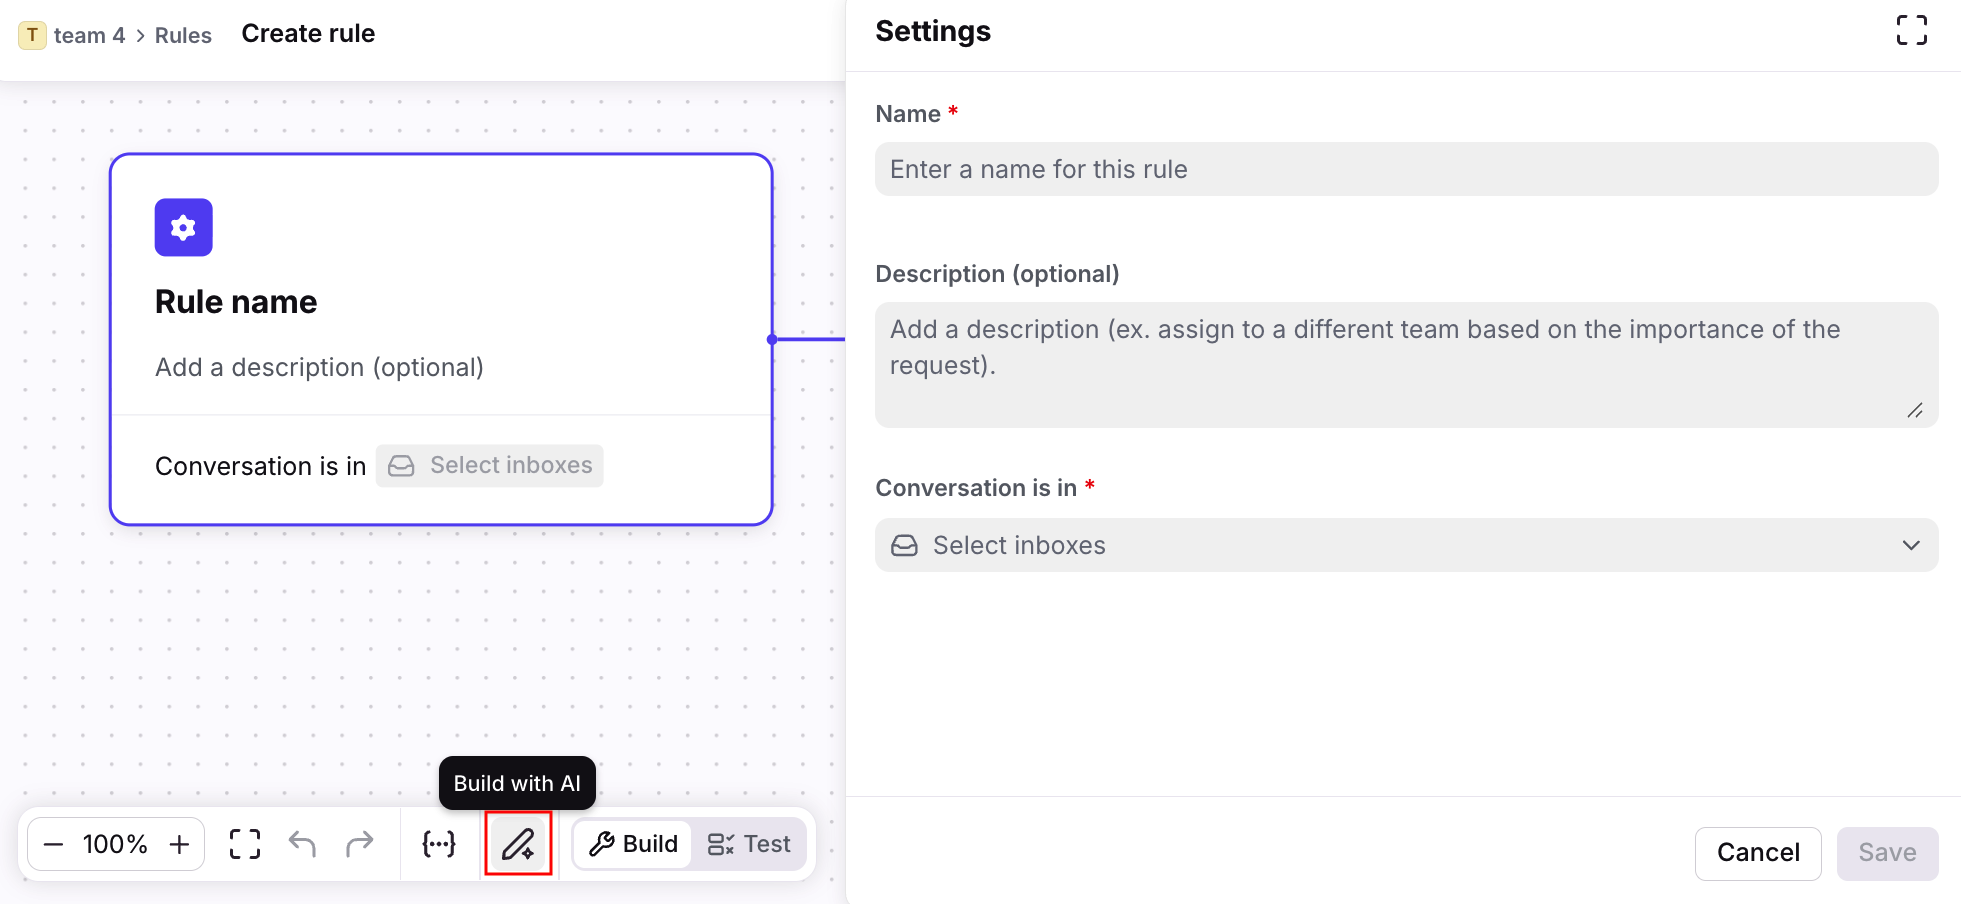
Click the Build with AI icon.
Step 4
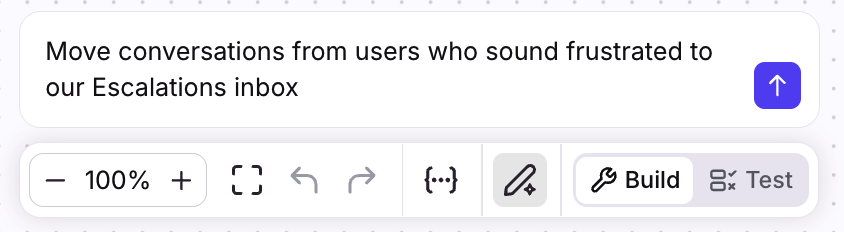
In the text box, describe the workflow you’d like AI to build. This works best when formatted as natural language. AI will only build the rule, so you’ll need to build any resources like inboxes, tags, etc. beforehand.
In this example, we’ll ask AI to "Move conversations from users who sound frustrated to our Escalations inbox".
Step 5
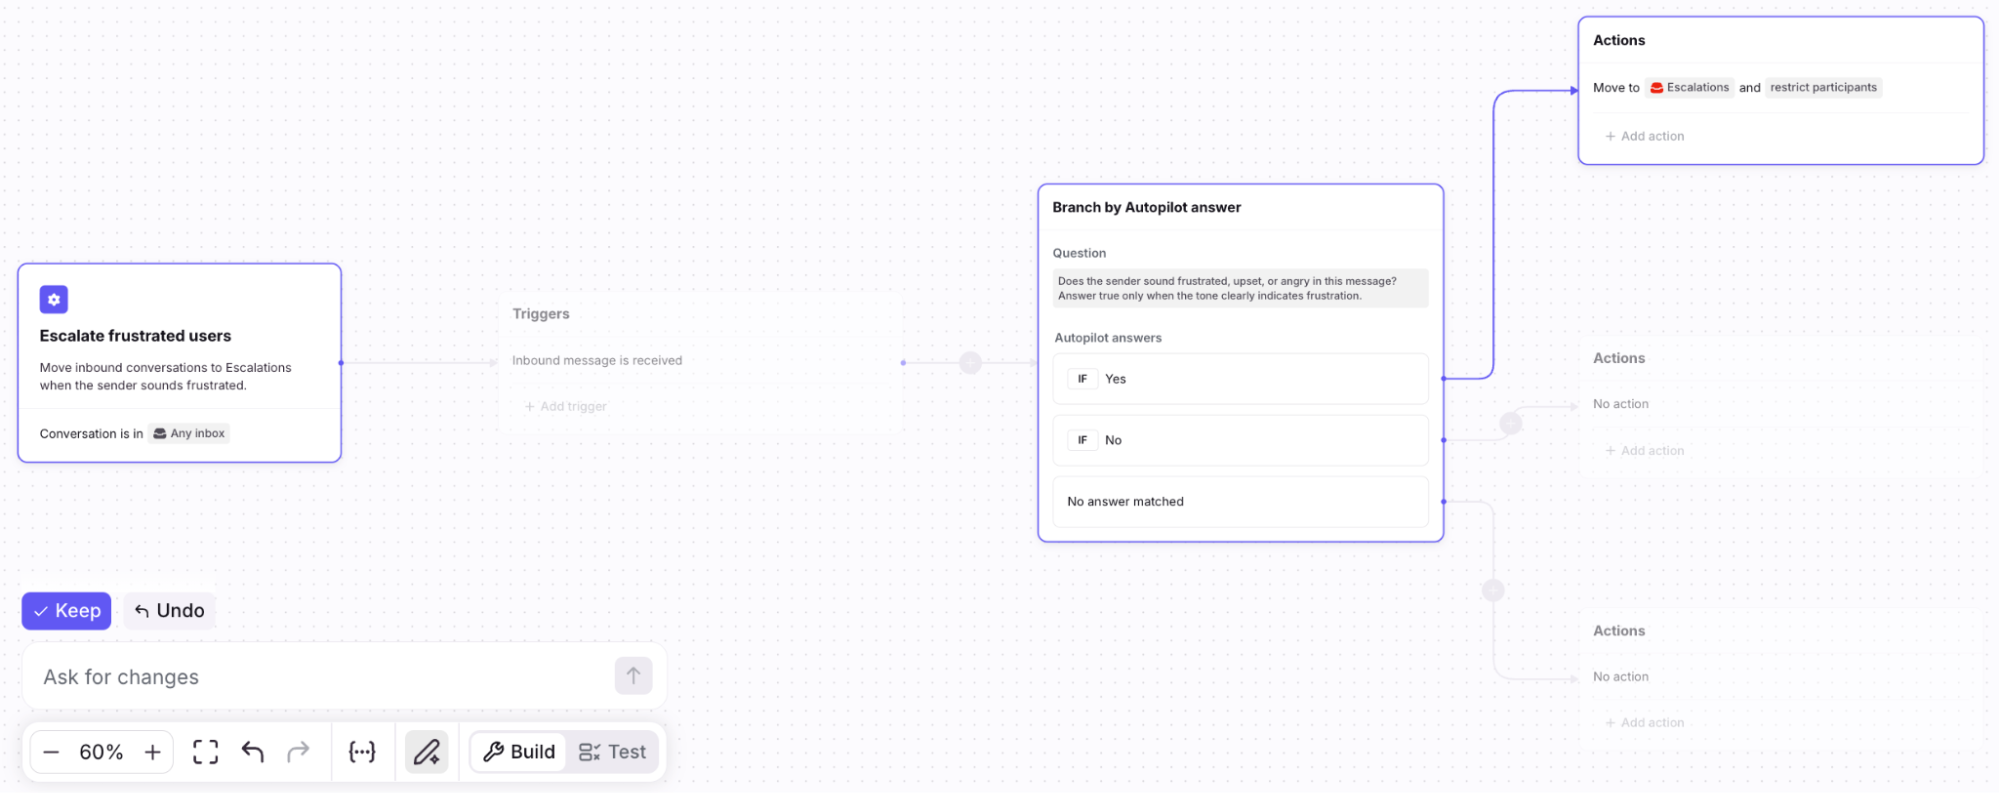
You’ll see a “Building” indicator in the text box, then the rule steps will automatically appear once AI is finished building.
From here, you can:
Click Keep to use the rule AI created, and manually edit where needed
Click Undo to go back a step
Use the text box to describe changes you’d like AI to make to the rule
Step 6
Click Create when finished.
Option 2: Build from scratch
Step 3
In the Settings step, enter a name for your rule, add a description, and select the inboxes the rule applies to. Click Save.

Step 4
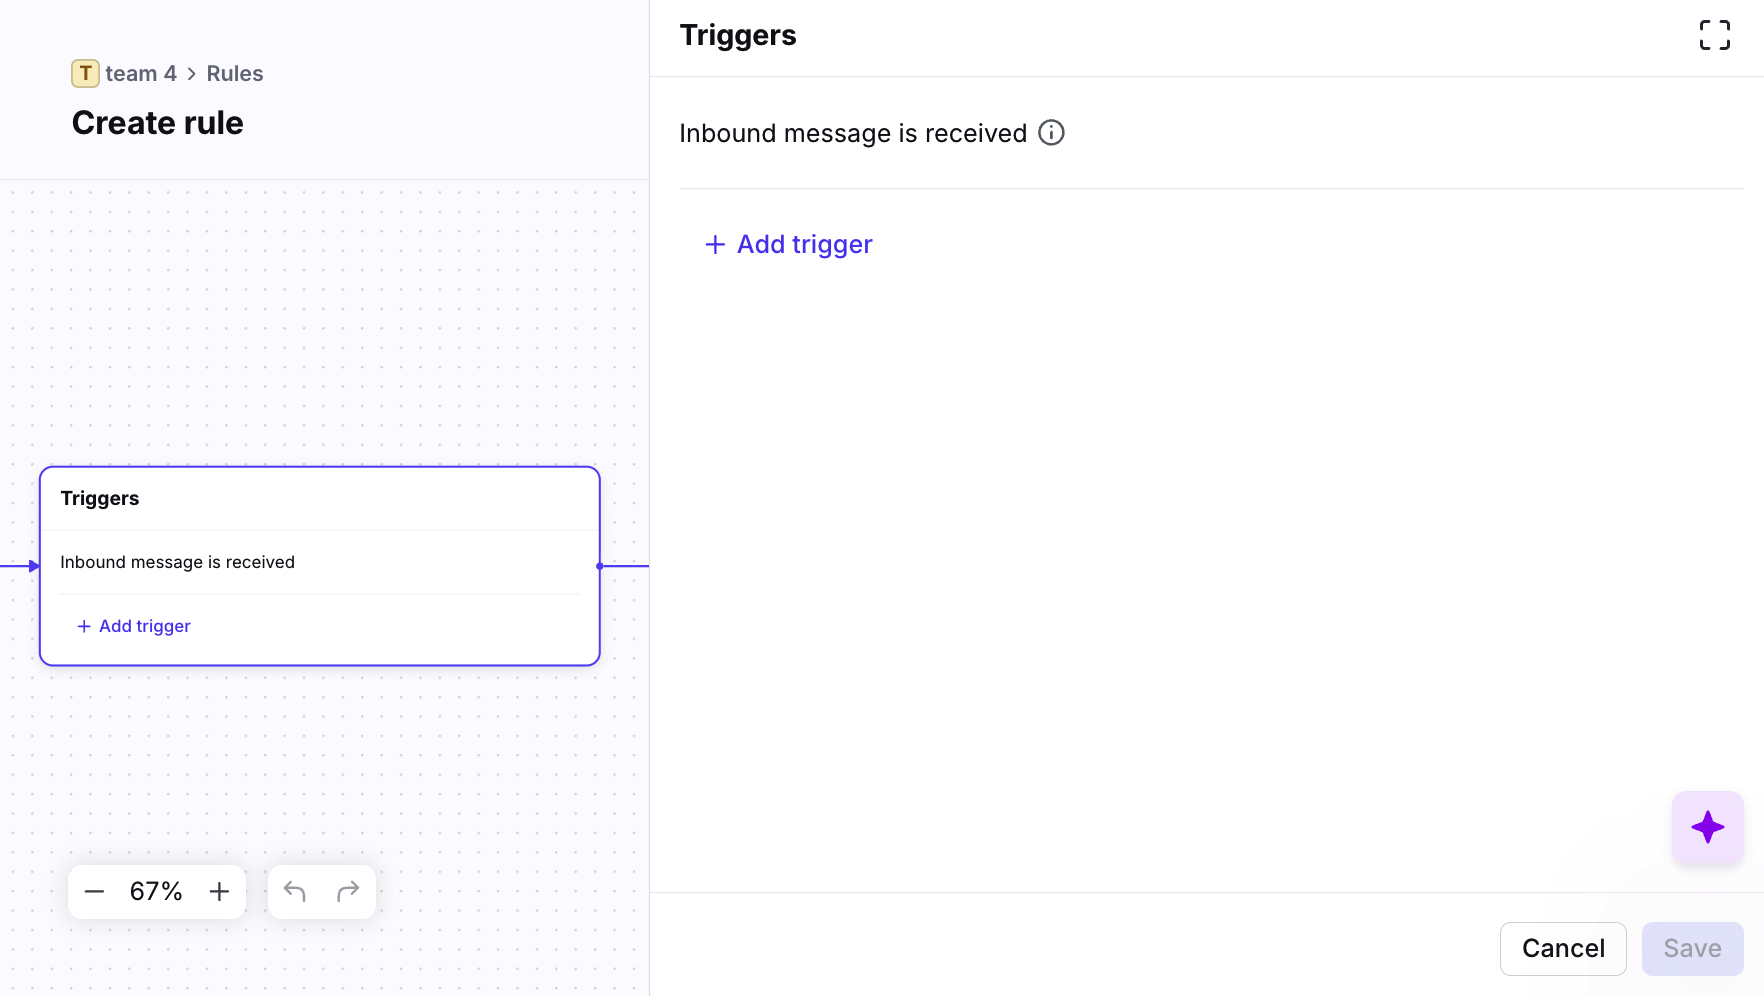
In the Triggers step, add events that determine when your rule will run.
In this example, we want the rule to apply to inbound messages.
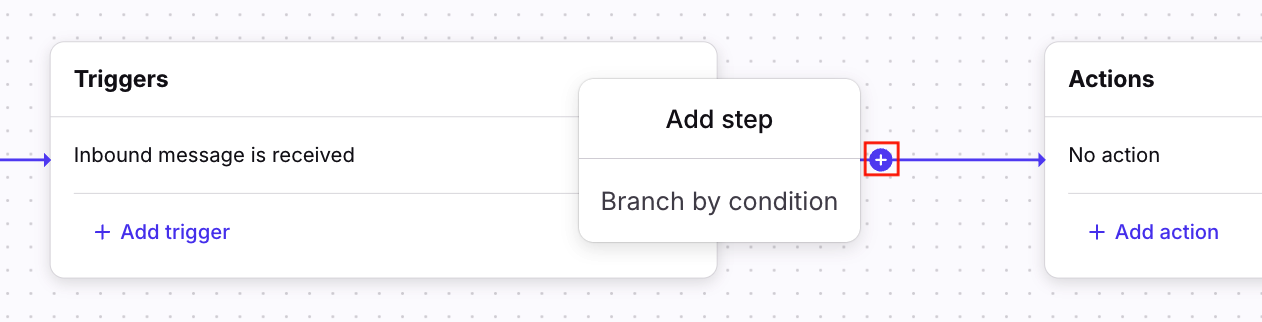
Step 5
Click the plus icon (+), then Branch by condition to add a branch to your rule.
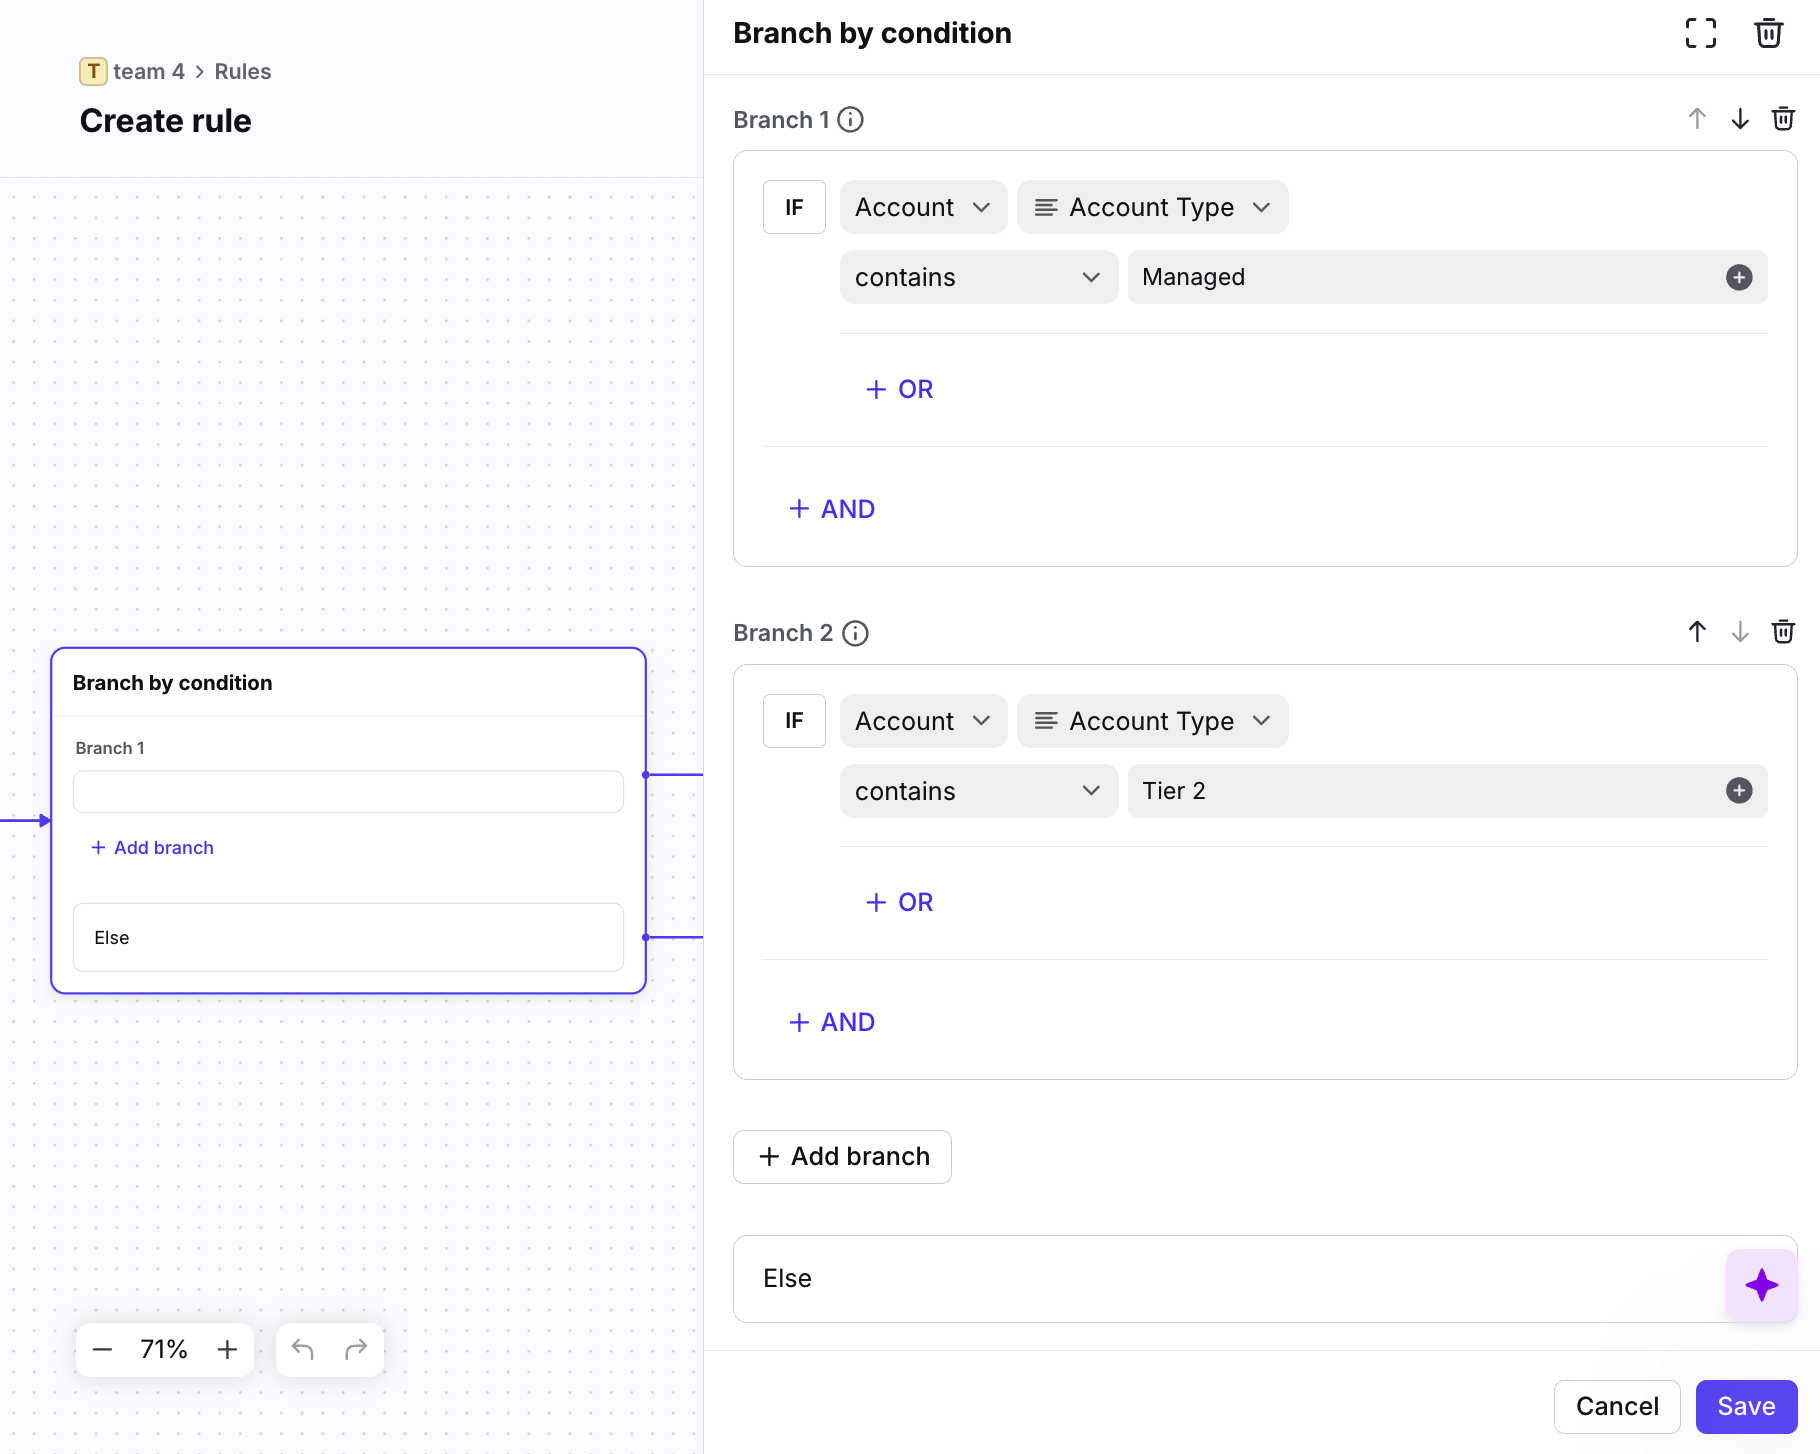
Step 6
Click Add condition in the side panel, then add rule conditions for criteria that needs to exist for your rule to run specific actions. Click Save when finished.
❗Important to know:
Branches sorted higher in the list will execute first. Use the move up / move down arrows to reorder your branches based on priority.
Every branch will not be executed. If a conversation matches multiple branches, the branch with the higher sort order will be used.
In this example, we want the rule to take different actions depending on the customer’s account type.
Step 7
Use the plus icon (+) to add additional branch steps, or click Add action in your action steps to tell the rule what to do once the conditions are met.
In this example, we want to assign the conversation to the customer’s account manager if they have a “Managed” account, move to the Tier 2 inbox if they have a “Tier 2” account, or assign to the Support team for any other account type.
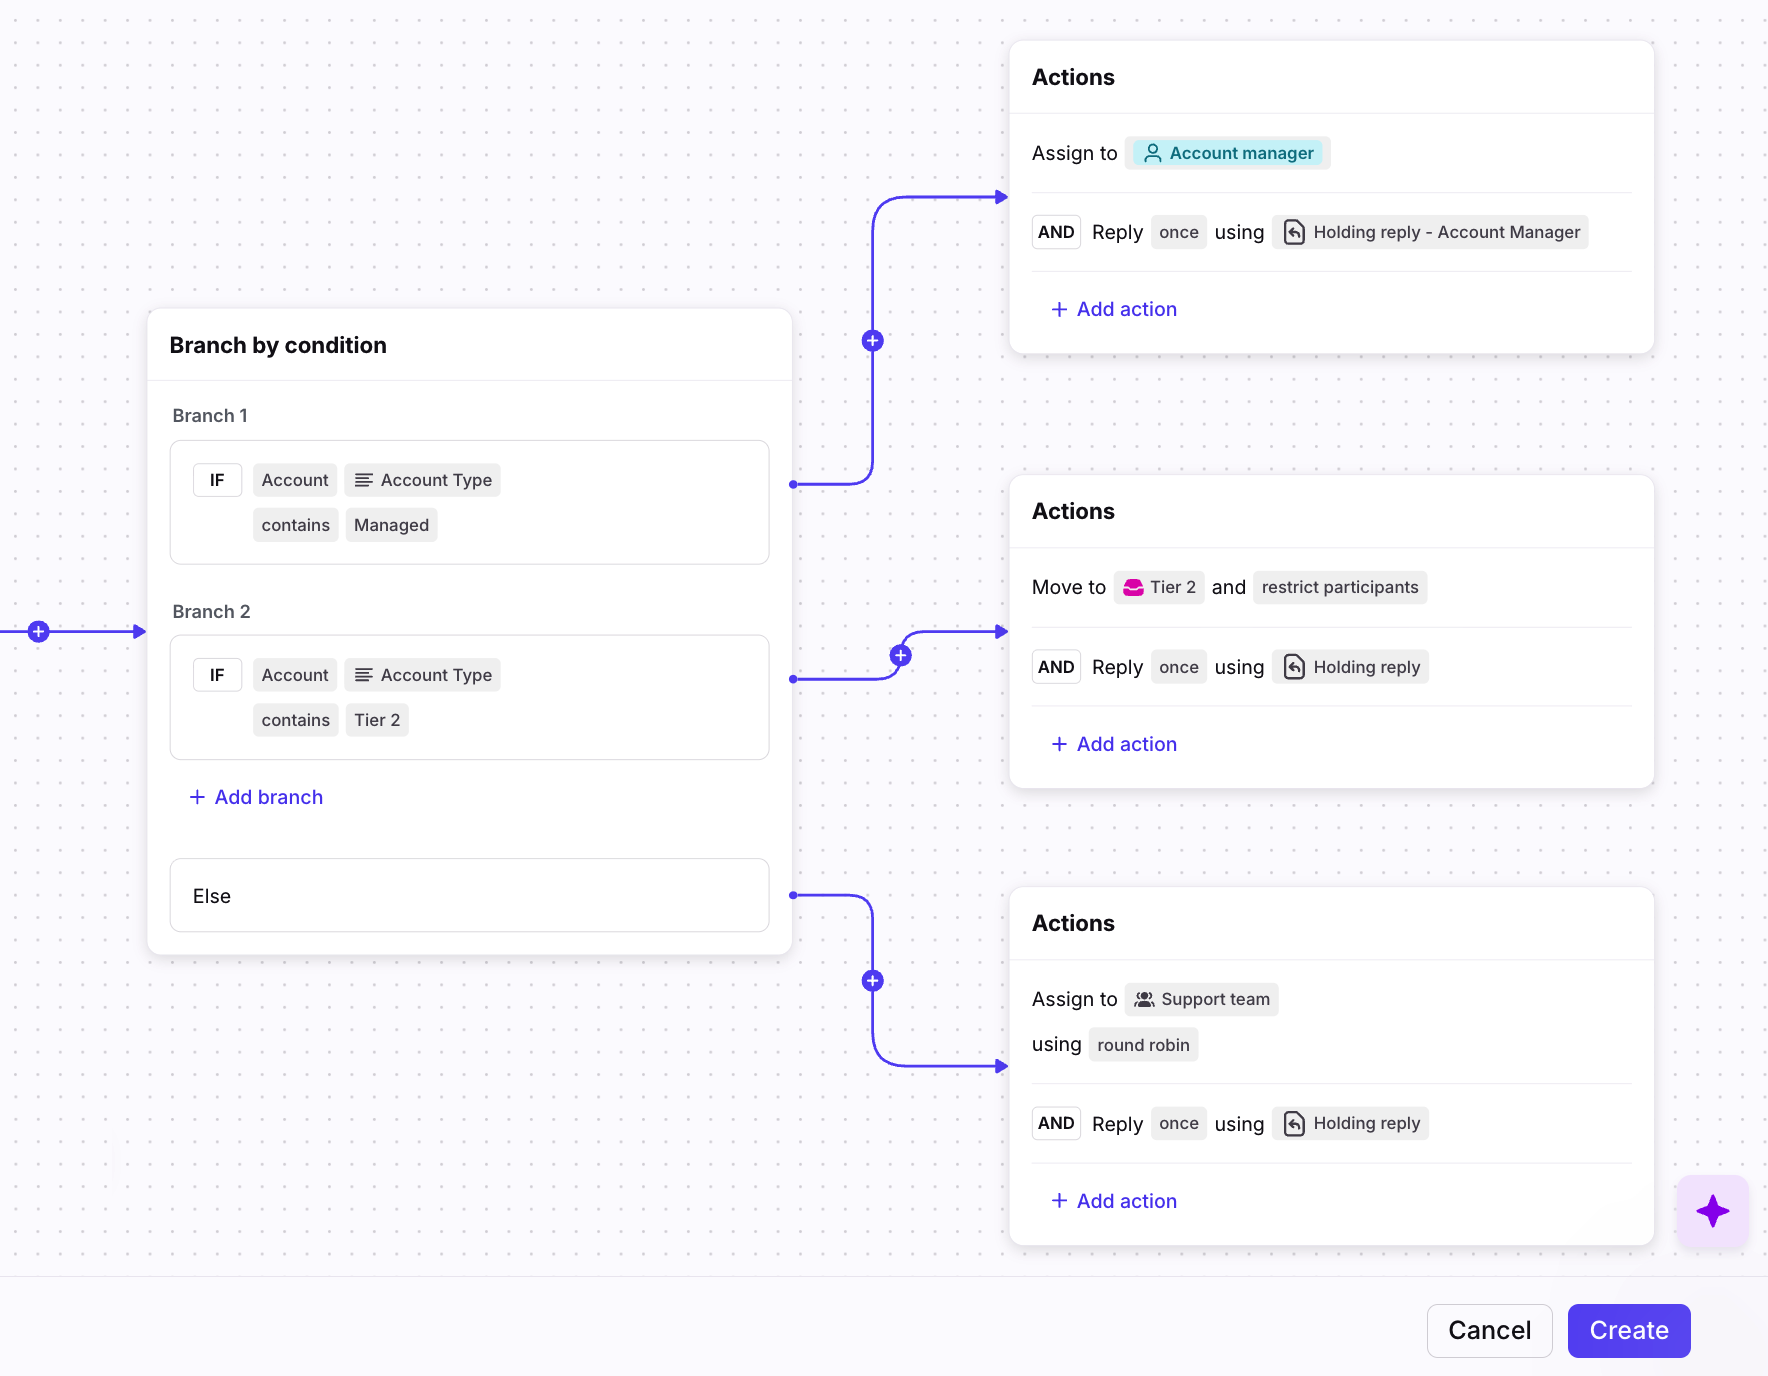
Step 8
Click Create to finish your rule.
Step 9 (optional)
If needed, reorder the branching rule in your rule list based on when you want it to be evaluated.
FAQ
Are there any limitations?
Branching rules will not work with:
Delayed rule conditions (Oldest message is unreplied after, Conversation is unassigned and open after, Time passed since trigger is)
Rule templates such as rule sets, CSAT, time goal, required tagging, etc.
How are branching rules ordered in the rule list?
Branching rules are displayed as a single rule in the rule list. You can change the sort order for your branching rule, but other rules cannot be placed within your branching rule.
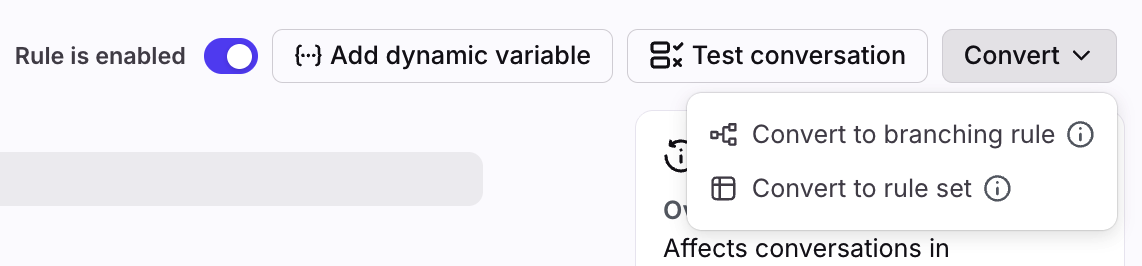
How do I convert linear rules into branching rules?
If your linear rule can be converted into a branching rule, navigate to your rule, click Convert, then select Convert to branching rule.
Not all linear rules can be converted to branching rules. See limitations in the above FAQ.
Are there limitations when using the Build with AI feature?
The Build with AI feature:
Is automatically enabled and doesn’t require any other AI setting.
Does not support third-party integration actions at this time. Integration actions can still be configured manually.
Does not retain prompt history. It is not possible to access past prompts at this time.
What happens to my data? Which providers does Front use?
See this article for additional AI FAQs.
Pricing
Rules are available on all plans. See this article to review triggers, conditions, and actions included in each plan.