
Use tasks to track action items
Overview
Tasks allow you to create separate action items for yourself or other teammates, making it easy to track all work needed to resolve an overall request. You can create standalone tasks and use them like a to-do list, or create tasks from a conversation to track work related to the customer’s original request.
This is most helpful when you need to split out and assign action items to several assignees or teams, streamlining ownership of sub-tasks.
When to use tasks
Across all industries and use-cases, any time a customer or partner has a request that has multiple action items needed, tasks are a great option to easily keep track of all the moving pieces.
Here are some more specific, hypothetical examples:
Requests requiring approval from other teammates: A customer has a request that requires approval from a manager. You can create a linked task to and assign it to a manager.
Legal and finance team reviews: A purchase order requires review by legal and finance teams. You can create one task for the Legal inbox and a second task for the Finance inbox to clearly split out specific action items.
Follow up calls: A customer requests a follow up call from an email. You can create a team task in a shared inbox so the next available agent can complete the request.
Creating tasks
These instructions allow you to create both standalone and linked tasks.
Step 1
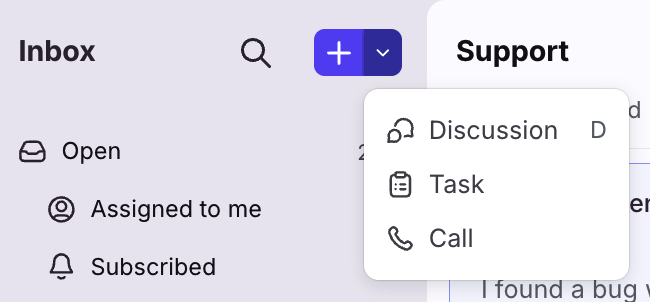
Click the plus icon (+), then select Task.
Step 2
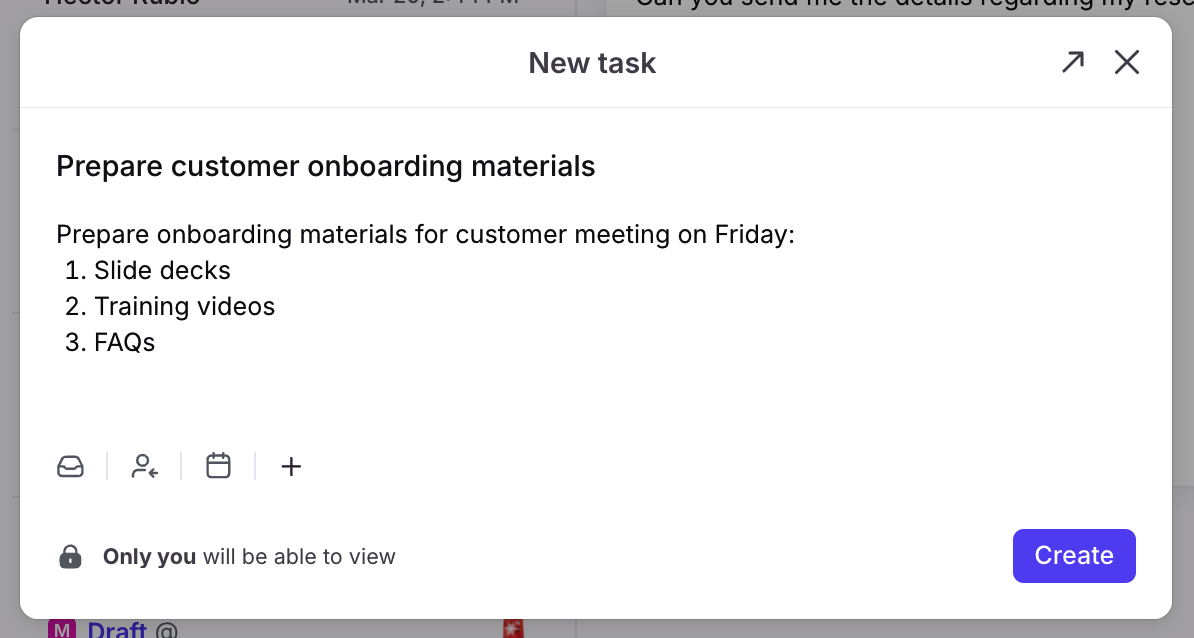
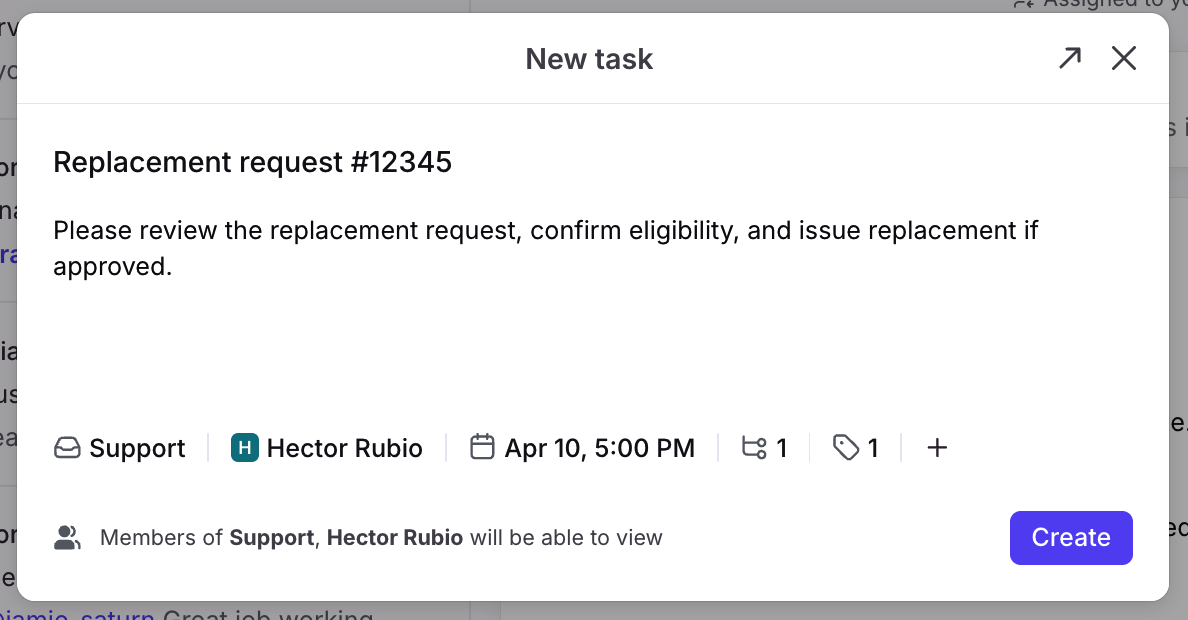
In the New task pop-up, fill in the following fields:
Task title: Enter the name of the task to display in the subject line, or type a slash ‘/’ to insert a task template.
Description: Explain the request and optionally add attachments.
Inbox: Select the location the task should be routed to (Tasks section, individual inbox, or shared inbox).
Assignee (optional): Select a teammate to assign the task to. If no assignee is selected, it will follow any auto-assign rules in that inbox.
Due date (optional): Select the date the task should be completed to help with prioritization.
Additional fields (optional): Select any tags, objects, conversation custom fields, or other conversations to link to the task.
In this example, we’ll create a standalone task located in the Tasks section.
Step 3
Click Create. Once the task is created, you’ll be added as a subscriber. The task can then be moved, assigned, tagged, etc. like other Front conversations.
Creating linked tasks from conversations
These instructions walk through creating linked tasks directly from a conversation. You can also create linked tasks using the Creating tasks section above.
Step 1
Open a conversation, then navigate to the message you want to create a linked task for.
Step 2
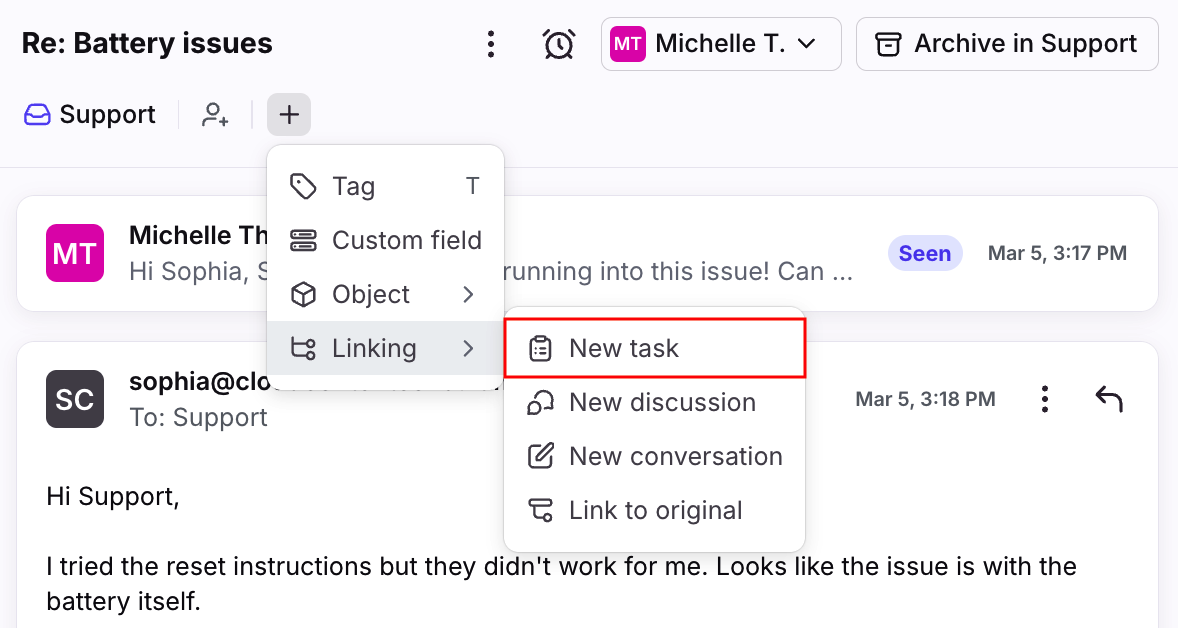
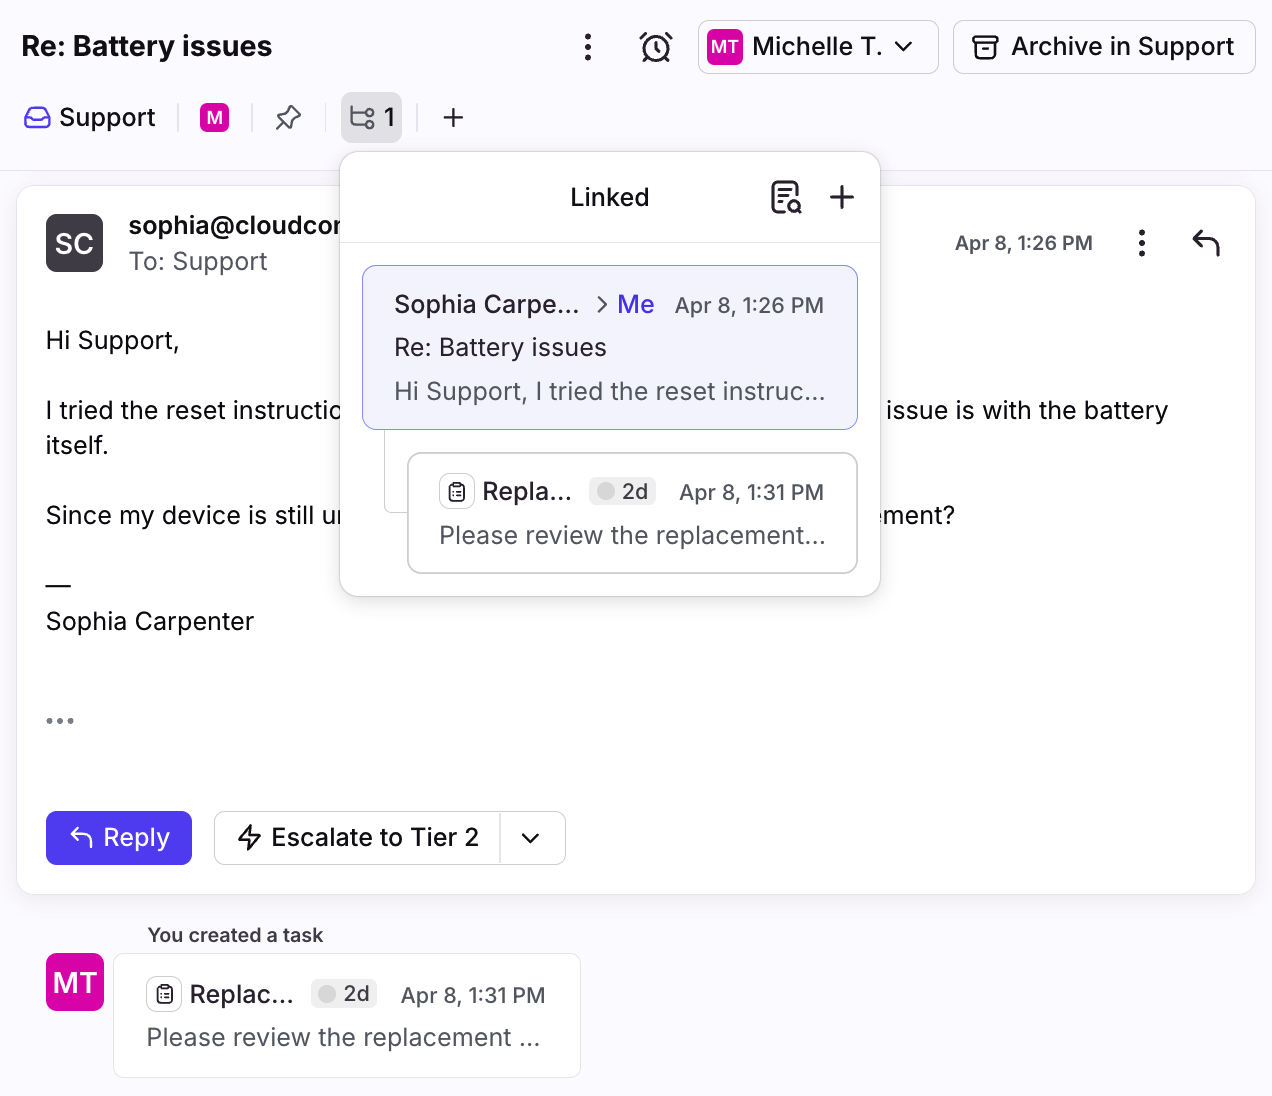
Click the plus icon (+), hover over Linking, then select New task.
Step 3
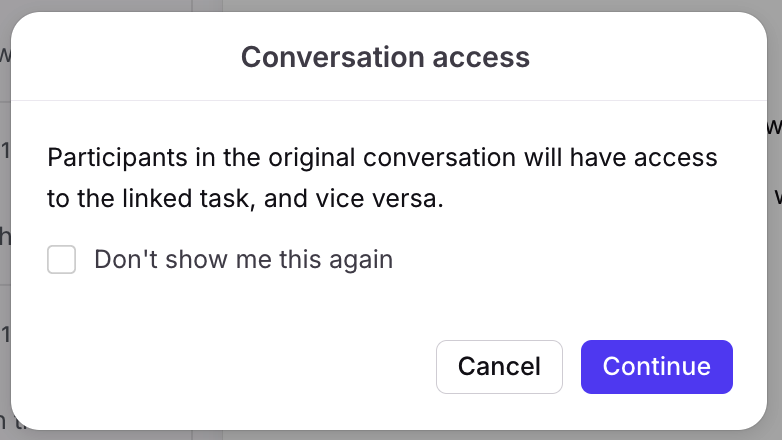
A pop-up will appear. Click Continue to acknowledge access permissions.
Step 4
In the New task pop-up, fill in the following fields:
Task title: Enter the name of the task to display in the subject line, or type a slash ‘/’ to insert a task template.
Description: Explain the request and optionally add attachments.
Inbox: Select the shared inbox the request should be routed to. By default, Front will select the inbox of the original conversation.
Assignee (optional): Select a teammate to assign the task to. If no assignee is selected, it will follow any auto-assign rules in that inbox.
Due date (optional): Select the date the task should be completed to help with prioritization.
Additional fields (optional): Select any tags, objects, conversation custom fields, or other conversations to link to the task.
Click Create.
Step 5
Once the task is created, you'll see it linked in the original conversation and you’ll be added as a subscriber. This new task can then be moved, assigned, tagged, etc. independently from the original conversation.
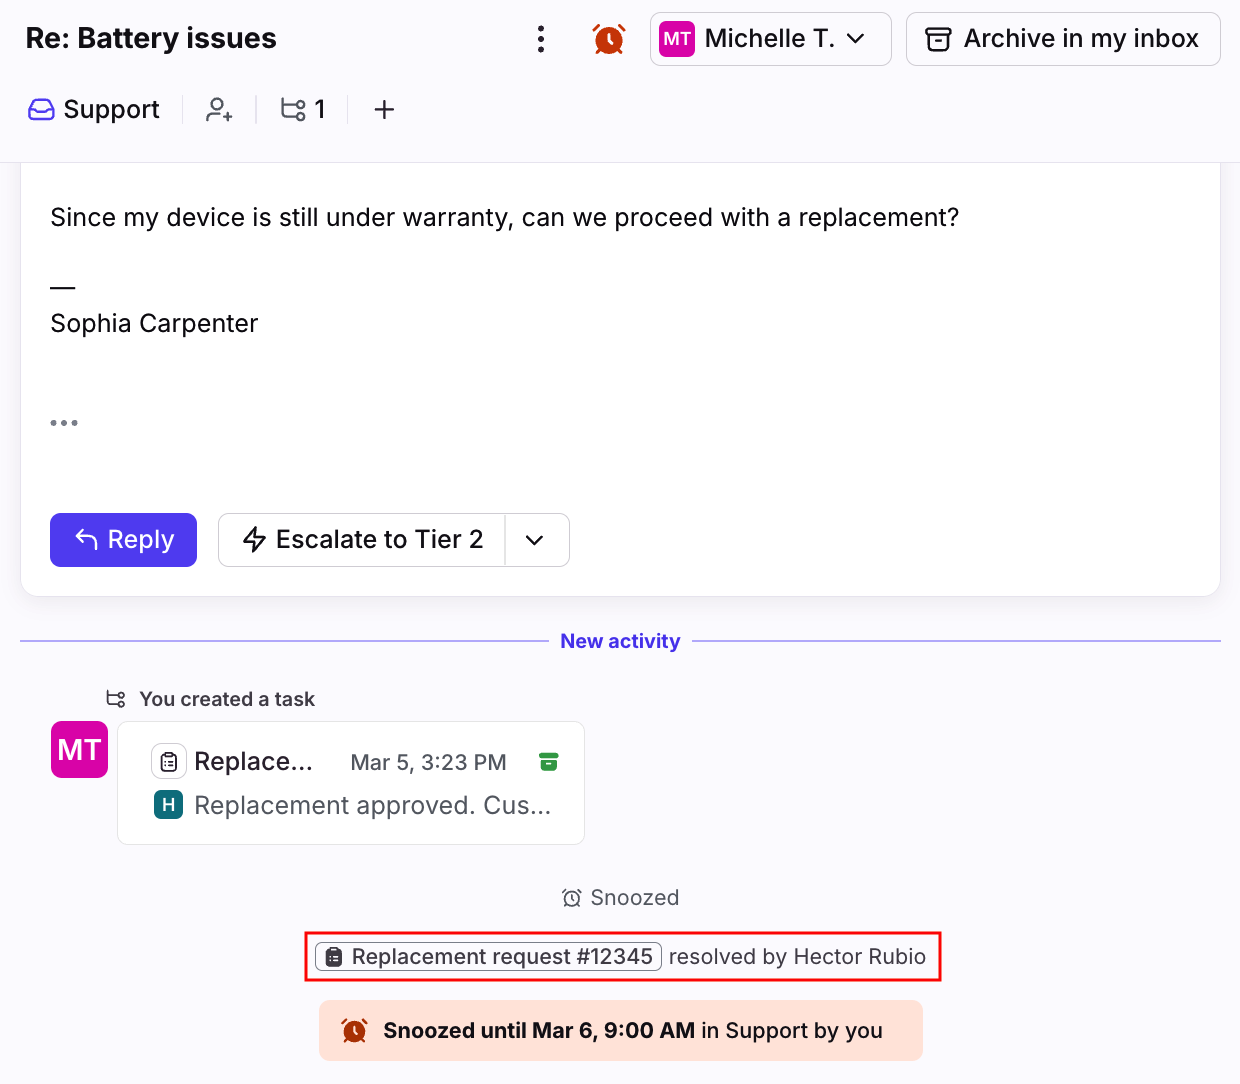
Step 6
Snooze the conversation or use the Waiting ticket status to move the conversation out of your Open tab while you wait for the task to be completed.
When the linked task is resolved, the original conversation will bump up in the appropriate inbox sections.
Step 7
You can reply back to your customer, then follow up with any team workflows like tagging the conversation, adding comments, etc.
Viewing tasks
From the inbox sidebar
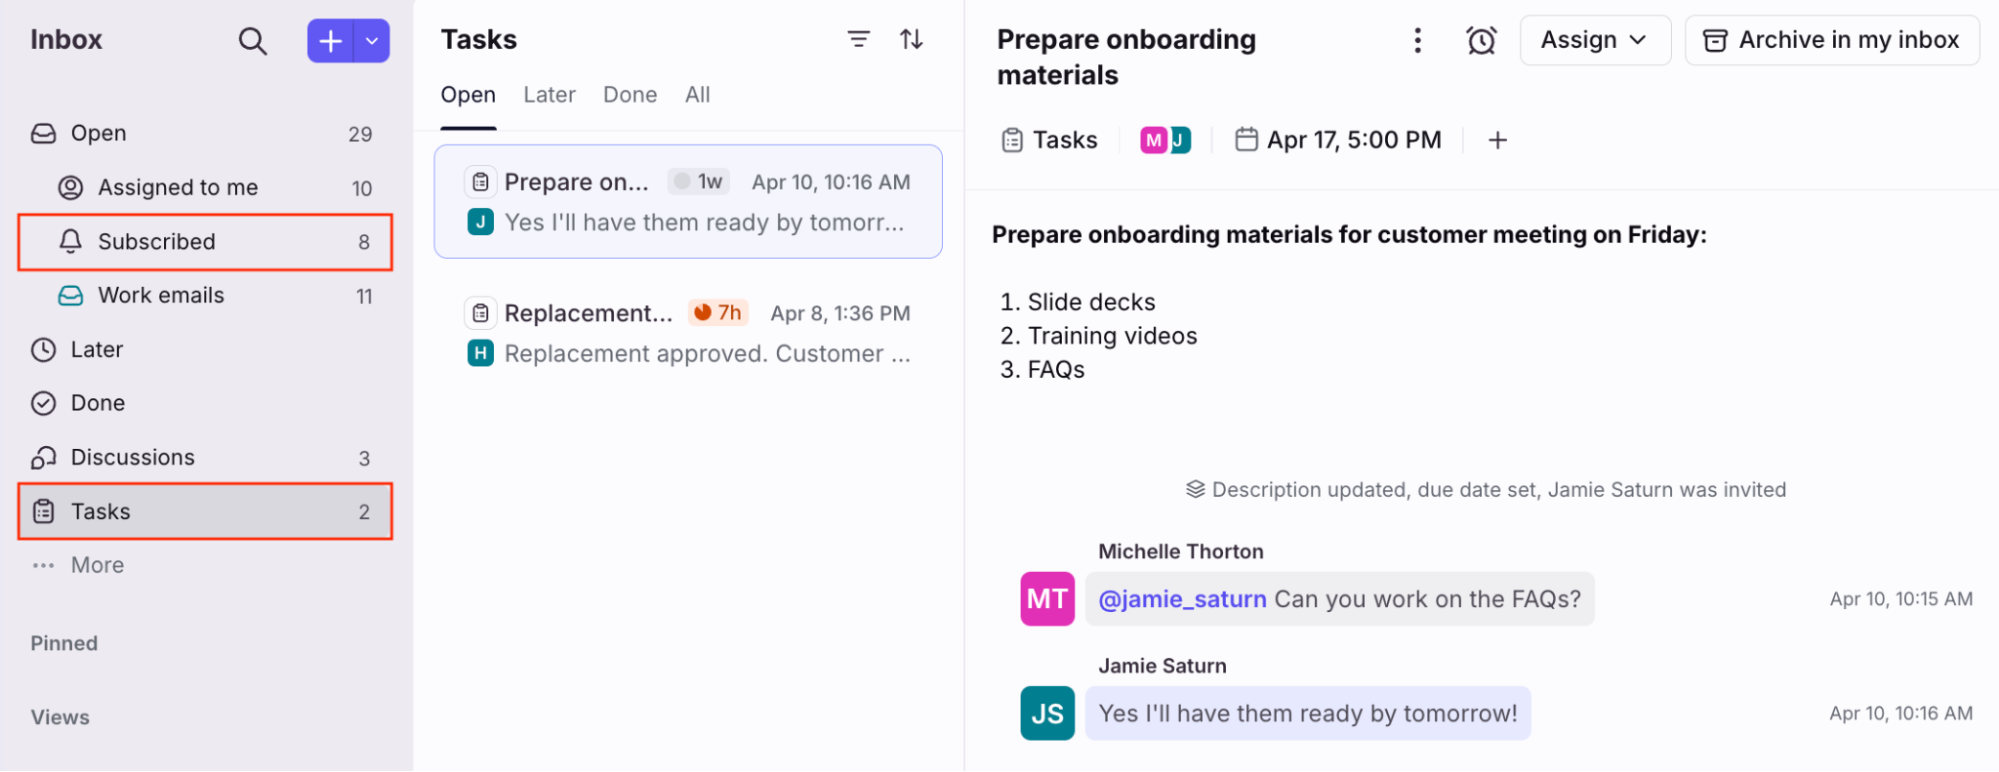
Tasks are visible in various sections in your sidebar:
If you created a task or subscribed to a task, you’ll see it in the Subscribed and Tasks sections
If you’re assigned a task, you’ll see it in the Assigned to me section
If there are tasks in shared inboxes, you can also see them there if you’re not assigned or subscribed to them
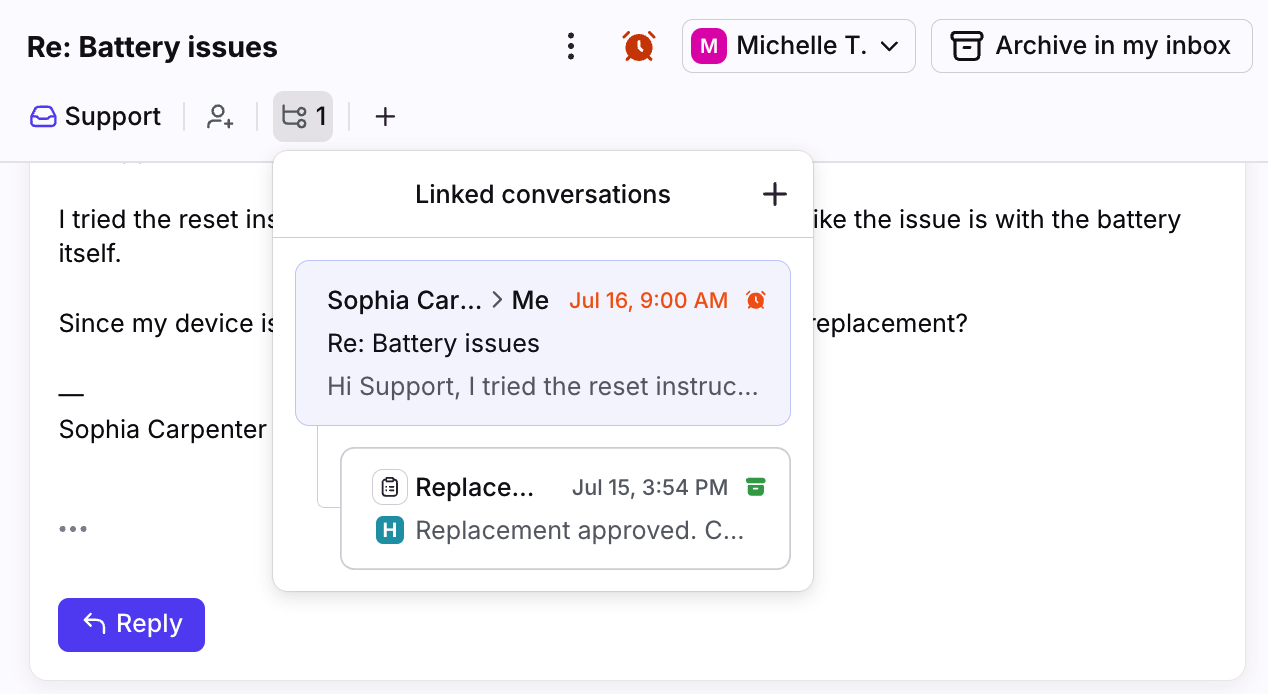
From the original conversation
Click the linked conversations icon to view all tasks linked to the original conversation.
You'll see a list of all linked tasks and conversations linked to the original conversation
Click a task to open it in a new window
Unlinking tasks
Step 1
Navigate to the conversation or linked task.
Step 2
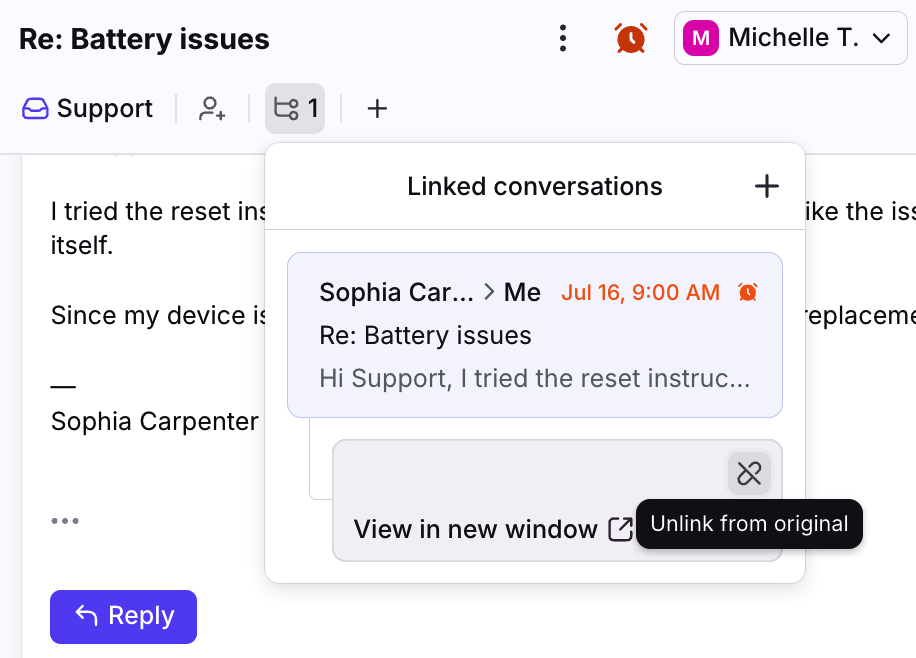
Click the linked conversations icon in the header.
Step 3
Hover over the task or conversation you’d like to unlink, then click the Unlink icon.
Due dates
If your tasks have due dates, you can see them in the following areas:
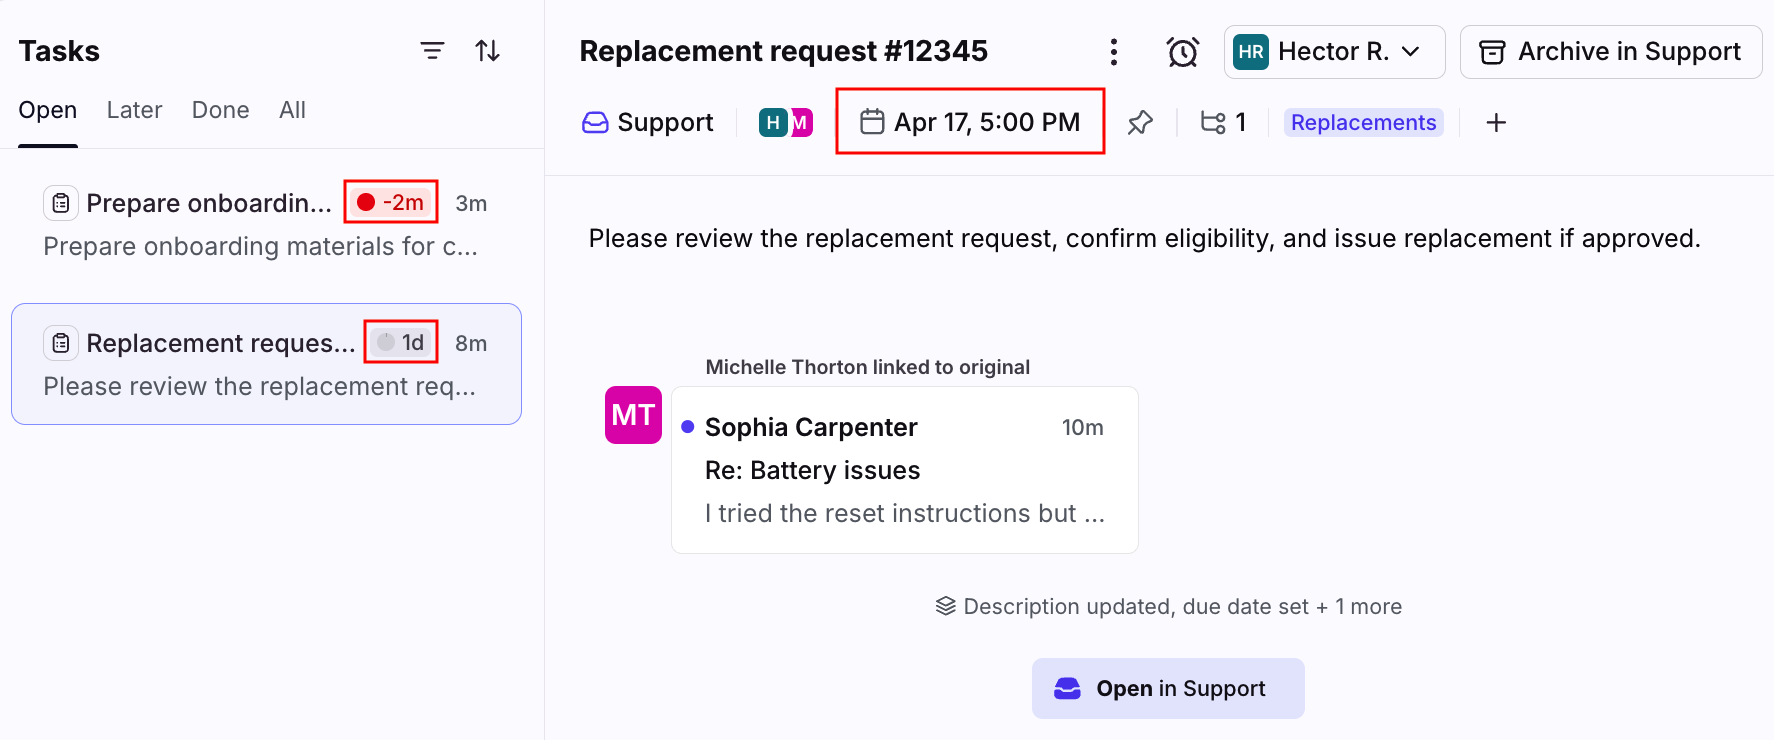
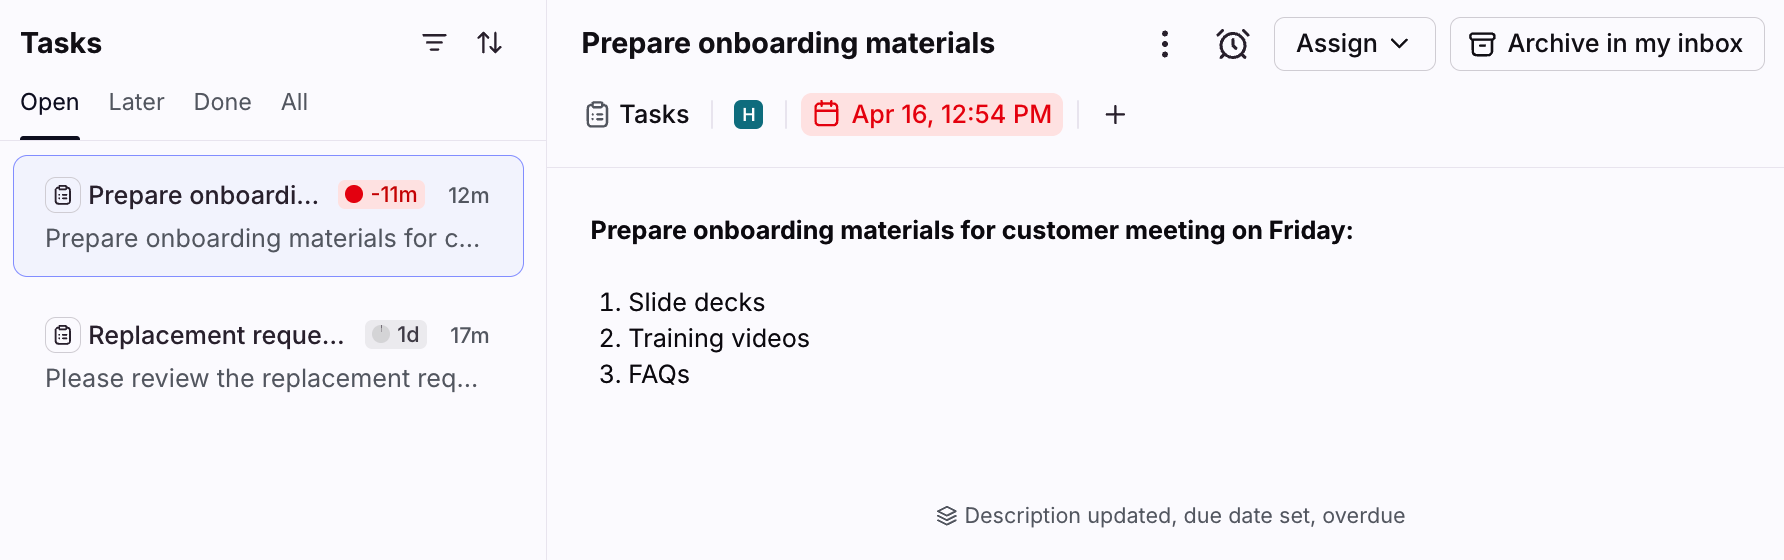
Conversation list: Displays the time left until the due date. After the due date expires, the timer displays the duration between the due date time and the current time.
Conversation header: Displays the due date and time.
The due date timer will replace any time goal rule timers applied at the inbox level.
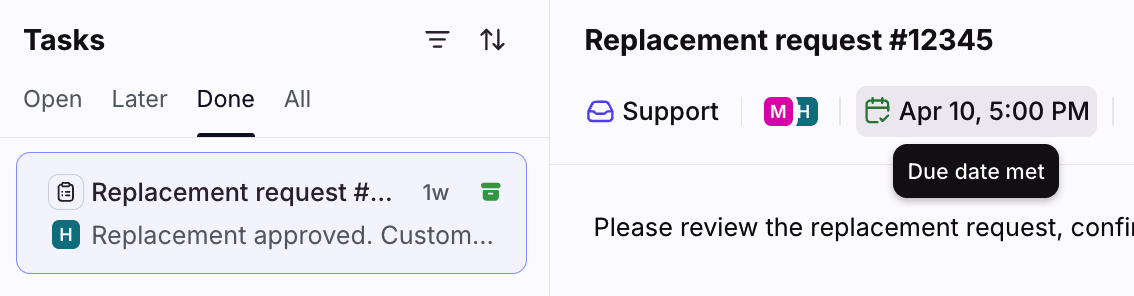
When you archive/resolve a task before the due date, you’ll see an indicator that the due date was met.
If a task due date expires, the indicators for the due date will turn red to signal it is overdue. If the task is snoozed, the snooze is cancelled and the task will reopen.
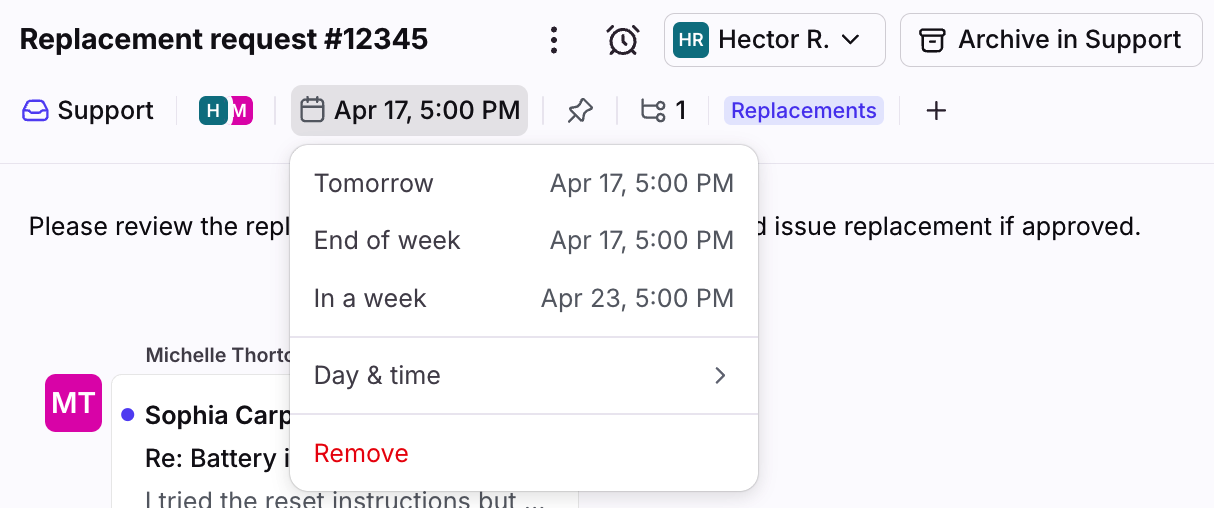
Click the due date in the conversation at any time to edit or remove it.
Task templates
Create personal or workspace task templates to quickly create tasks you use often. You must have permission to create workspace templates to create workspace task templates.
Step 1
Click the gear icon, then navigate to workspace or personal settings, depending on the space you’re working in. Select Templates in the sidebar.
For companies with multiple workspaces, workspace task templates are set up per workspace.
Step 2
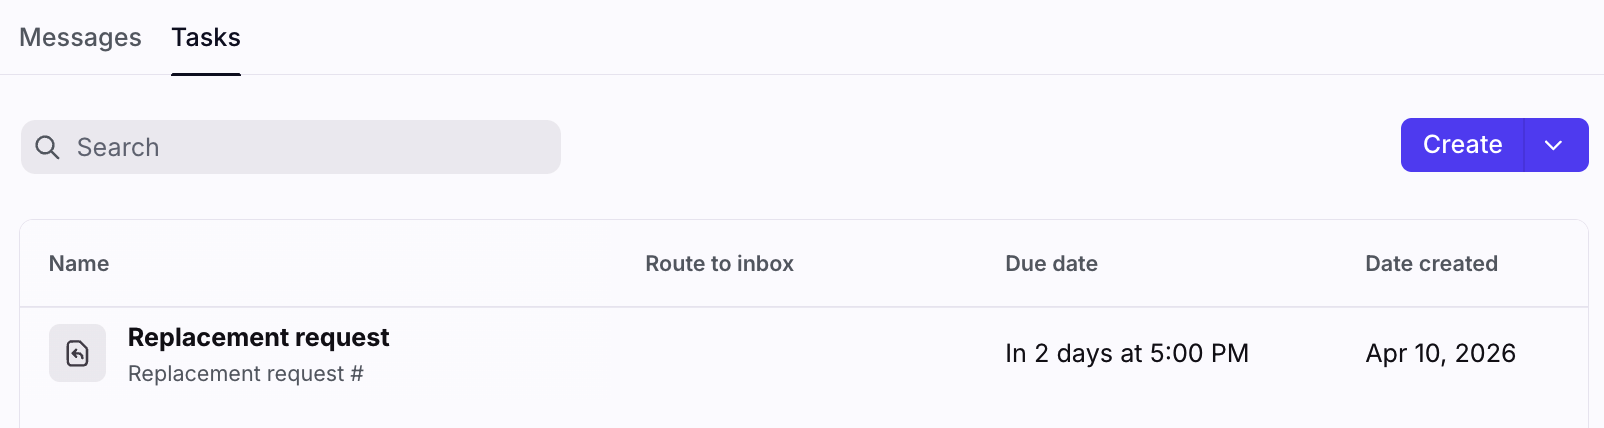
Select the Tasks tab, then click Create.
In this example, we’ll create a workspace task template.
Step 3
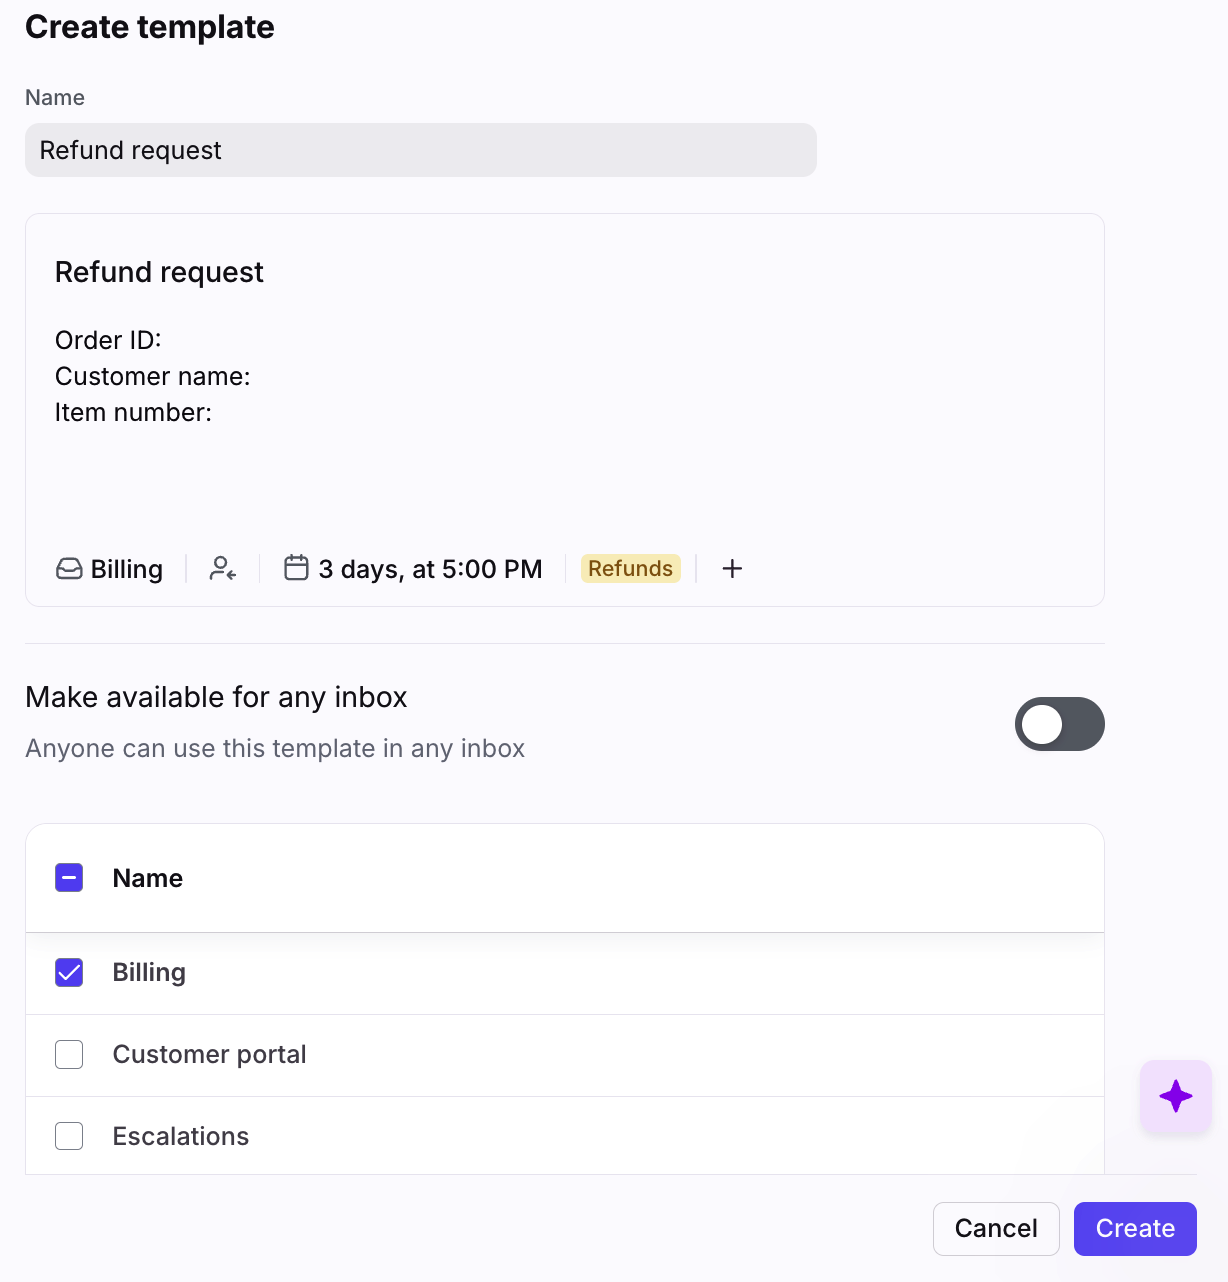
Fill in the following fields:
Name: Internal name for the task template.
Subject (optional): Enter the subject you want to use. This will be visible when viewing the task in your inbox.
Text box: Enter your task template content, including any formatting or attachments if needed.
Additional fields (optional): Select the inbox the task should be created in, select an assignee, add a due date, tags, objects, or conversation custom fields.
Make available for any inbox (optional, shared inboxes only): Select the shared inboxes that should have access to the template. To grant access to all shared inboxes in the workspace, toggle the setting on.
Step 4
Click Create to finish. The template is now available to use in rules or during manual creation.
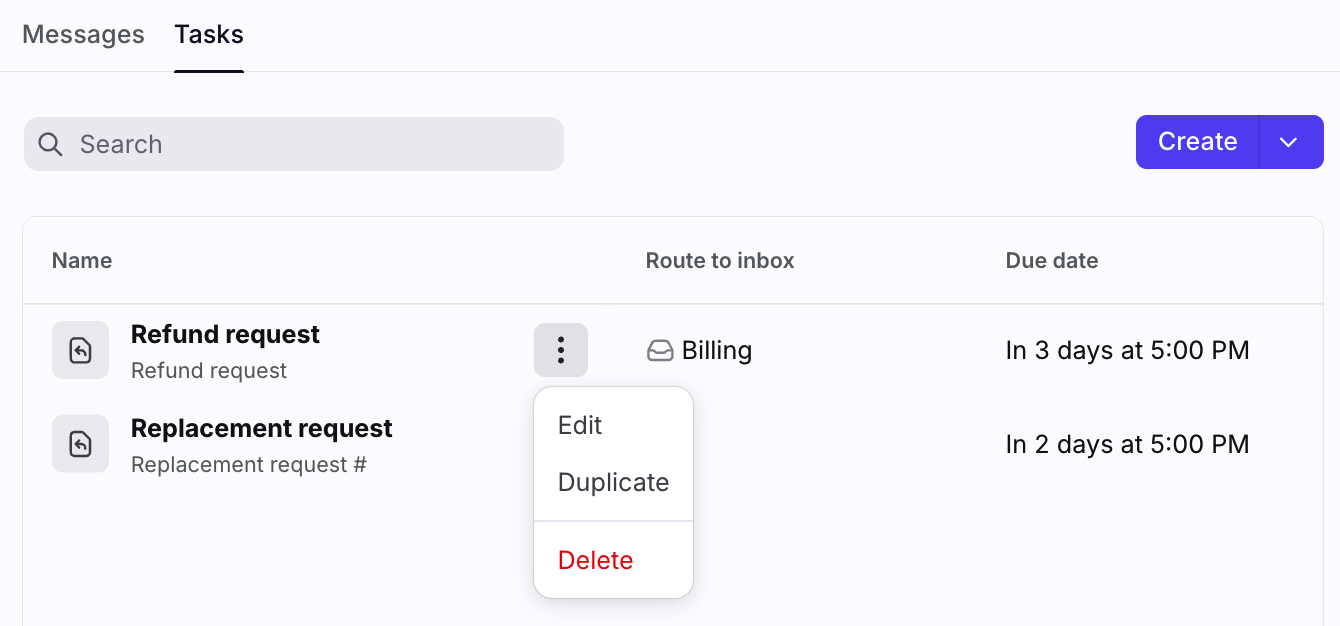
You can return to the template at any time to edit it. If you hover over the template in the list, you can also duplicate or delete the template.
Rules and macros
Tasks will work with existing rule triggers, conditions, or actions. For example, "Conversation is archived", "Conversation has specific tags", Assignee is", etc. includes tasks.
To focus on tasks in your rules, you can use the following trigger and condition:
New task is created
Conversation type is [task]
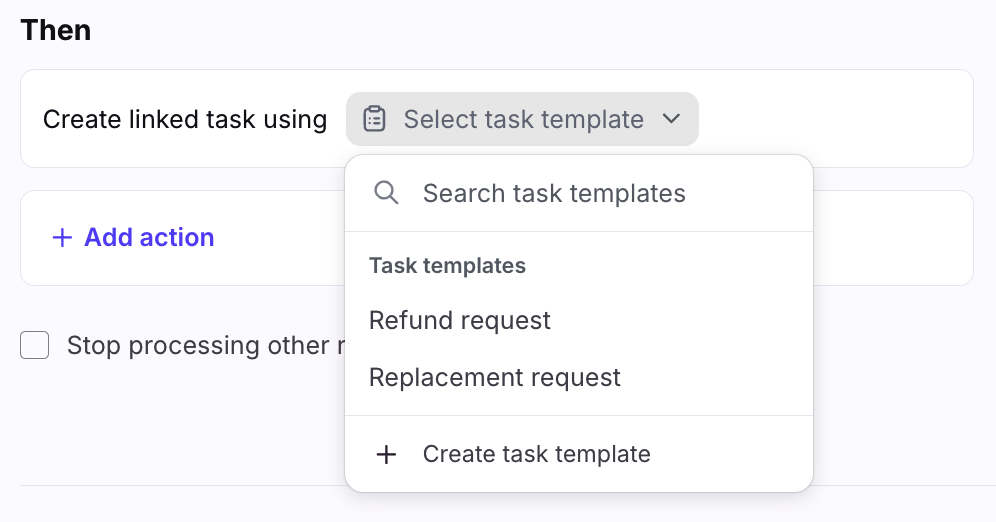
You can also use the Create linked task action in rules and macros to create new tasks with a task template. Important to know:
Linked tasks: This rule action will only create tasks linked to conversations. Creating standalone tasks via rules/macros is not currently supported.
Workspace rules: In the task template, select a shared inbox you’d like the task to be created in. Otherwise, the task will be created in the same shared inbox as the linked conversation.
Personal rules: In the task template, select the individual (personal) inbox you’d like the task to be created in. Otherwise, the task will be created in your Tasks section.
FAQ
What channels are supported?
All channel types are supported.
Are discussions supported?
Yes. You can link discussions to tasks.
Can I link existing tasks to conversations?
Yes. In a task, click the linked conversations icon, then select the conversation you want to link it to.
What happens when a linked task is resolved/archived?
When the linked task is resolved/archived, the original conversation will bump up in the appropriate inbox sections.
Can I create linked tasks for an inbox in another workspace?
Yes. As long as you have access, if a conversation is in inbox A in workspace A, you can create a linked task located in inbox B in workspace B.
Are tasks included in analytics?
Yes. Tasks must be in a shared inbox with ticket statuses enabled in some analytics metrics. You can view task analytics in the following reports: Resolution report, Team performance report, Workload report.
Pricing
This feature is available on all plans.