
Sending options in your composer
Overview
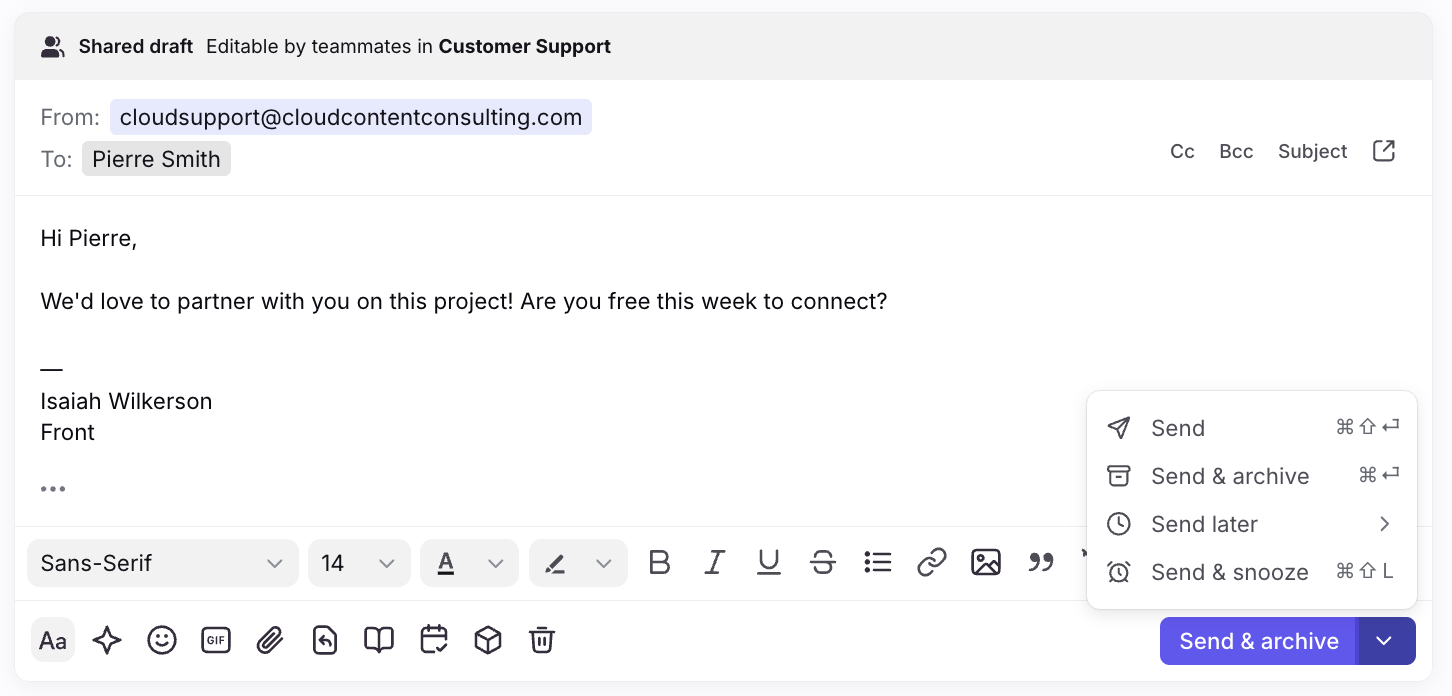
You have various options in Front for sending messages, available in the dropdown arrow next to the blue Send button. This allows you to save time while sending so that you are using the option that matches your workflow. You can also set up a default send button while having the option to change it before sending the message.
Sending options
Send
By clicking Send, you are only replying to the message and not archiving it. The thread will remain open in your inbox. You may decide to only Send a message because the issue you are handling is still open or you want to take more actions on it such as commenting, tagging, or assigning it.
If you're using ticket statuses, you'll see Send as open or other custom statuses.
Send & Archive
Clicking Send & Archive means that you've replied to the message and closed the issue until your recipient writes back. The conversation will be removed from your inbox, but can be viewed again through search or in your Archived tab in the inbox.
If you're using ticket statuses, you'll see Send as resolved or other custom statuses.
Send Later
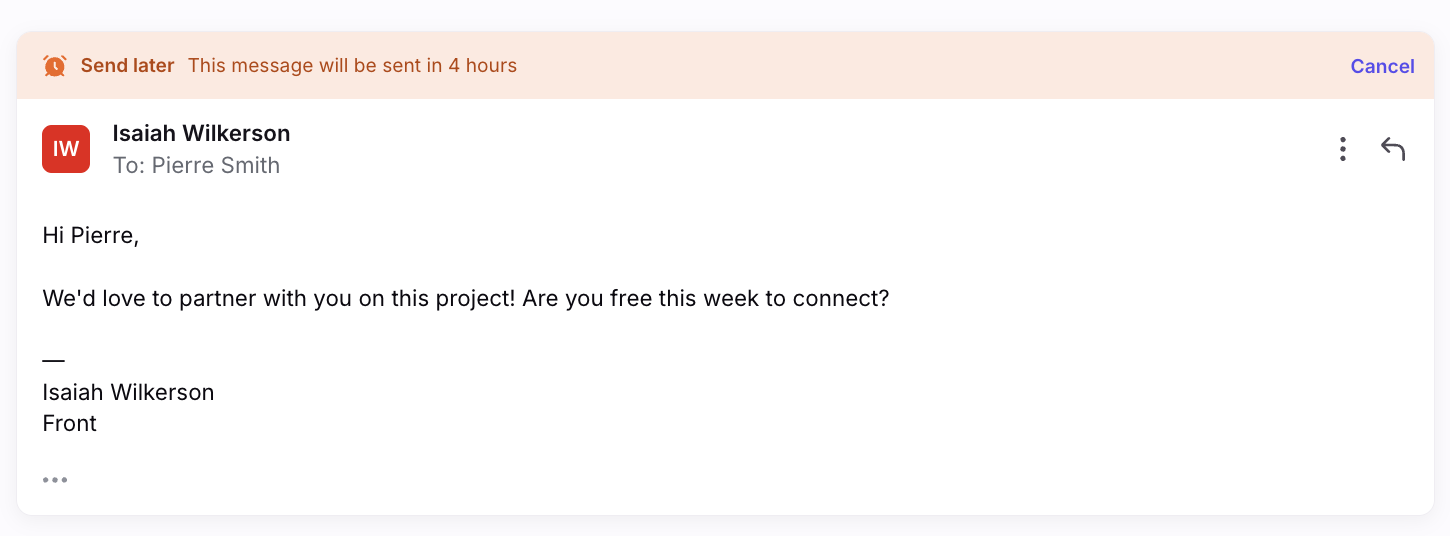
The Send Later button allows you to schedule an email to be sent at a later time. Maybe you're working over the weekend, and don't want to send emails because they'll get buried in your recipient's inbox. By using Send Later, you can ensure they receive it during business hours. When using this feature, the message will remain in your inbox even after it is sent. You can manually archive it once it has sent.
Upon clicking Send Later, you can select when you want the message to be sent from a list of your pre-set times in your preferences, or input a custom time:
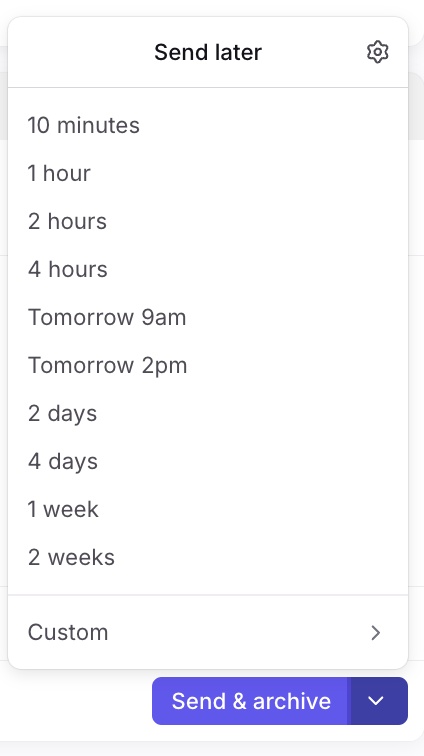
As soon as you select the time, your message will show that it's set to send later at the time you've selected. You can also cancel this any time before the message sends. The message will be located in your Drafts folder.
Send & Snooze
The Send & Snooze button allows you to set a time for the conversation to reopen if your recipient does not reply, which is helpful when you want to ensure you follow up on the message. Once you select the Send & Snooze button, you will be asked to choose the snooze time, or the time that you want the conversation to reopen. Like the Send Later option, you can also create custom snooze times.
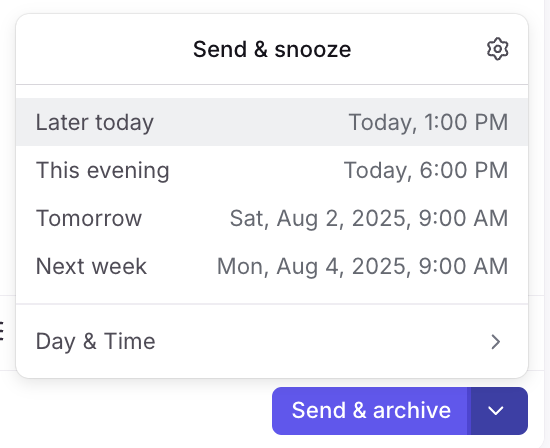
If the customer responds before the snooze time, the snooze will automatically be canceled, but you can reapply the snooze with one click if you still want it.
If you're using ticket statuses, you'll still see Send & Snooze, and snoozed conversations will be visible in the Waiting tab.
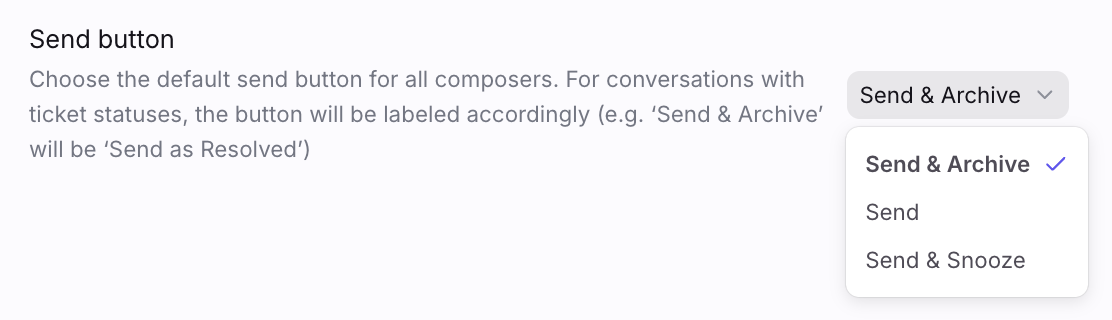
Set default send button
You can set your most-used send button as the default button, though you can still choose a different one before you send any message.
If you're using ticket statuses, see this article to learn how these settings map to ticket statuses.
Step 1
Click the gear icon, navigate to personal settings, then select Preferences from the left menu.
Step 2
In the Send button option, choose your preferred default send button.
Step 3
Click Save.