
Sync custom fields from Microsoft Entra ID
Overview
When you provision user access from Microsoft Entra ID (previously Azure Active Directory) to Front, all provisioned teammates’ names and emails will be synchronized from Microsoft Entra ID. These instructions explain how to configure the integration to also synchronize a teammate custom field in Front from a user attribute in Microsoft Entra ID.
These instructions assume you have already set-up user provisioning with Microsoft Entra ID, as explained in this article.
Supported custom fields
This table summarizes which custom field types in Front can be synced from a user attribute in Microsoft Entra ID.
Front custom field type | Microsoft Entra ID attribute type | Notes |
Inbox | String | Microsoft Entra ID attribute is the inbox ID |
Number | Integer |
|
Teammate | Reference | Referenced object attribute: urn:ietf:params:scim:schemas:extension:enterprise:2.0:User The referenced user must also be provisioned access from Microsoft Entra ID to Front. |
Text | String |
|
Dropdown | String |
|
Yes or no | Boolean |
|
Sync custom fields from Microsoft Entra ID to Front
These instructions take the example of syncing the default manager field in Microsoft Entra ID to a teammate custom field in Front called Line Manager, which is of type teammate.
Step 1
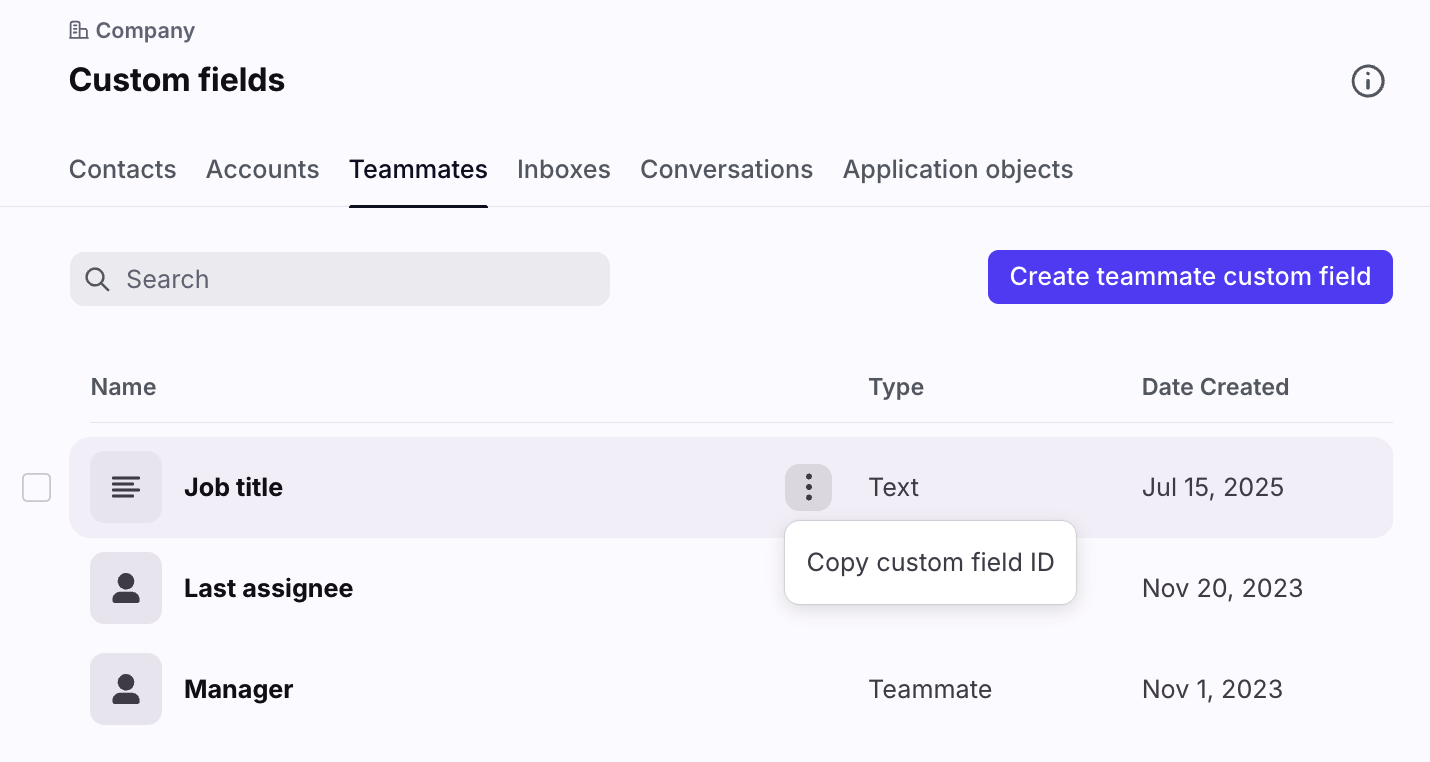
In Front, click the gear icon and navigate to company settings. Select Custom fields in the left menu, then click the Teammates tab.
Step 2
Hover over the custom field you wish to sync, and click on three-dot menu. Click Copy custom field ID.
Step 3
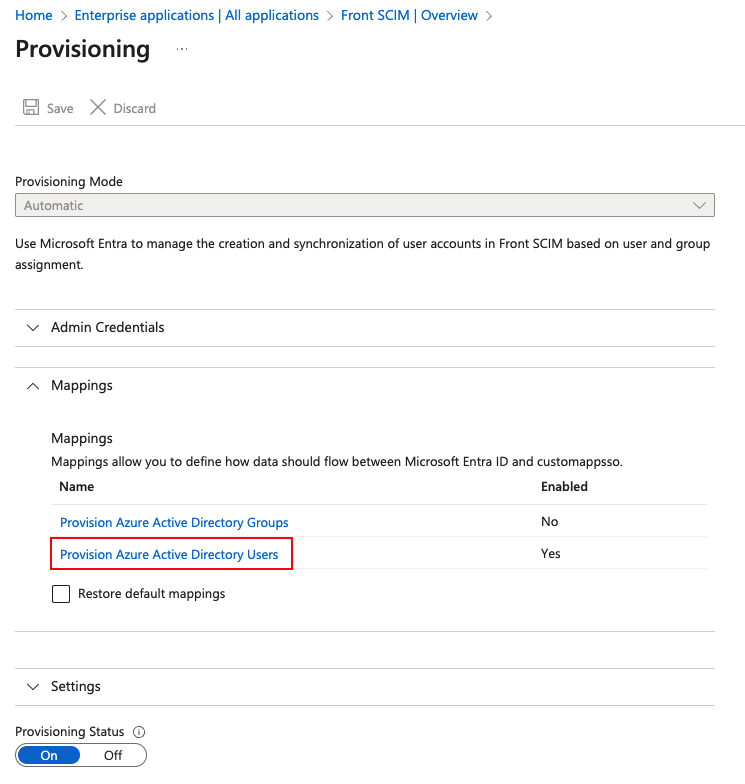
In your Microsoft Entra admin center, navigate to Enterprise applications and select your app. In the left panel, navigate to Provisioning, then click Edit provisioning.
Step 4
In the Mappings section, click Provision Azure Active Directory Users.
Step 5
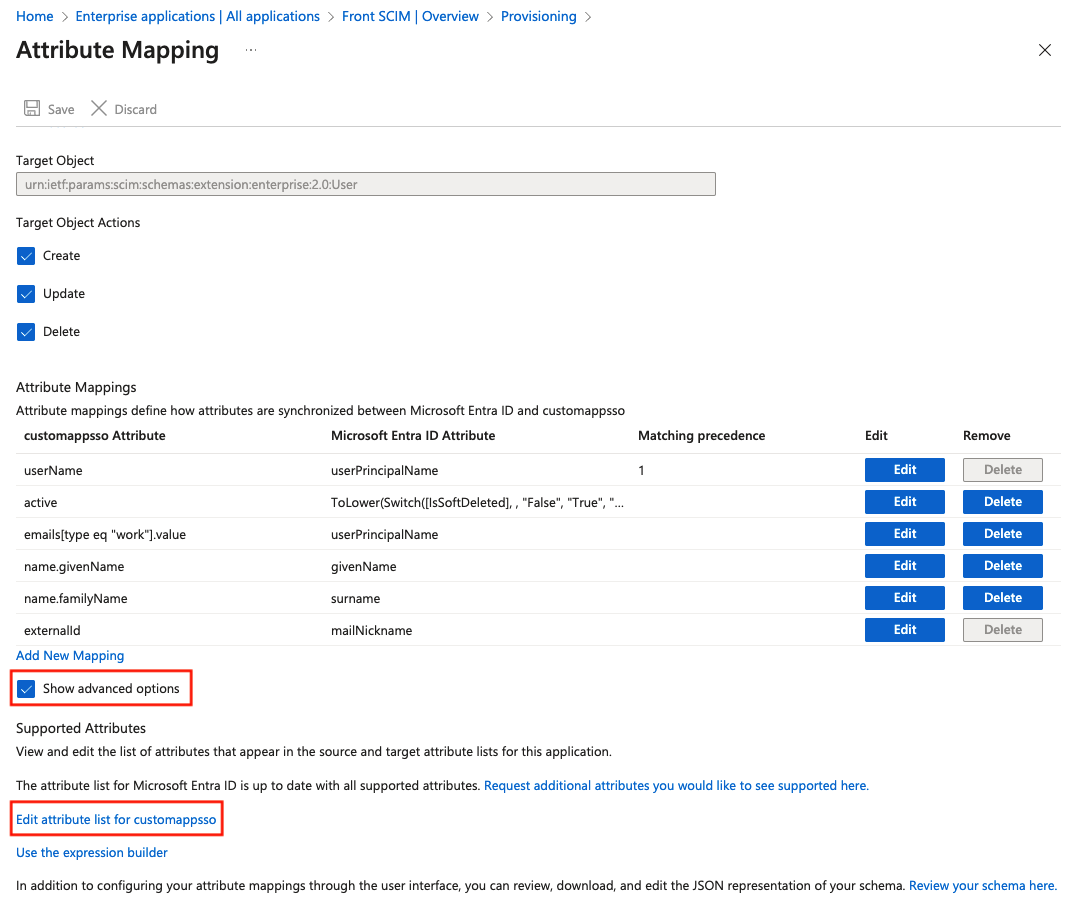
Scroll down the page and select Show advanced options. Then click Edit attribute list for custommapsso.
Step 6
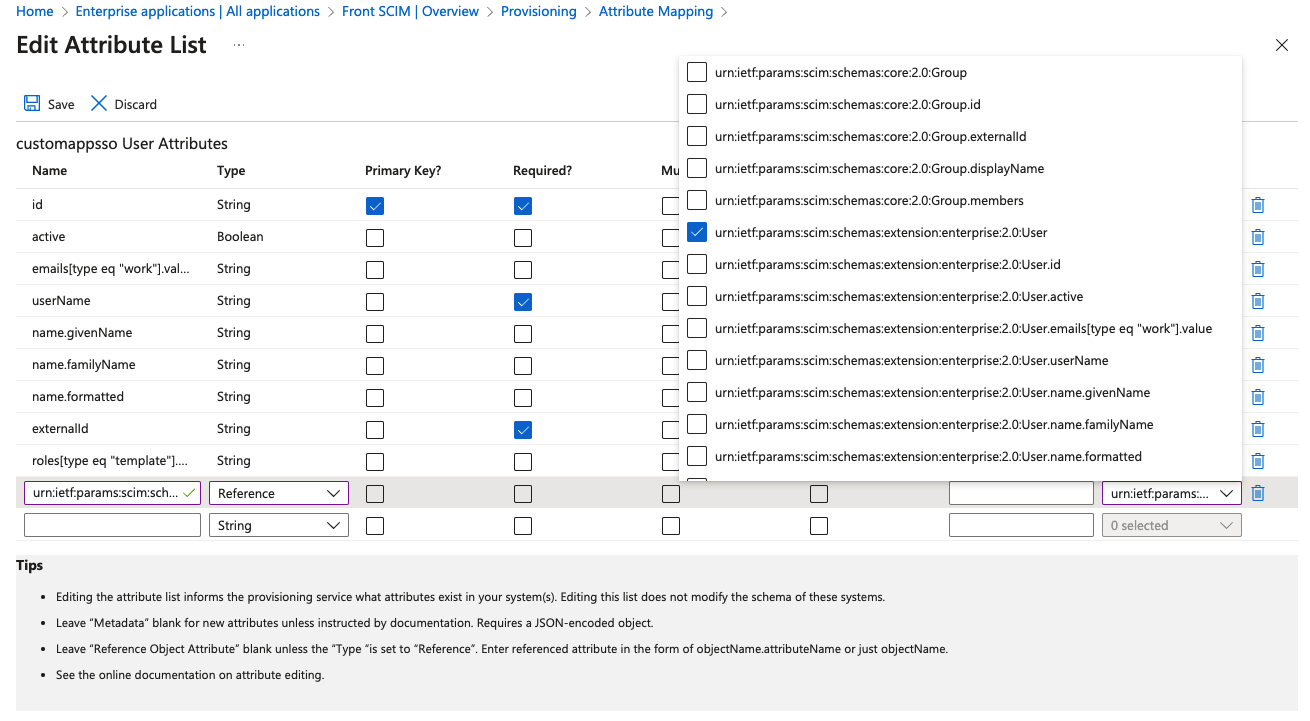
You must add a new item at the bottom of the Attribute List table. For the name, combine urn:ietf:params:scim:schemas:extension:frontapp:teammate_custom_fields with the ID copied in Step 2.
For example: urn:ietf:params:scim:schemas:extension:frontapp:teammate_custom_fields:fld_e37
Step 7
For the attribute type, use the table above to select the correct Microsoft Entra ID attribute type based on the Front custom field you are syncing to.
Step 8
If you selected the type as string, integer or boolean, leave the remaining columns blank.
If you selected the type as reference (for syncing to a Front custom field of type teammate), then select the object attribute urn:ietf:params:scim:schemas:extension:enterprise:2.0:User
Leave the remaining columns blank.
Step 9
Click Save to return to the attribute mapping page. At the bottom of the Attribute Mappings table, click Add New Mapping.
Step 10
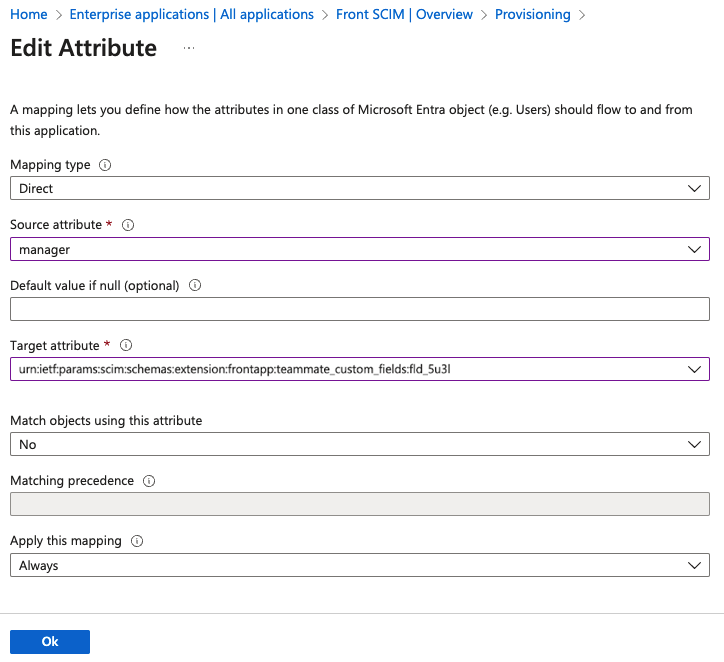
In the Edit Attribute form, enter the following information:
Mapping type: Direct
Source attribute: Select whichever Microsoft Entra ID user attribute will be mapped to the Front custom field. e.g. manager
Default value: Leave blank
Target attribute: Select the attribute created in Step 6
Match objects using this attribute: No
Apply this mapping: Always
Step 11
Click Ok to save this new attribute and confirm. The attribute mapping is now complete.
FAQ
Will I be able to update a custom field in Front that is synced to a user attribute in Microsoft Entra ID?
Front does not restrict the editing of custom attributes that are synced. However, the value can be overwritten at any time if an update is pushed from Microsoft Entra ID.