
How to create a new sequence
Overview
Front allows you to mail merge and send automated sequences to a list of email addresses. Read Understanding sequences to learn more about how they work and how to use this feature.
Instructions
Step 1
In the navigation menu, select Sequences.
Step 2
In the left sidebar, select where you want to create your sequence:
Personal: Only visible to your account
Workspace name: Visible to all teammates with access to the selected workspace
Step 3
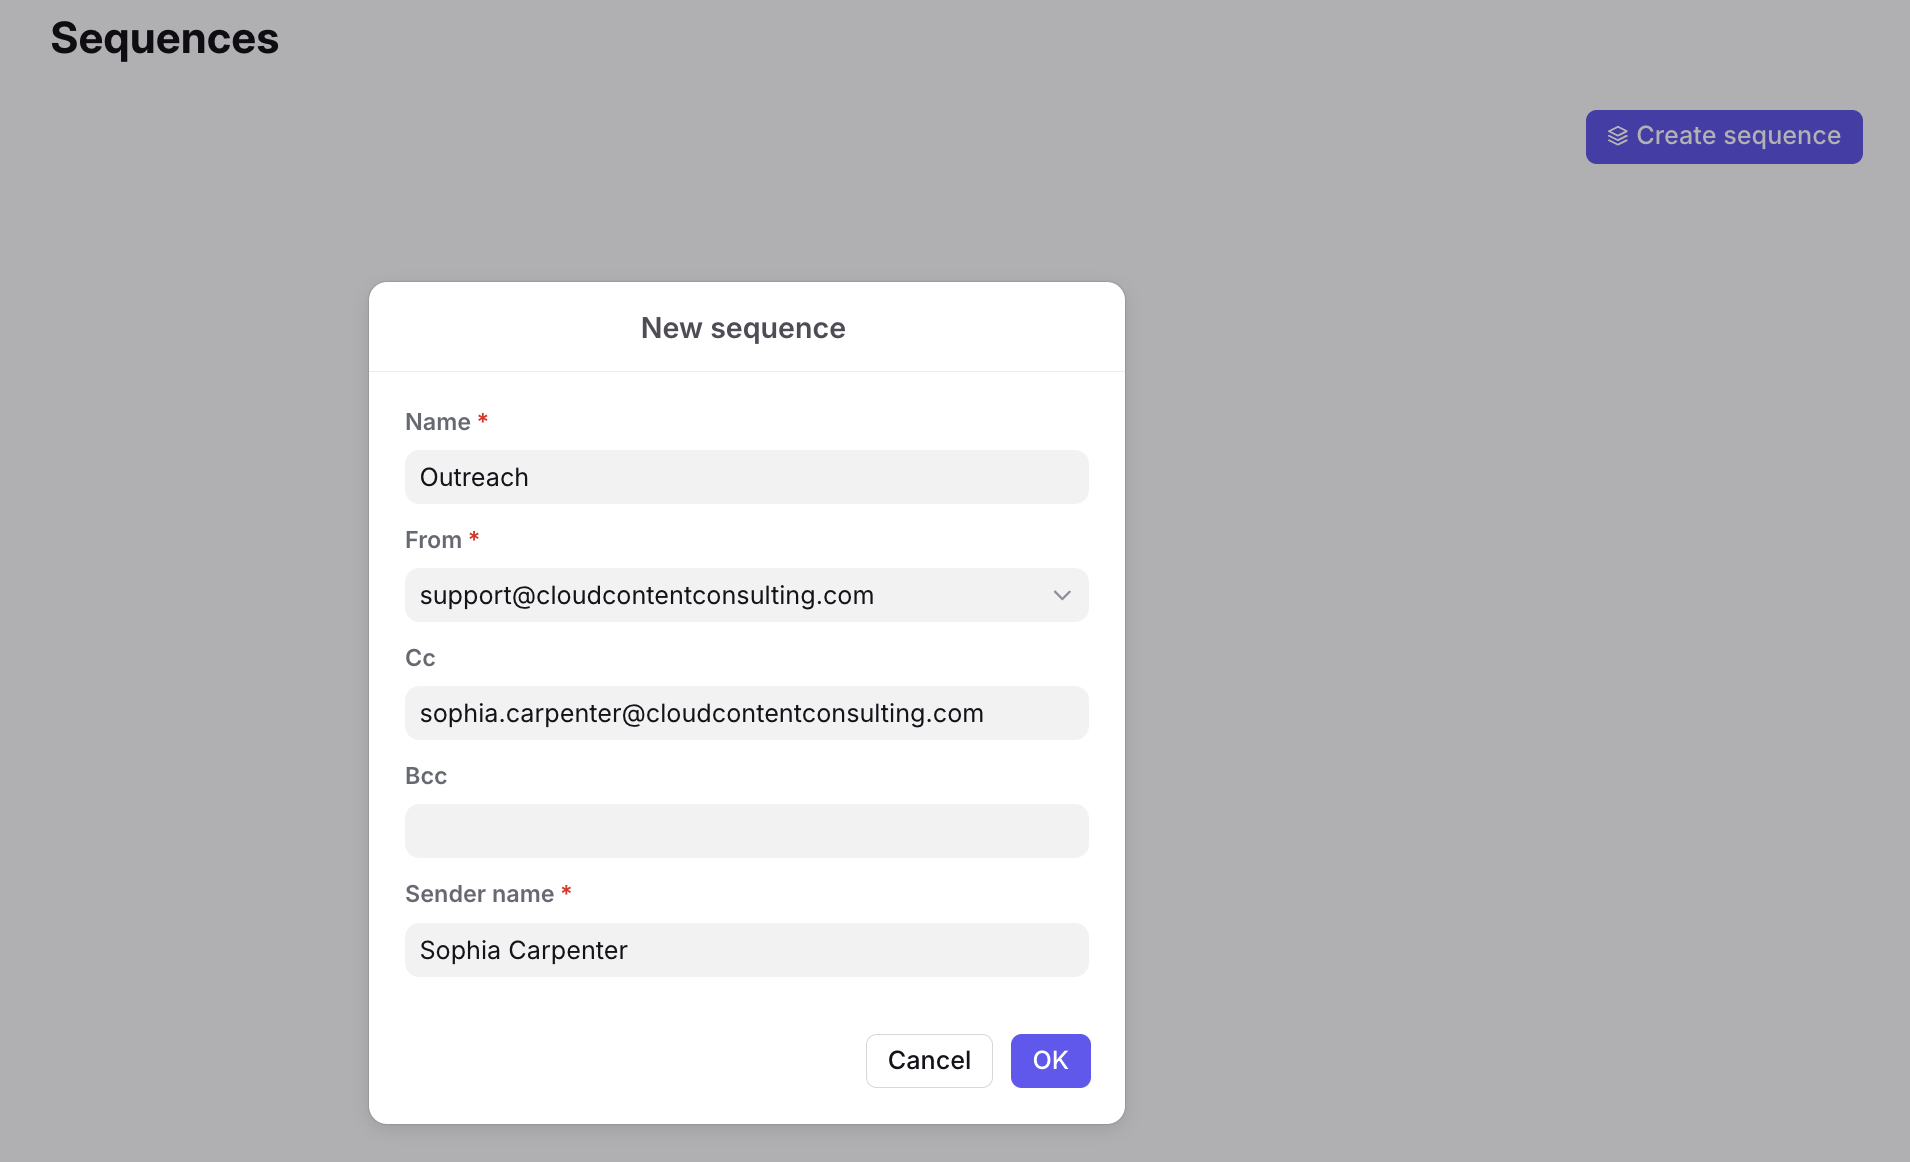
Click Create sequence, then fill out the following fields:
Name: The internal name for the sequence
From: Select an email channel that the sequence will be sent from
Cc (optional): Enter the email address that should be Cc'd on every sequence email (limit 1 address)
Bcc (optional): Enter the email address that should be Bcc'd on every sequence email (limit 1 address)
Sender name: Enter the name that recipients will see as the sender
Step 4
Click OK to continue.
Step 5
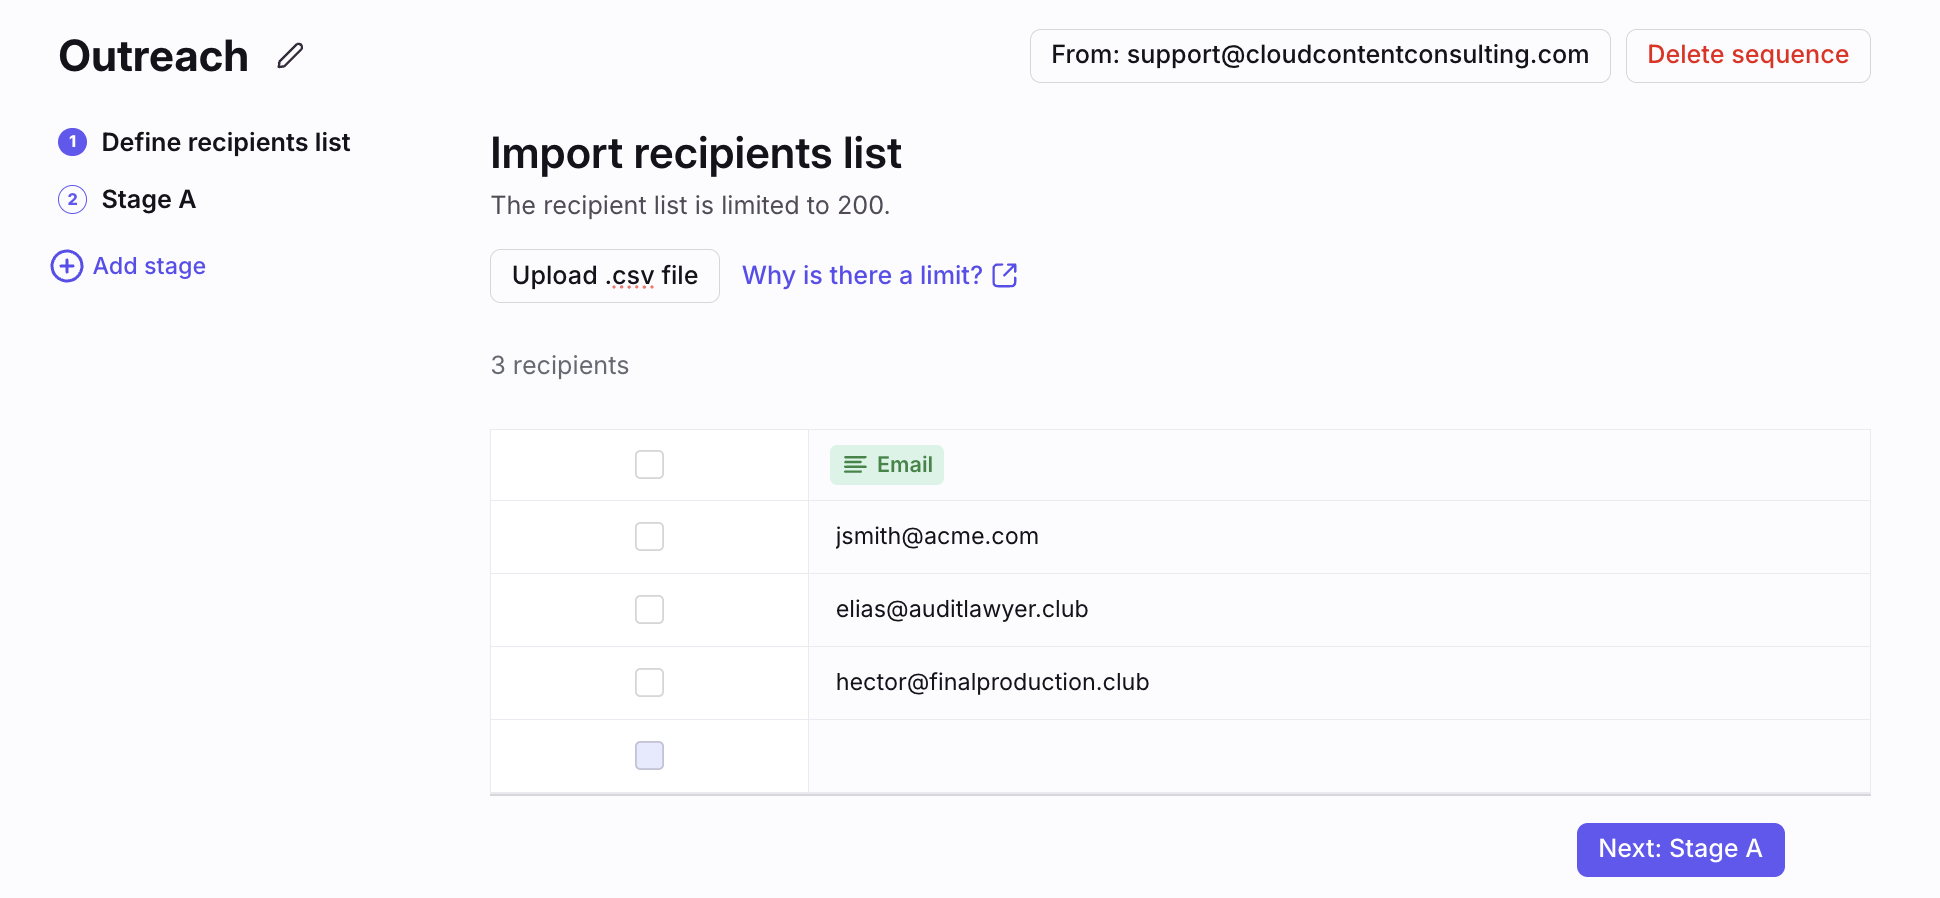
Add recipients to your sequence. You can manually enter email addresses or contact lists (enter/return will add a new line) or import contacts using the Upload .csv file button.
If importing recipients via CSV, the first column in your file must be email. See this article for more information about the CSV file.
Step 6
Click Next: Stage A to start building your sequence.
Step 7
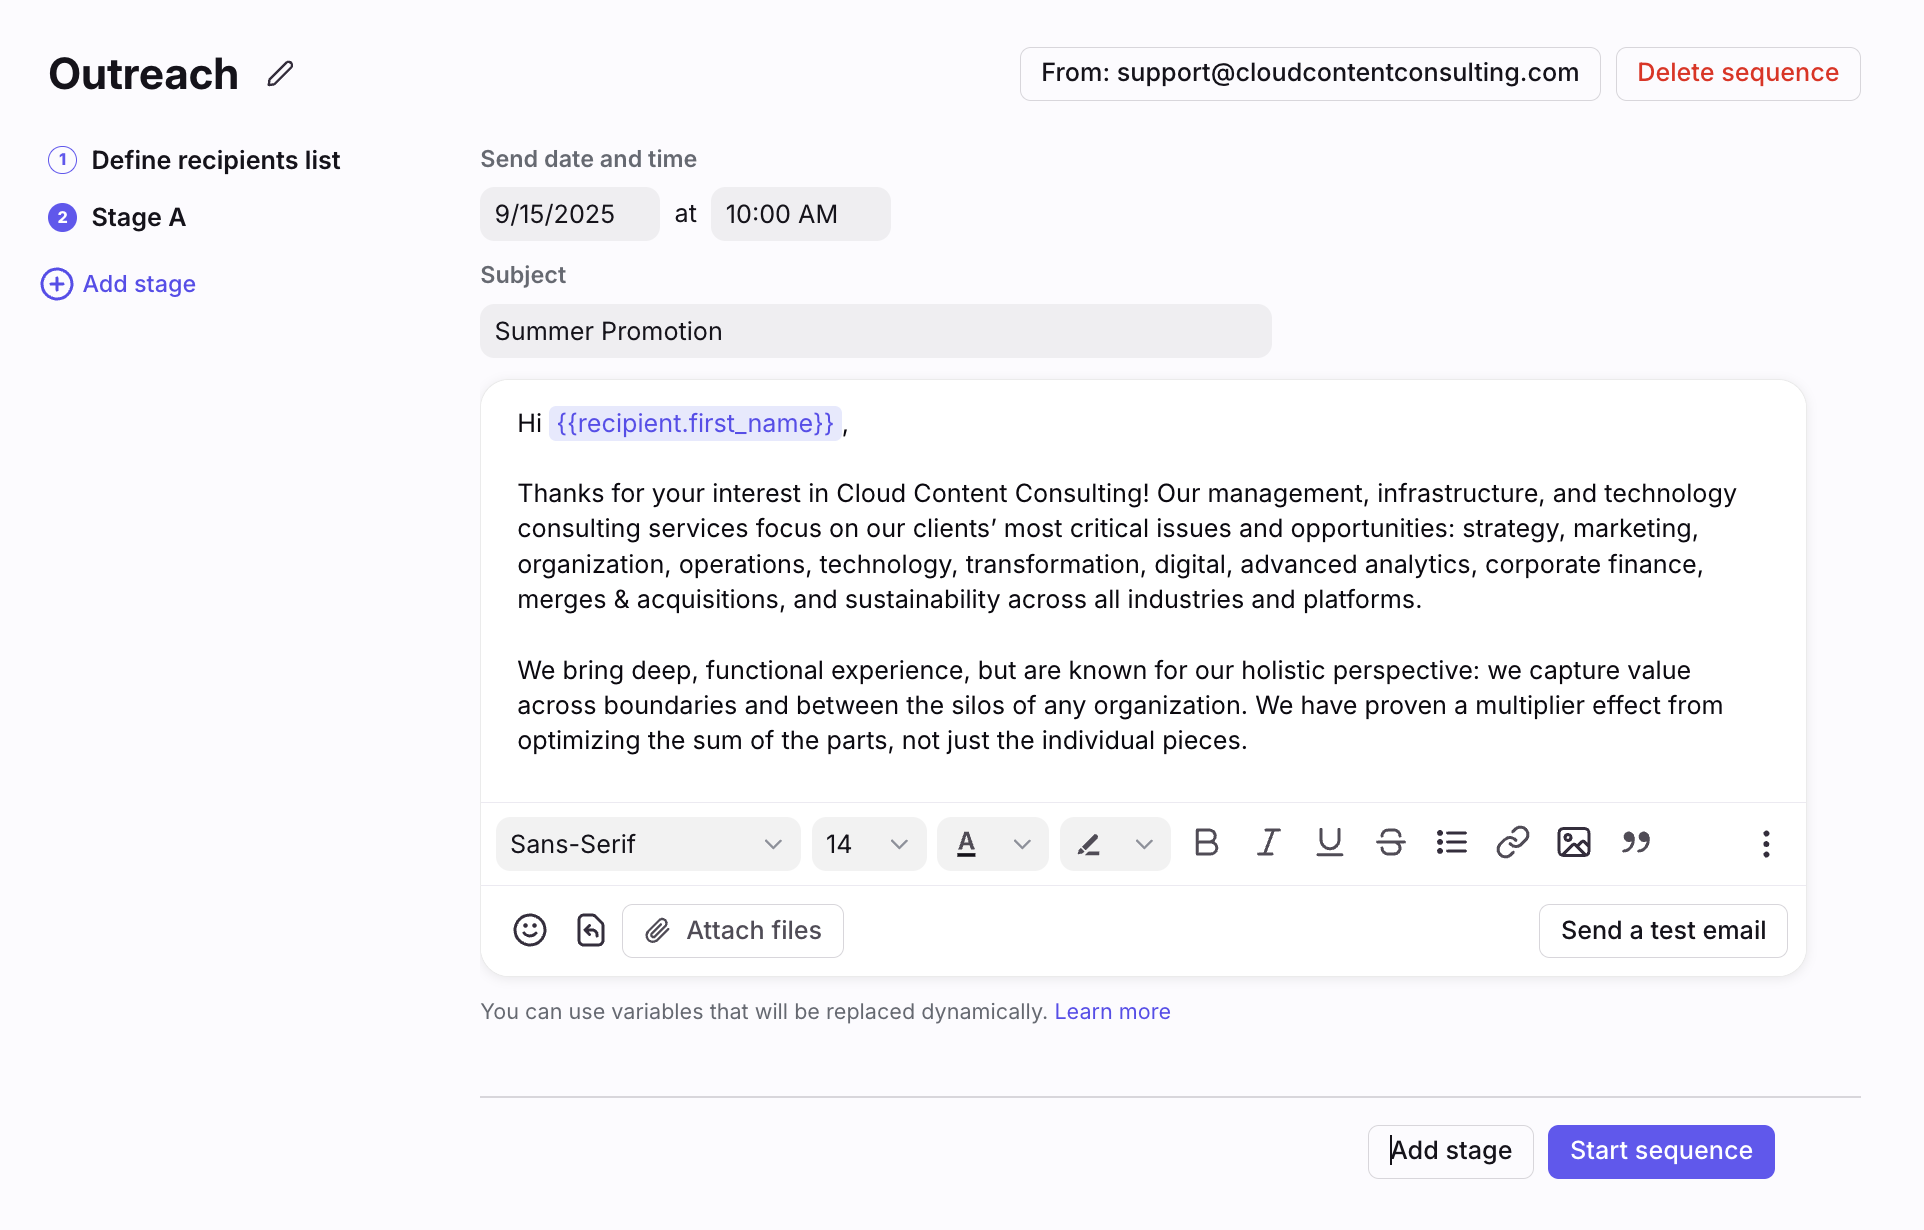
Choose a date and time to send Stage A, enter an email subject, then draft your email.
To automatically insert names and other information from the fields in your CSV file (like a mail merge), type {{ to trigger a variable dropdown (check out this article for more information about variables in sequences). Important note: To pull from CSV-uploaded contacts, use the variables starting with {{sequence...}} and not {{recipient...}}.
Don’t forget to add a signature, because signatures saved in Front are not supported in sequences.
If the time you select passes by the time Stage A is sent, then it will be sent immediately.
Step 8
From here, you have three options:
Send a test email: Click the Send a test email button to enter an email address and receive a real email. See this FAQ to learn more.
Add another stage: Click the Add stage button to add another scheduled email to this sequence.
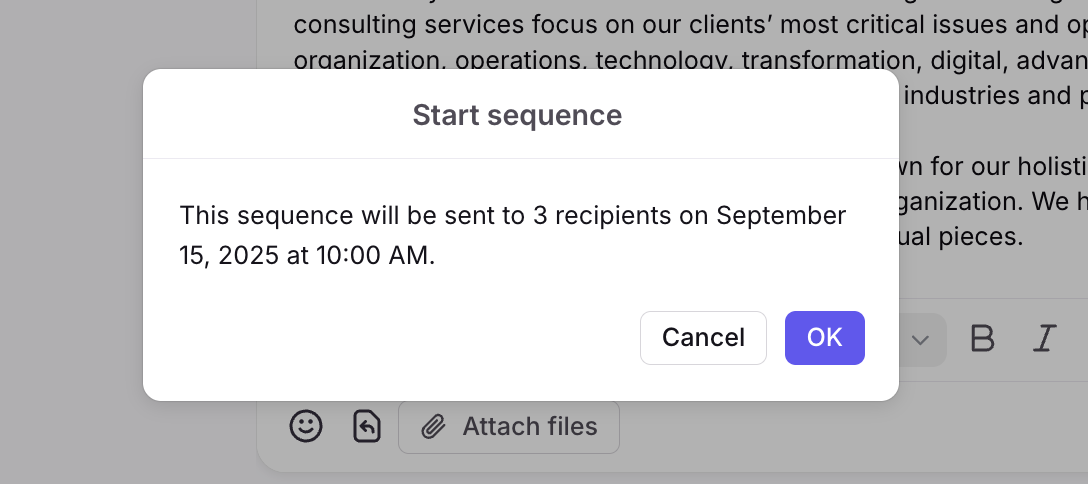
Start sequence: Click the Start sequence button if you want this sequence to consist of Stage A only, and immediately schedule the email. You will need to confirm one more time before sending.
Step 9
For this example, let’s add another stage. Click Add stage, then click Stage B from the left menu.
Choose when you want Stage B to send, then draft Stage B of the sequence.

Step 10
Continue adding stages as needed. When you're done creating your sequence, click Start sequence, and click OK to confirm again.
Step 11
Once the sequence has sent, you'll see which recipients have opened which stage, and if and at what stage they replied.
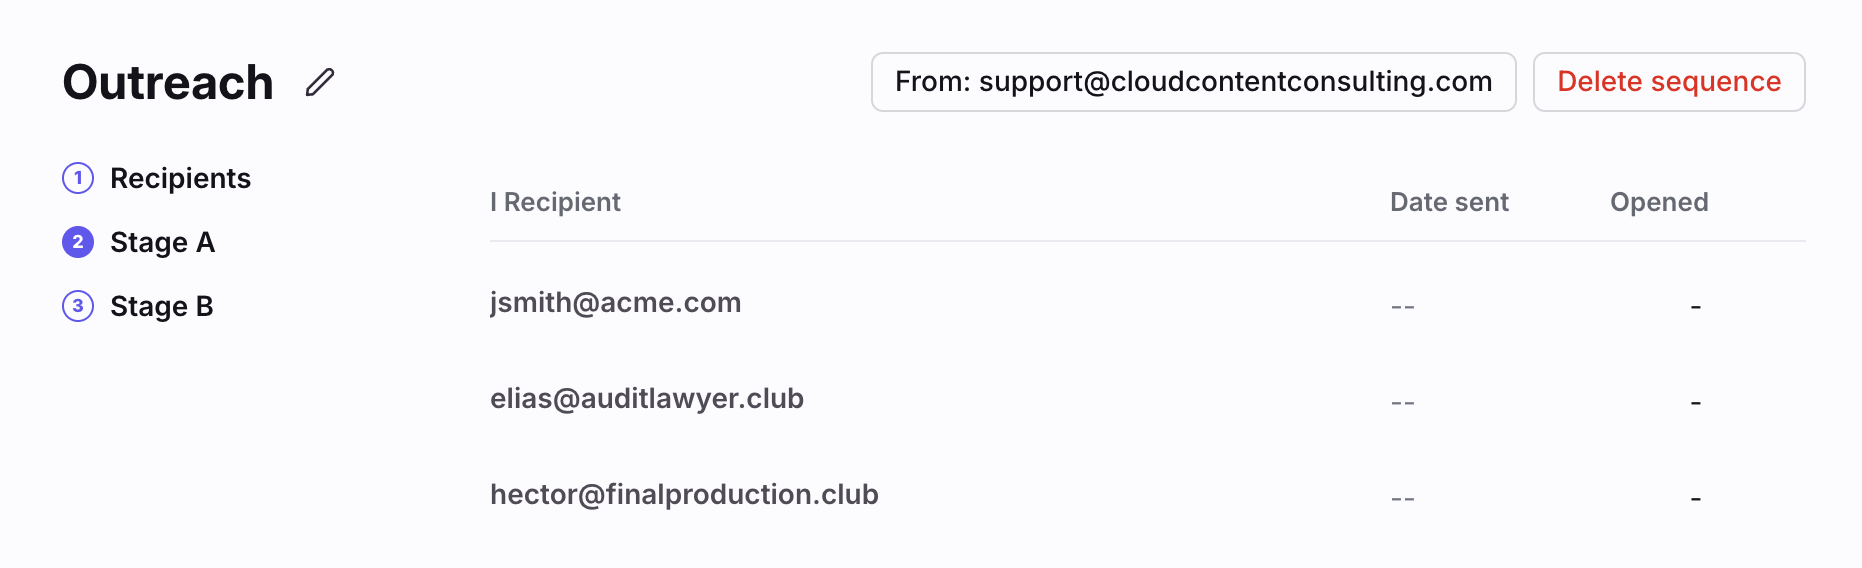
At this point, you can also edit a sequence by adding recipients or editing the existing stage. To do that, go into the sequence, and select Edit recipients or click a stage to Edit stage. You cannot add another stage after the sequence has been started.
FAQ
How do I delete a stage in a sequence that has already been started?
You cannot delete a stage in a sequence on that sequence has started. You will need to stop the sequence and recreate the sequence without the stage.
How do I remove recipients from a sequence in progress?
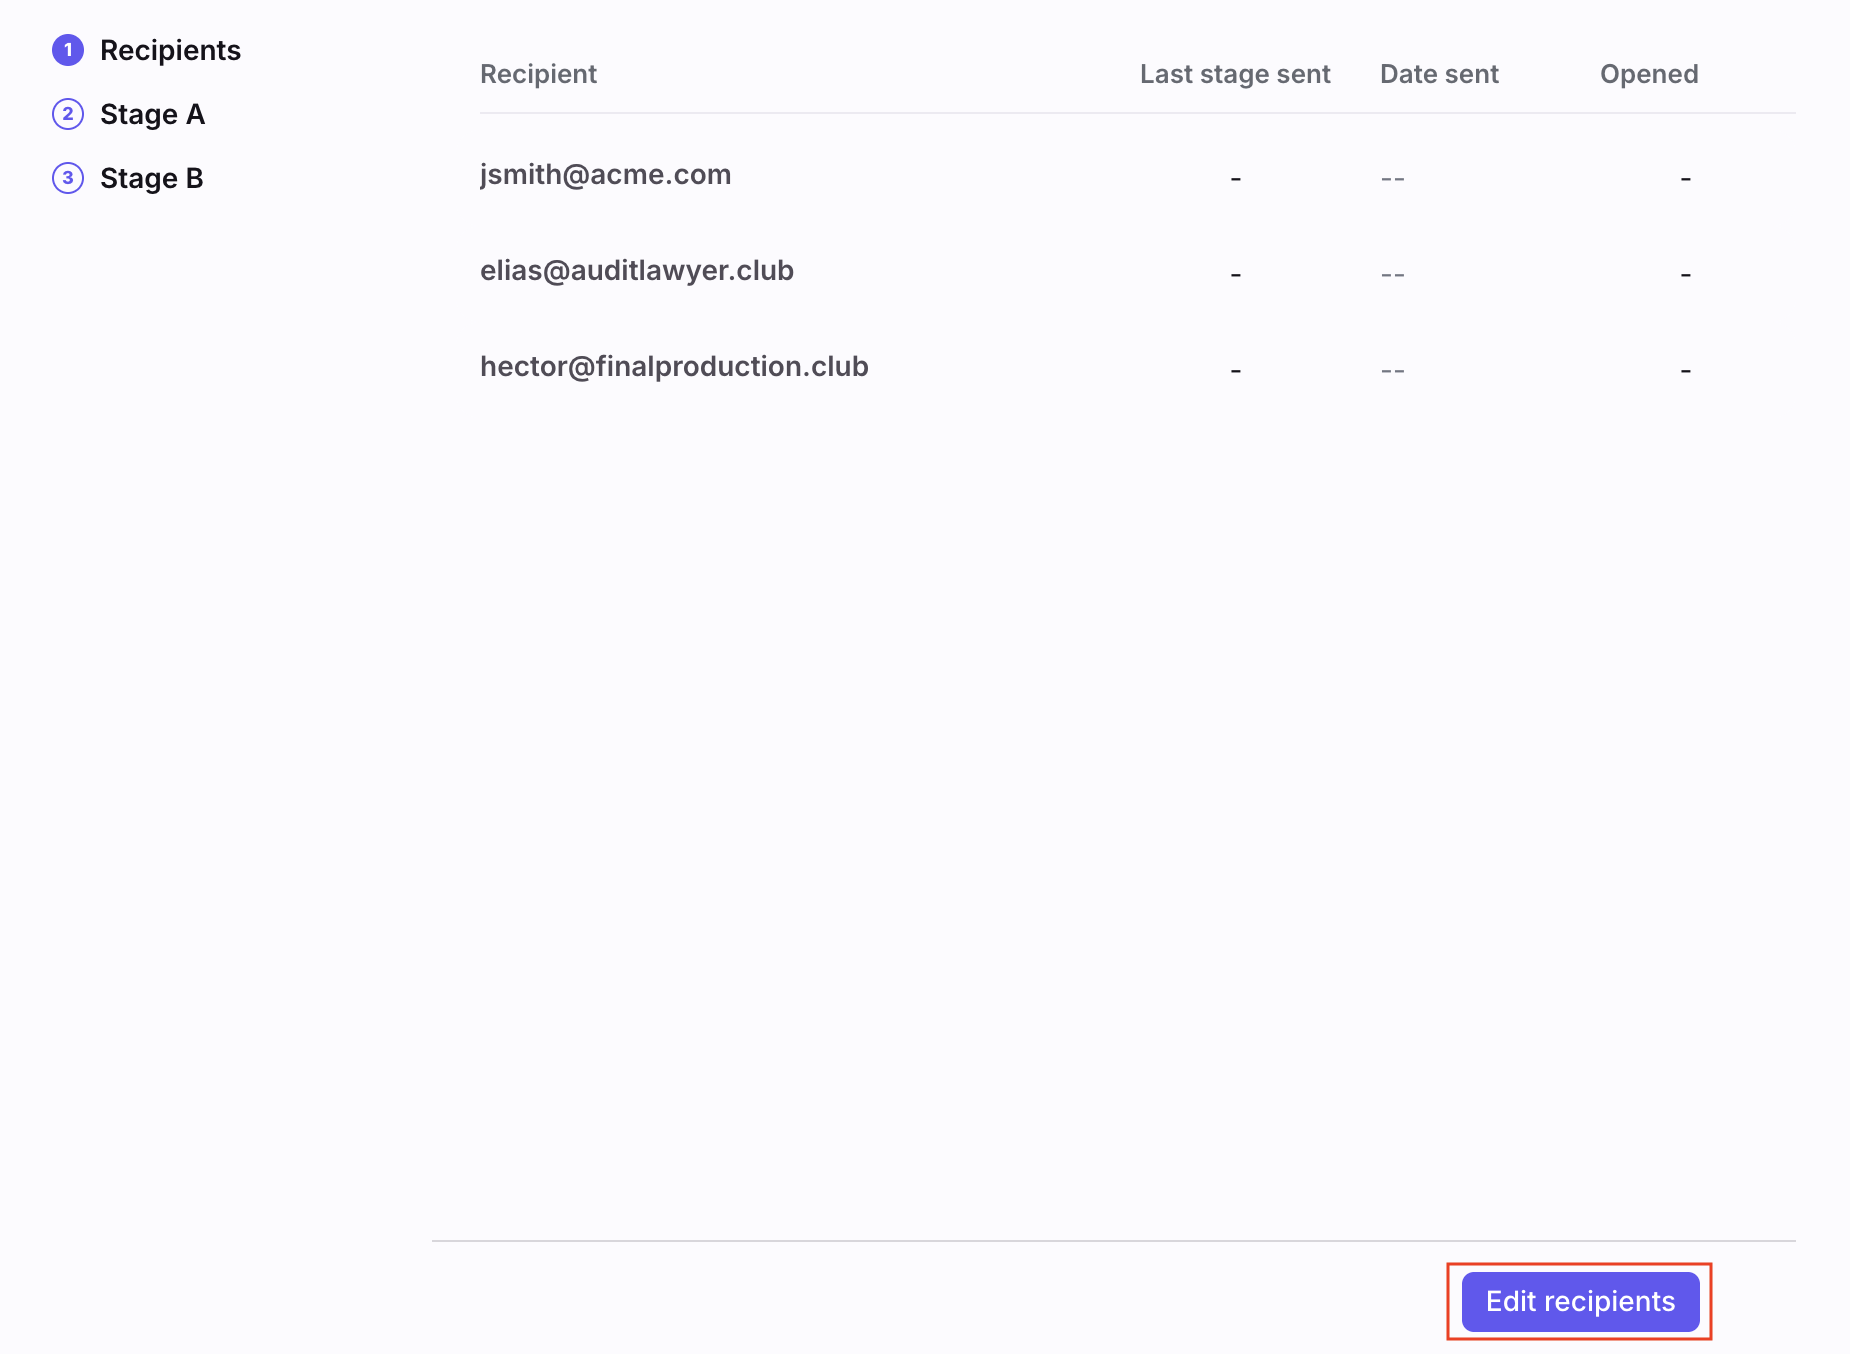
Step 1
Once the sequence has begun, click the Edit recipients button.
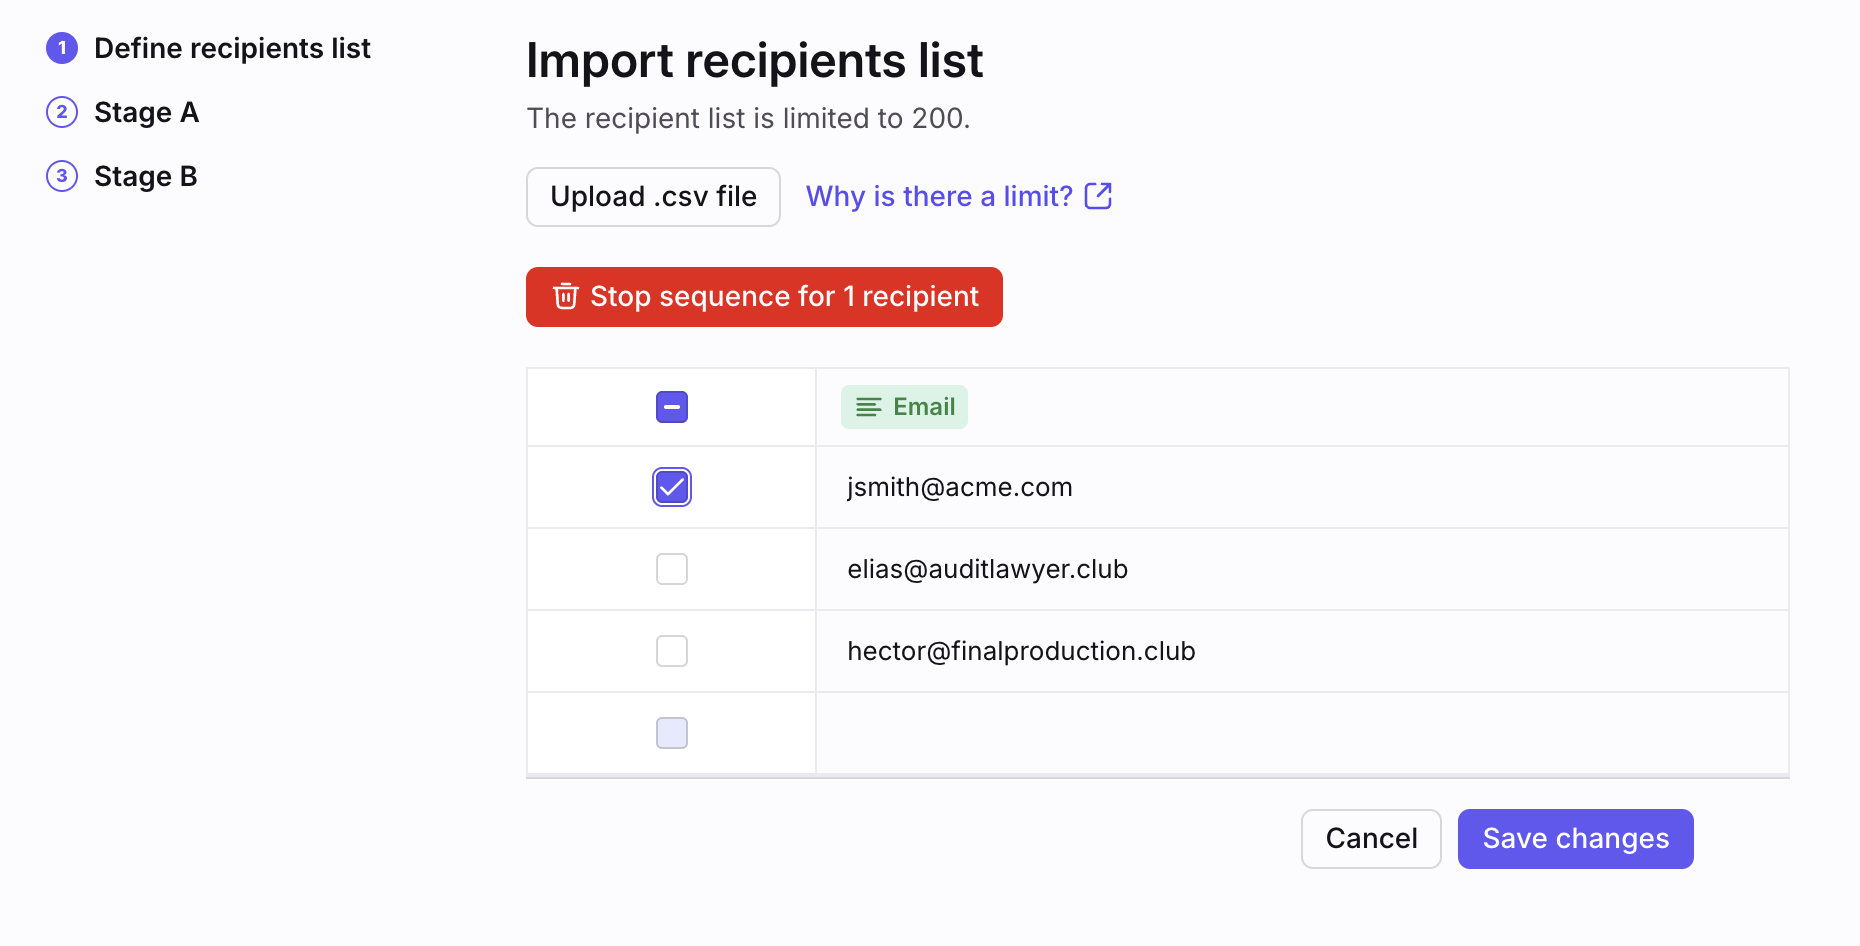
Step 2
Check the box next to the name of the recipient you'd like to remove from the sequence.
Step 3
Click the Stop sequence button that appears.
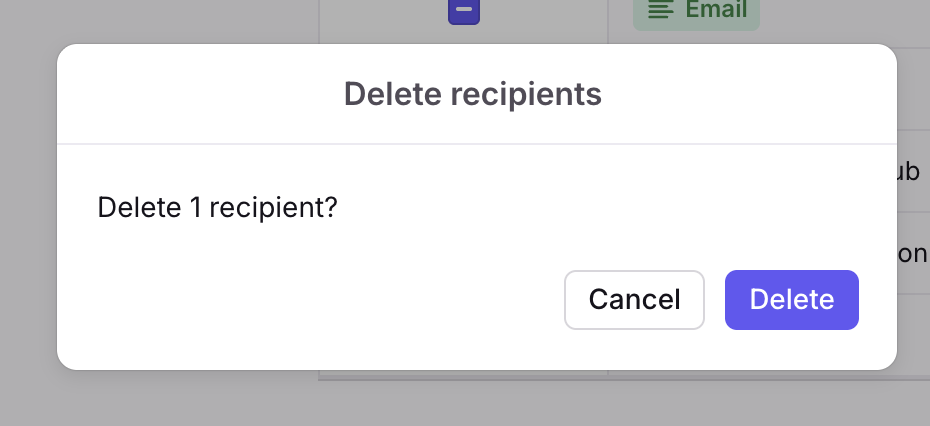
Step 4
A Delete recipients pop-up will appear. Click Delete to confirm the removal of this recipient from the sequence.
Step 5
Click the Save changes button to save your changes.

Step 6
In the pop-up that appears, click OK to confirm your changes.
Step 7
Your sequence should be updated and will no longer show the deleted recipient on the recipients list.
Can I send multiple sequences at once?
We advise against sending more than one sequence at a time using a single email channel. If you need to send to more than 200 recipients, please start the second sequence after the first has finished, or consider using a dedicated bulk-mailing tool like HubSpot, Mailchimp or Marketo, and handling the responses to your mail in Front.
Can I reuse the same sequence more than once?
Sequences have a sending limit of 200 recipients. As long as you have not hit the limit of 200 recipients on a given sequence, you can continue to add recipients to that sequence. Once you click Send to new recipients, it will process them anew, running them through each stage as though the sequence was just created.
If the sequence has already sent to 200 recipients, you will need to create a new sequence.
What happens when I use a channel configured with "No threading" mode?
When a sequence is sent from a channel configured with "No threading" mode, then replies from recipients do not prevent the next sequence stage from being sent. The replies are not registered as replies to the sequence, so subsequent sequence stages will still be sent. See this article to learn more about threading modes.
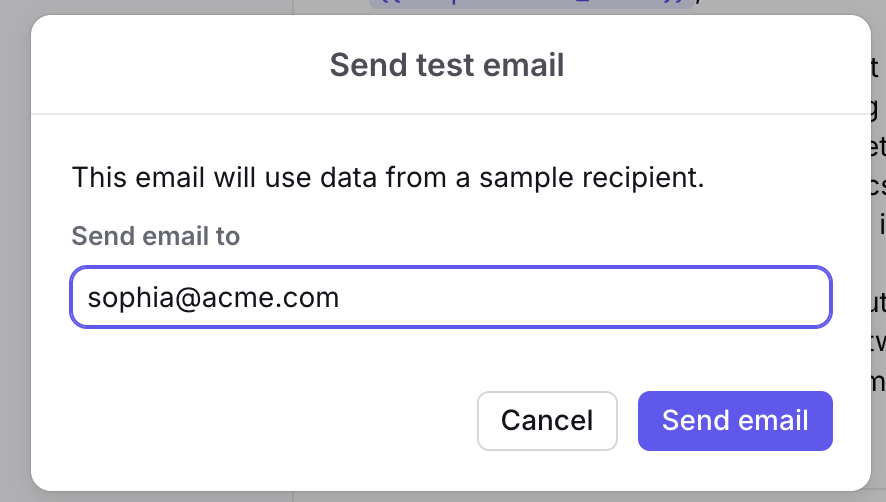
How do test emails work?
When you click the Send a test email button, you'll see a pop-up prompting you to enter an email address to receive a real email in your inbox.
We recommend entering your own email address as the recipient of the test email. We don't recommend using an actual recipient's email address to test.
After you click Send email in the pop-up, the test email will select a random recipient from your recipients list. Any variables in your sequence are filled in with data from that recipient.
For example, if you have 100 recipients in your sequence, the test email will select a random recipient and fill in any variables, regardless of the email address you enter in the Send email to field.
Pricing
This feature is available on the Professional plan or above. Some legacy plans may also have this feature.