
How to connect a Microsoft 365 Groups email
Overview
Follow these instructions to add a Microsoft 365 Groups email to Front. This process differs from the steps to add a distribution list/group. Microsoft 365 groups allow companies to easily distribute mail sent to a single address to a group or team of people, and includes a shared inbox where users can view all messages posted to the group.
To add an Office 365 Shared Mailbox to Front instead, see this article.
Prerequisites
The person who adds the Microsoft 365 Groups email needs to be a Front admin
You must have Microsoft Exchange administrator access to complete the setup
Instructions
Part 1: Configure group settings in Exchange admin center (EAC)
Step 1
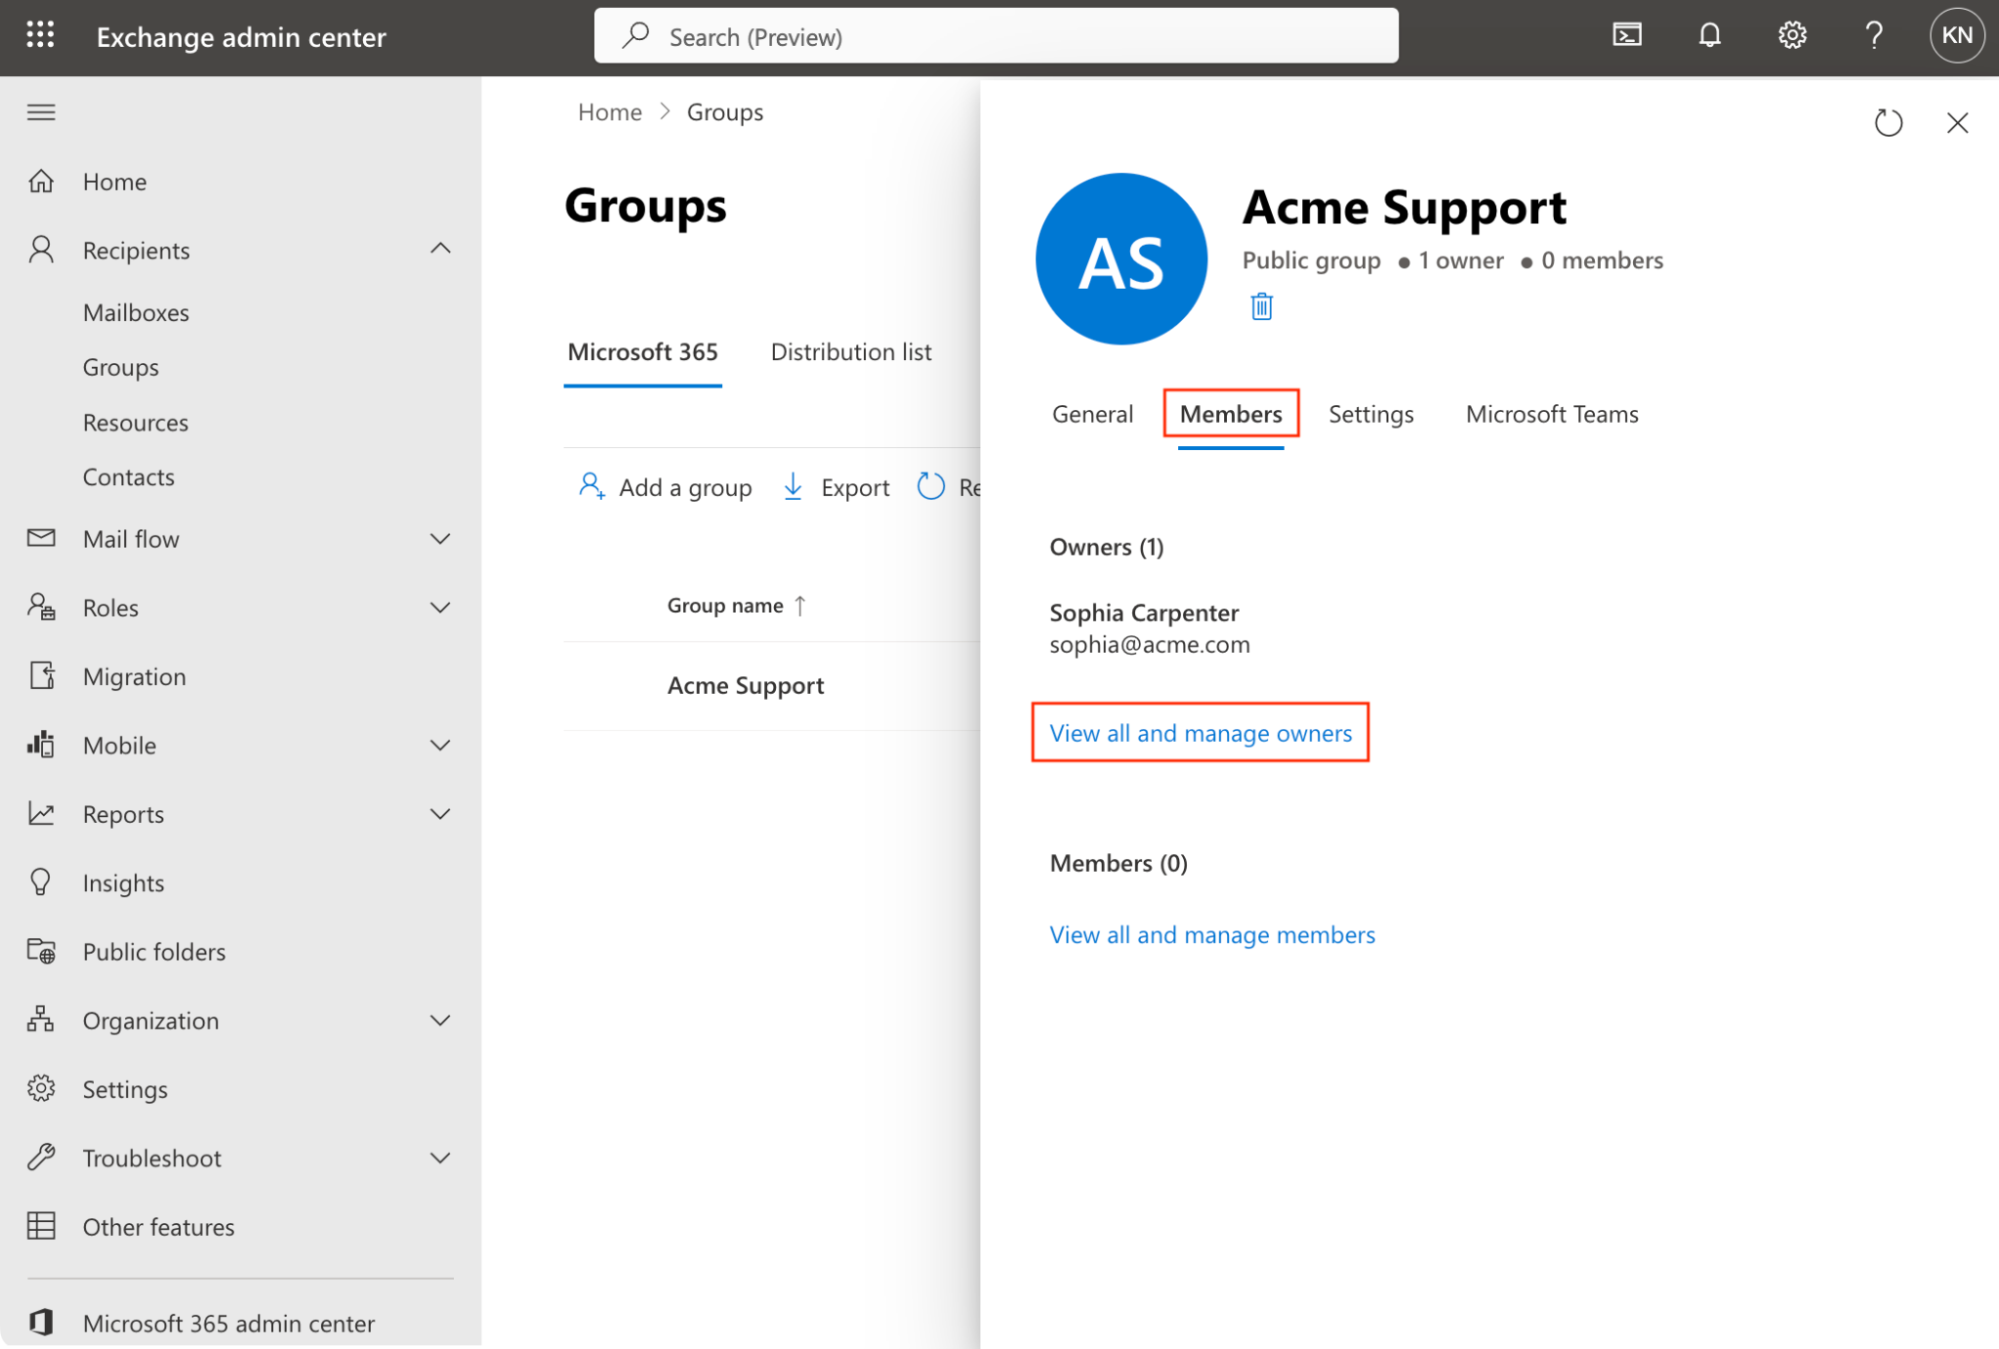
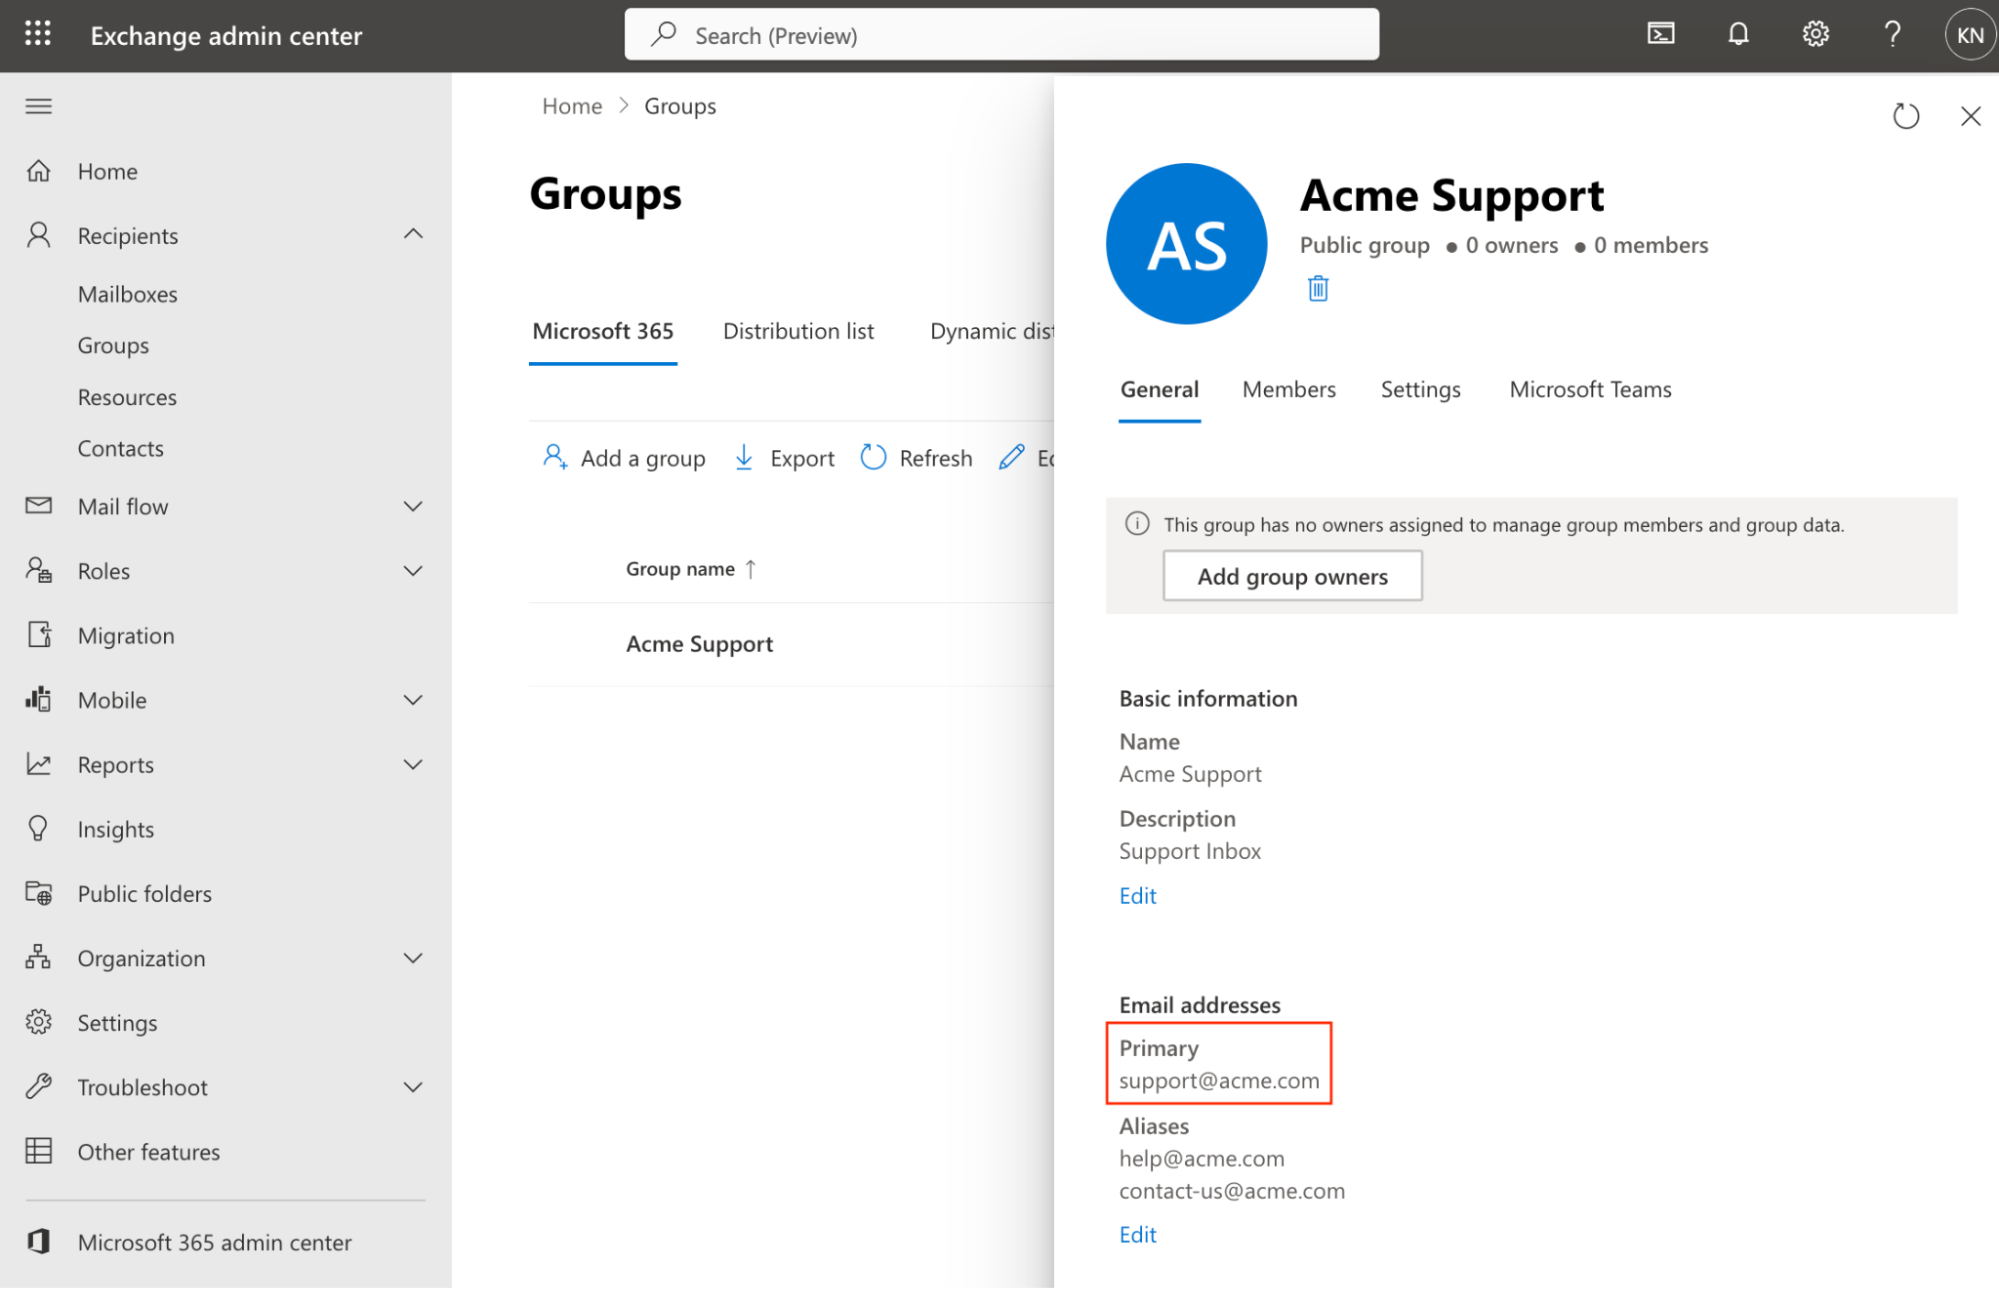
In your Exchange admin center, navigate to the Microsoft 365 group you’d like to add to Front.
Step 2
Navigate to the Members tab, then select View all and manage owners.
Step 3
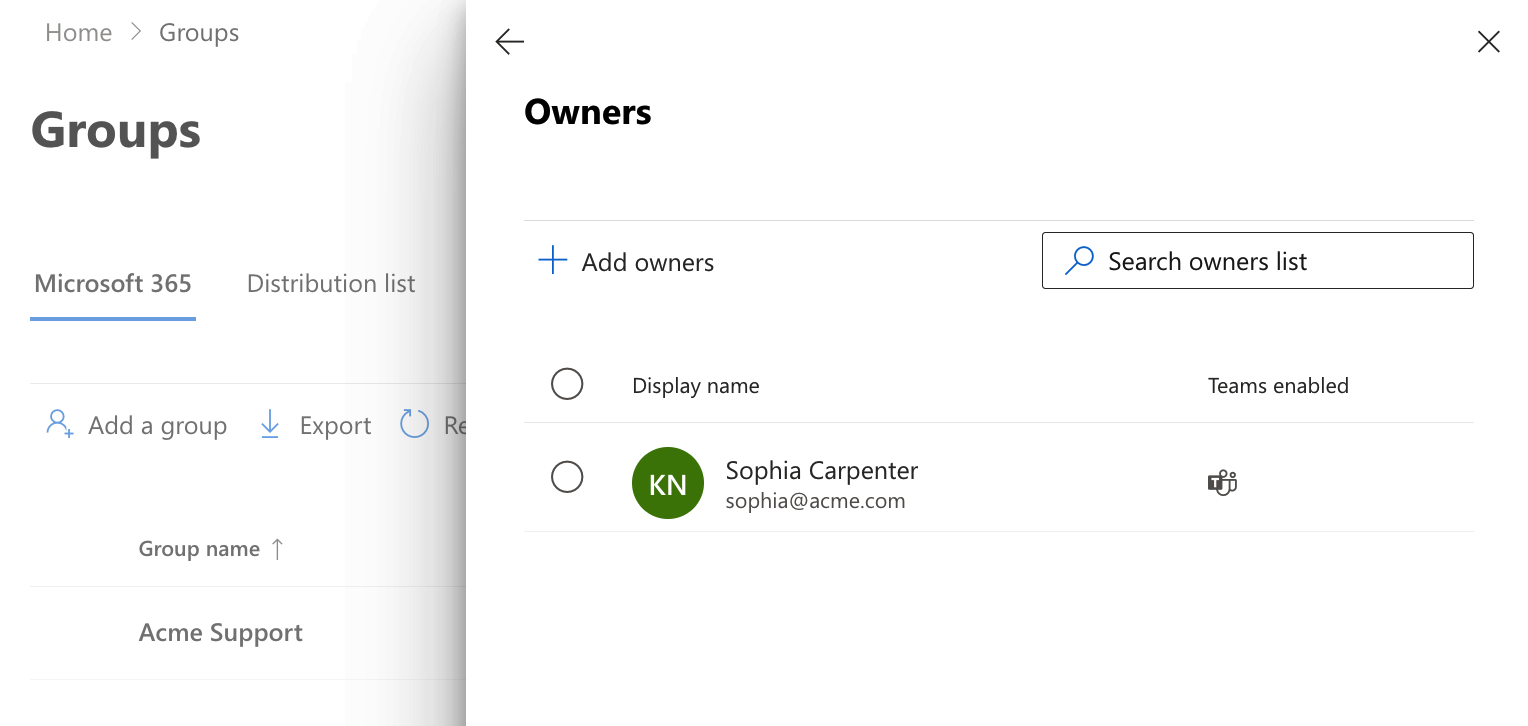
Check to ensure the admin adding the Microsoft 365 group to Front is listed as an owner. If not, use Add owners to add them.
Step 4
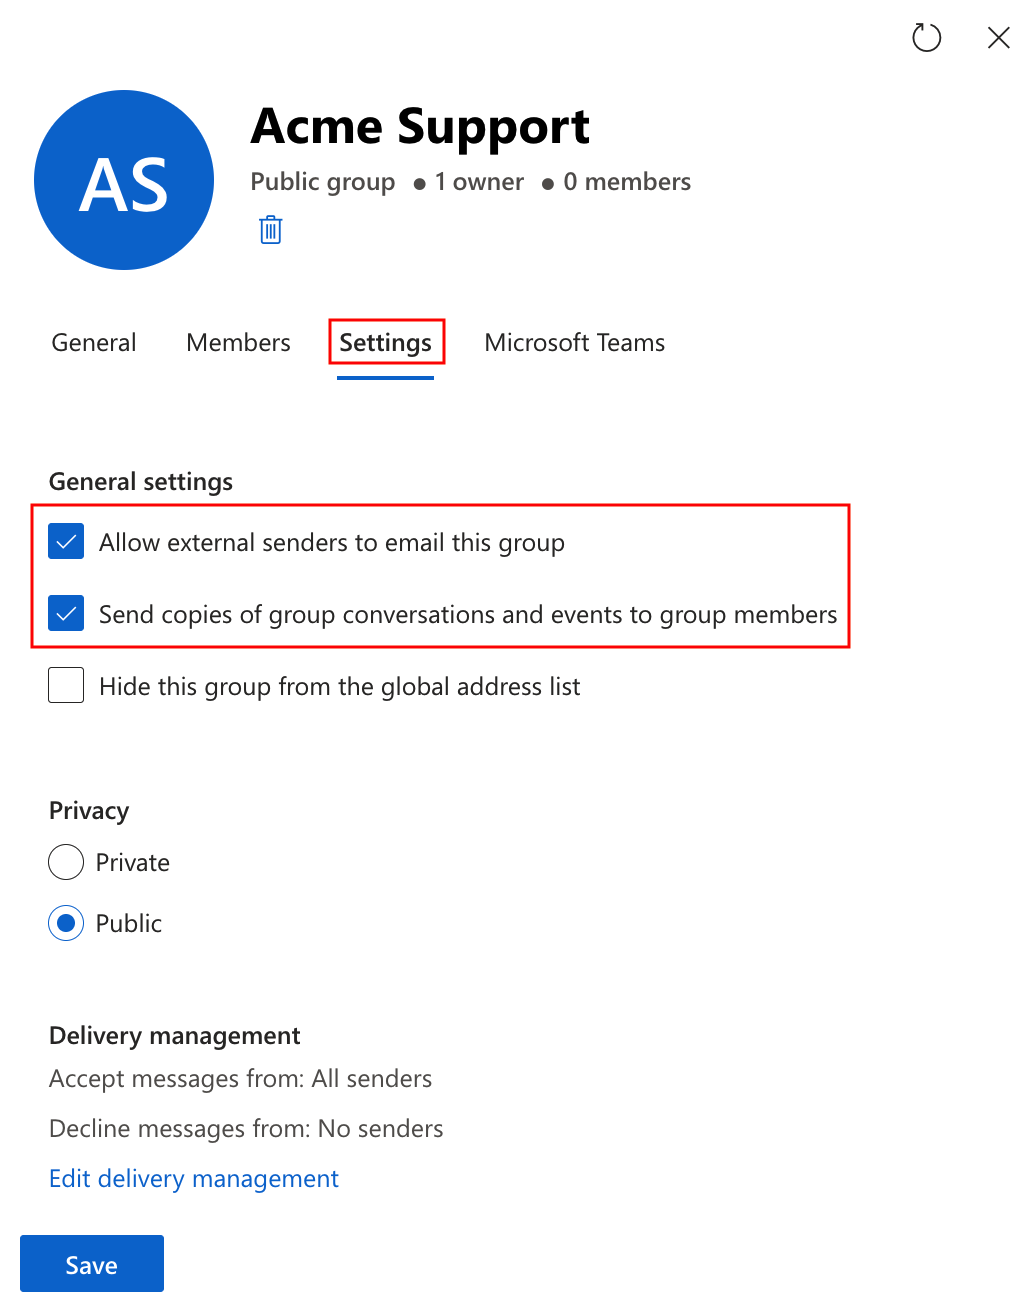
In the Settings tab, ensure these general settings are enabled:
Allow external senders to email this group
Send copies of group conversations and events to group members (optional): Depending on your workflow/setup you may want to enable this setting, but it is not required for this channel to work with Front
Step 5
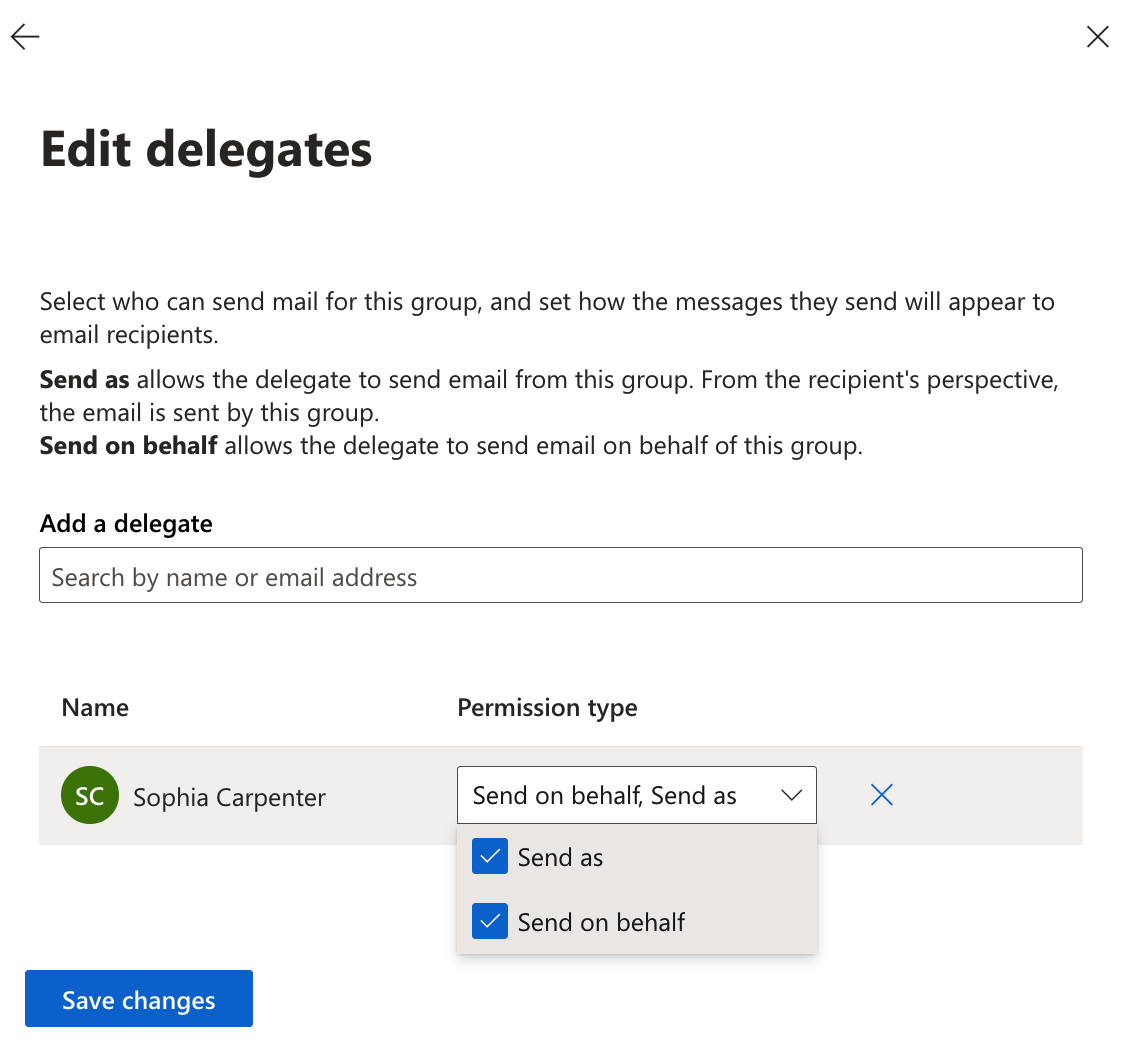
In the same Settings tab, click Edit manage delegates.
Add the admin as a delegate with Send as or Send on behalf permissions, then click Save changes. You can configure Send as or Send on behalf for a given user, but not both. If you configure both, it will default to Send as.
Part 2: Set up forwarding to receive emails
Step 1
In Front, click the gear icon and navigate to the company settings tab.
Step 2
Click on Inboxes on the left menu and create a new shared inbox.
Step 3
Click Channels on the left menu, then click the Connect channel button.
Step 4
Choose Microsoft from the list, choose whether you are using Office 365 or On-premise Exchange server, then select Distribution Group or Microsoft 365 Group.
Step 5
Enter the email address you want to connect as a channel (e.g. support@acme.com), then click Continue.
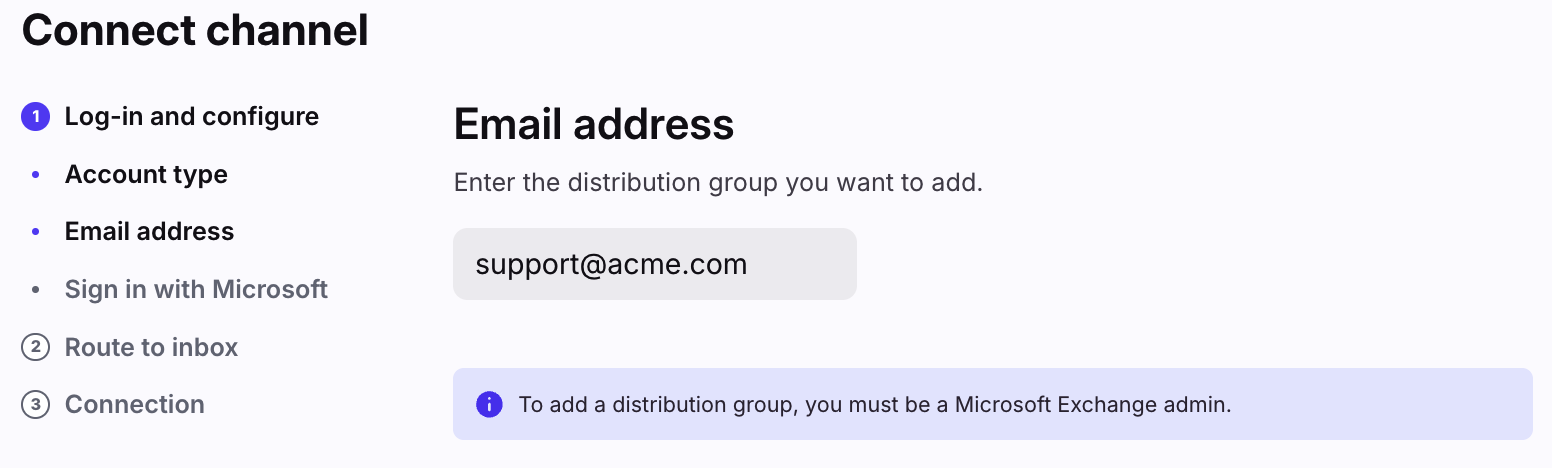
In your Exchange admin center, this is the Primary email address for the Microsoft 365 Group.
Step 6
Select the inbox to connect to your channel, then click Continue. All messages from your channel will route to this inbox by default.
Step 7
Copy the Front forwarding address that's generated.

Step 8
In your Exchange admin center, navigate to Mail flow, then select Rules in the left sidebar. Click Add a rule, then Create a new rule.
Step 9
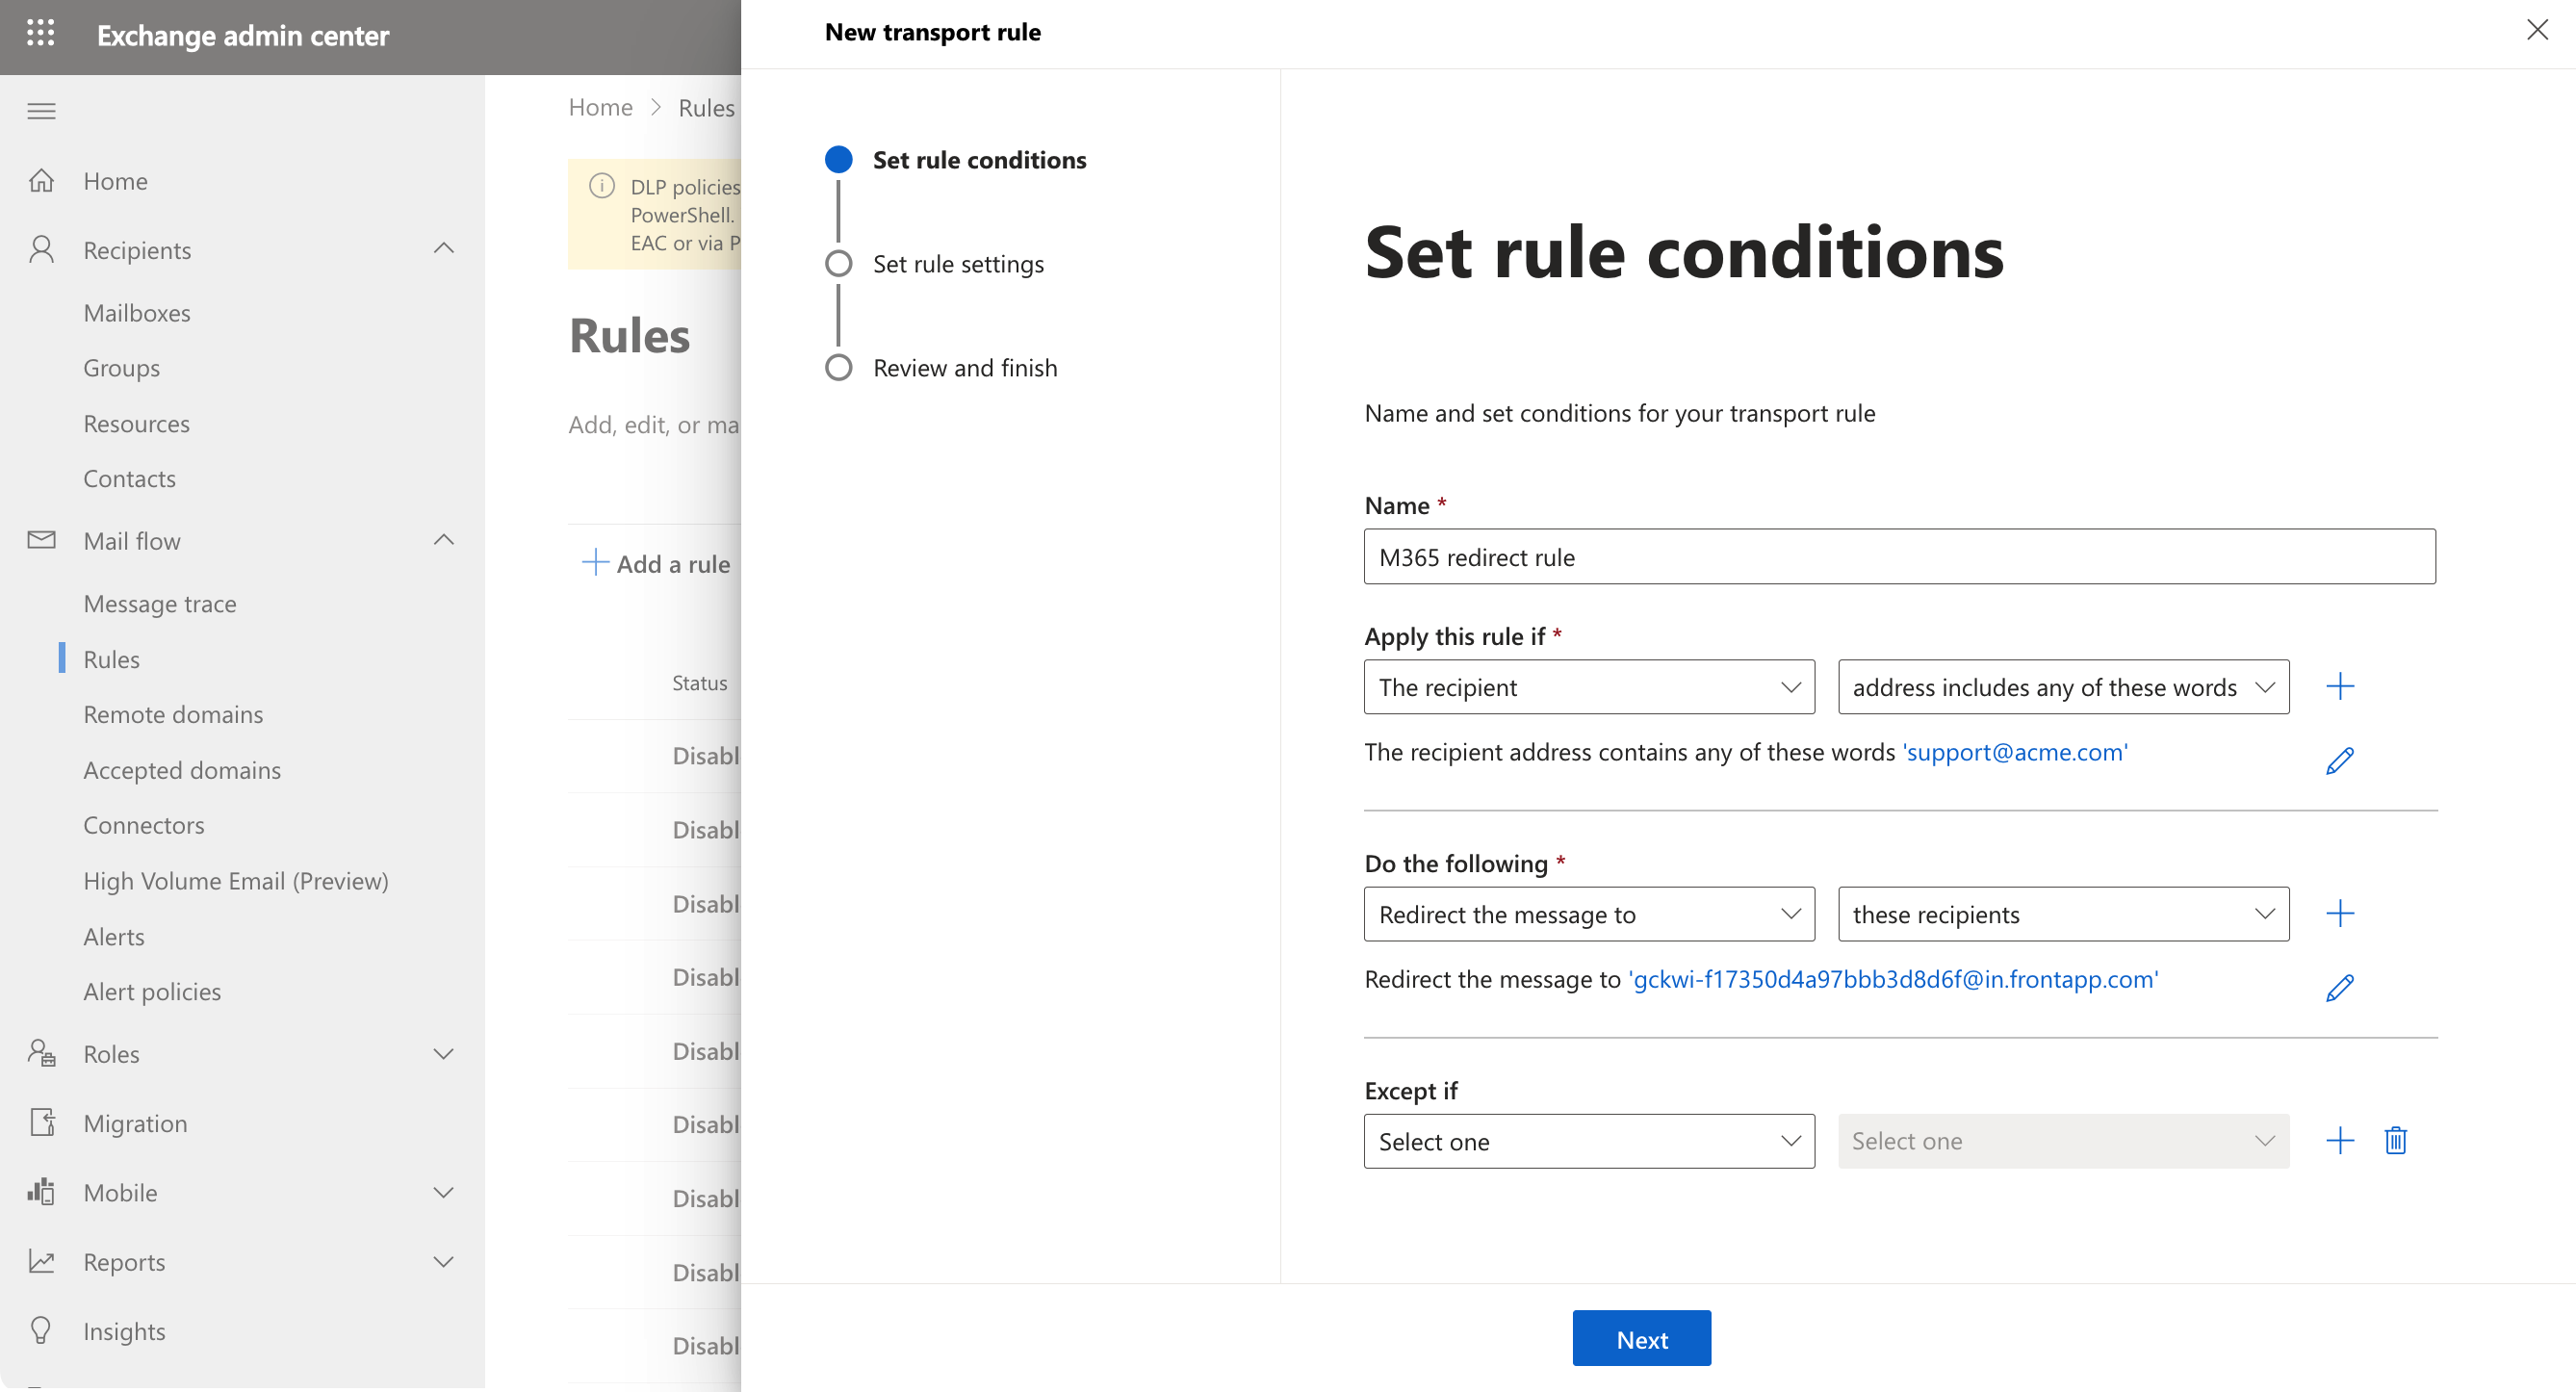
Create a new mail flow rule with the following settings:
Apply this rule if: The recipient address includes these words: [your Microsoft 365 group address]
Do the following: Redirect message to [the Front forwarding address you copied in Step 7]
Step 10
Click Next, then Finish to create your rule.
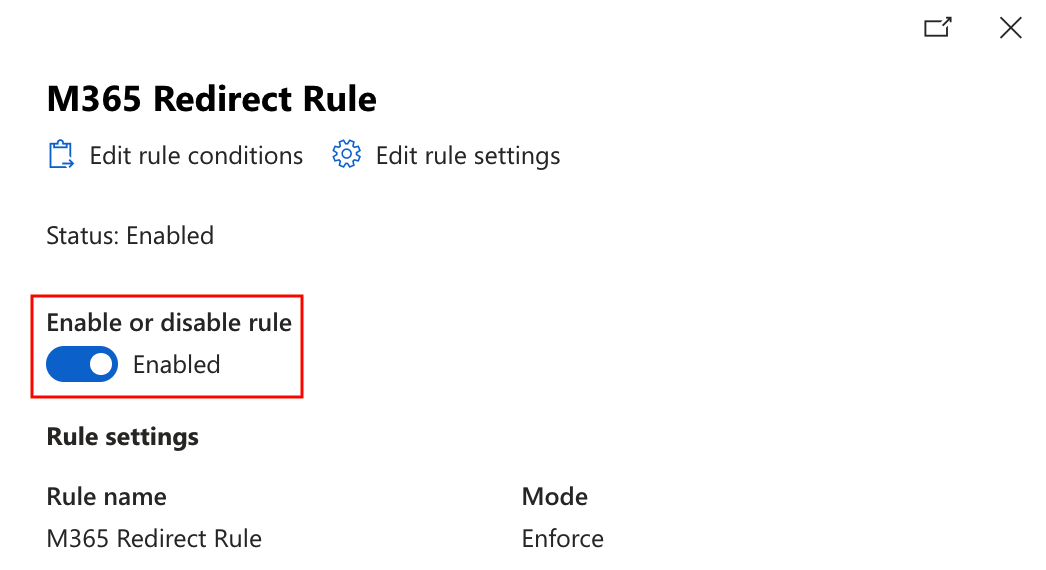
Step 11
Select the rule in your rule list, then toggle on the Enable or disable rule setting to enable the rule.
Part 3: Change outbound settings to use Microsoft OAuthV2
Step 1
Now that emails can flow into Front, you can set up an outbound mail server via OAuth to ensure emails are delivered through your Exchange servers.
Step 2
In Front, navigate the Microsoft 365 Groups channel you just created.
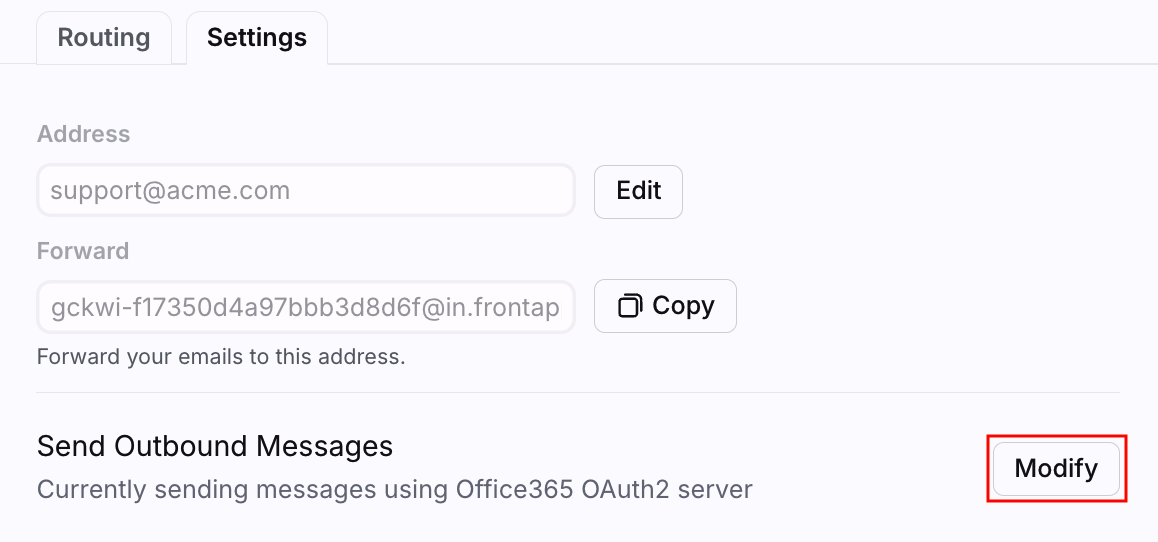
Step 3
Navigate to the Settings tab, then click Modify next to Send Outbound Messages.
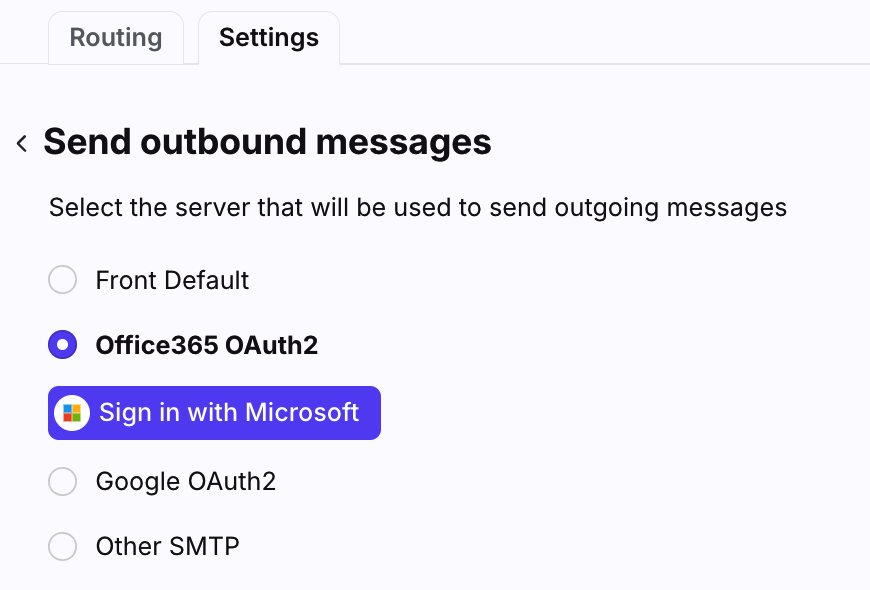
Step 4
Under the Office 365 OAuth2 option, click the Sign in to Microsoft button, then log in to Microsoft using your admin login credentials (you must have Microsoft Exchange administrator access).
Step 5
Click Save when finished.
Alternate option: Send emails with SendGrid
As an alternative to the OAuth steps in Part 3, you can always send email through Front's third party mail server, SendGrid, and you will not retain a record of your outbound emails on your own server. You will need to:
Select Front Default instead of Office 365 OAuth2 in your Send Outbound Messages setting.
Set up SPF/DKIM records. See this article to learn more.
Part 4: Finish up
Once all users from the Microsoft 365 group are in Front, remove those users from the group in your Exchange settings. This will ensure emails sent to the Microsoft 365 group no longer go to each user's individual inbox, instead will be routed into a single shared inbox in Front.
Pricing
This feature is available on all plans. For the latest Starter plan, you must have email set as your company's channel type.